SGI O2
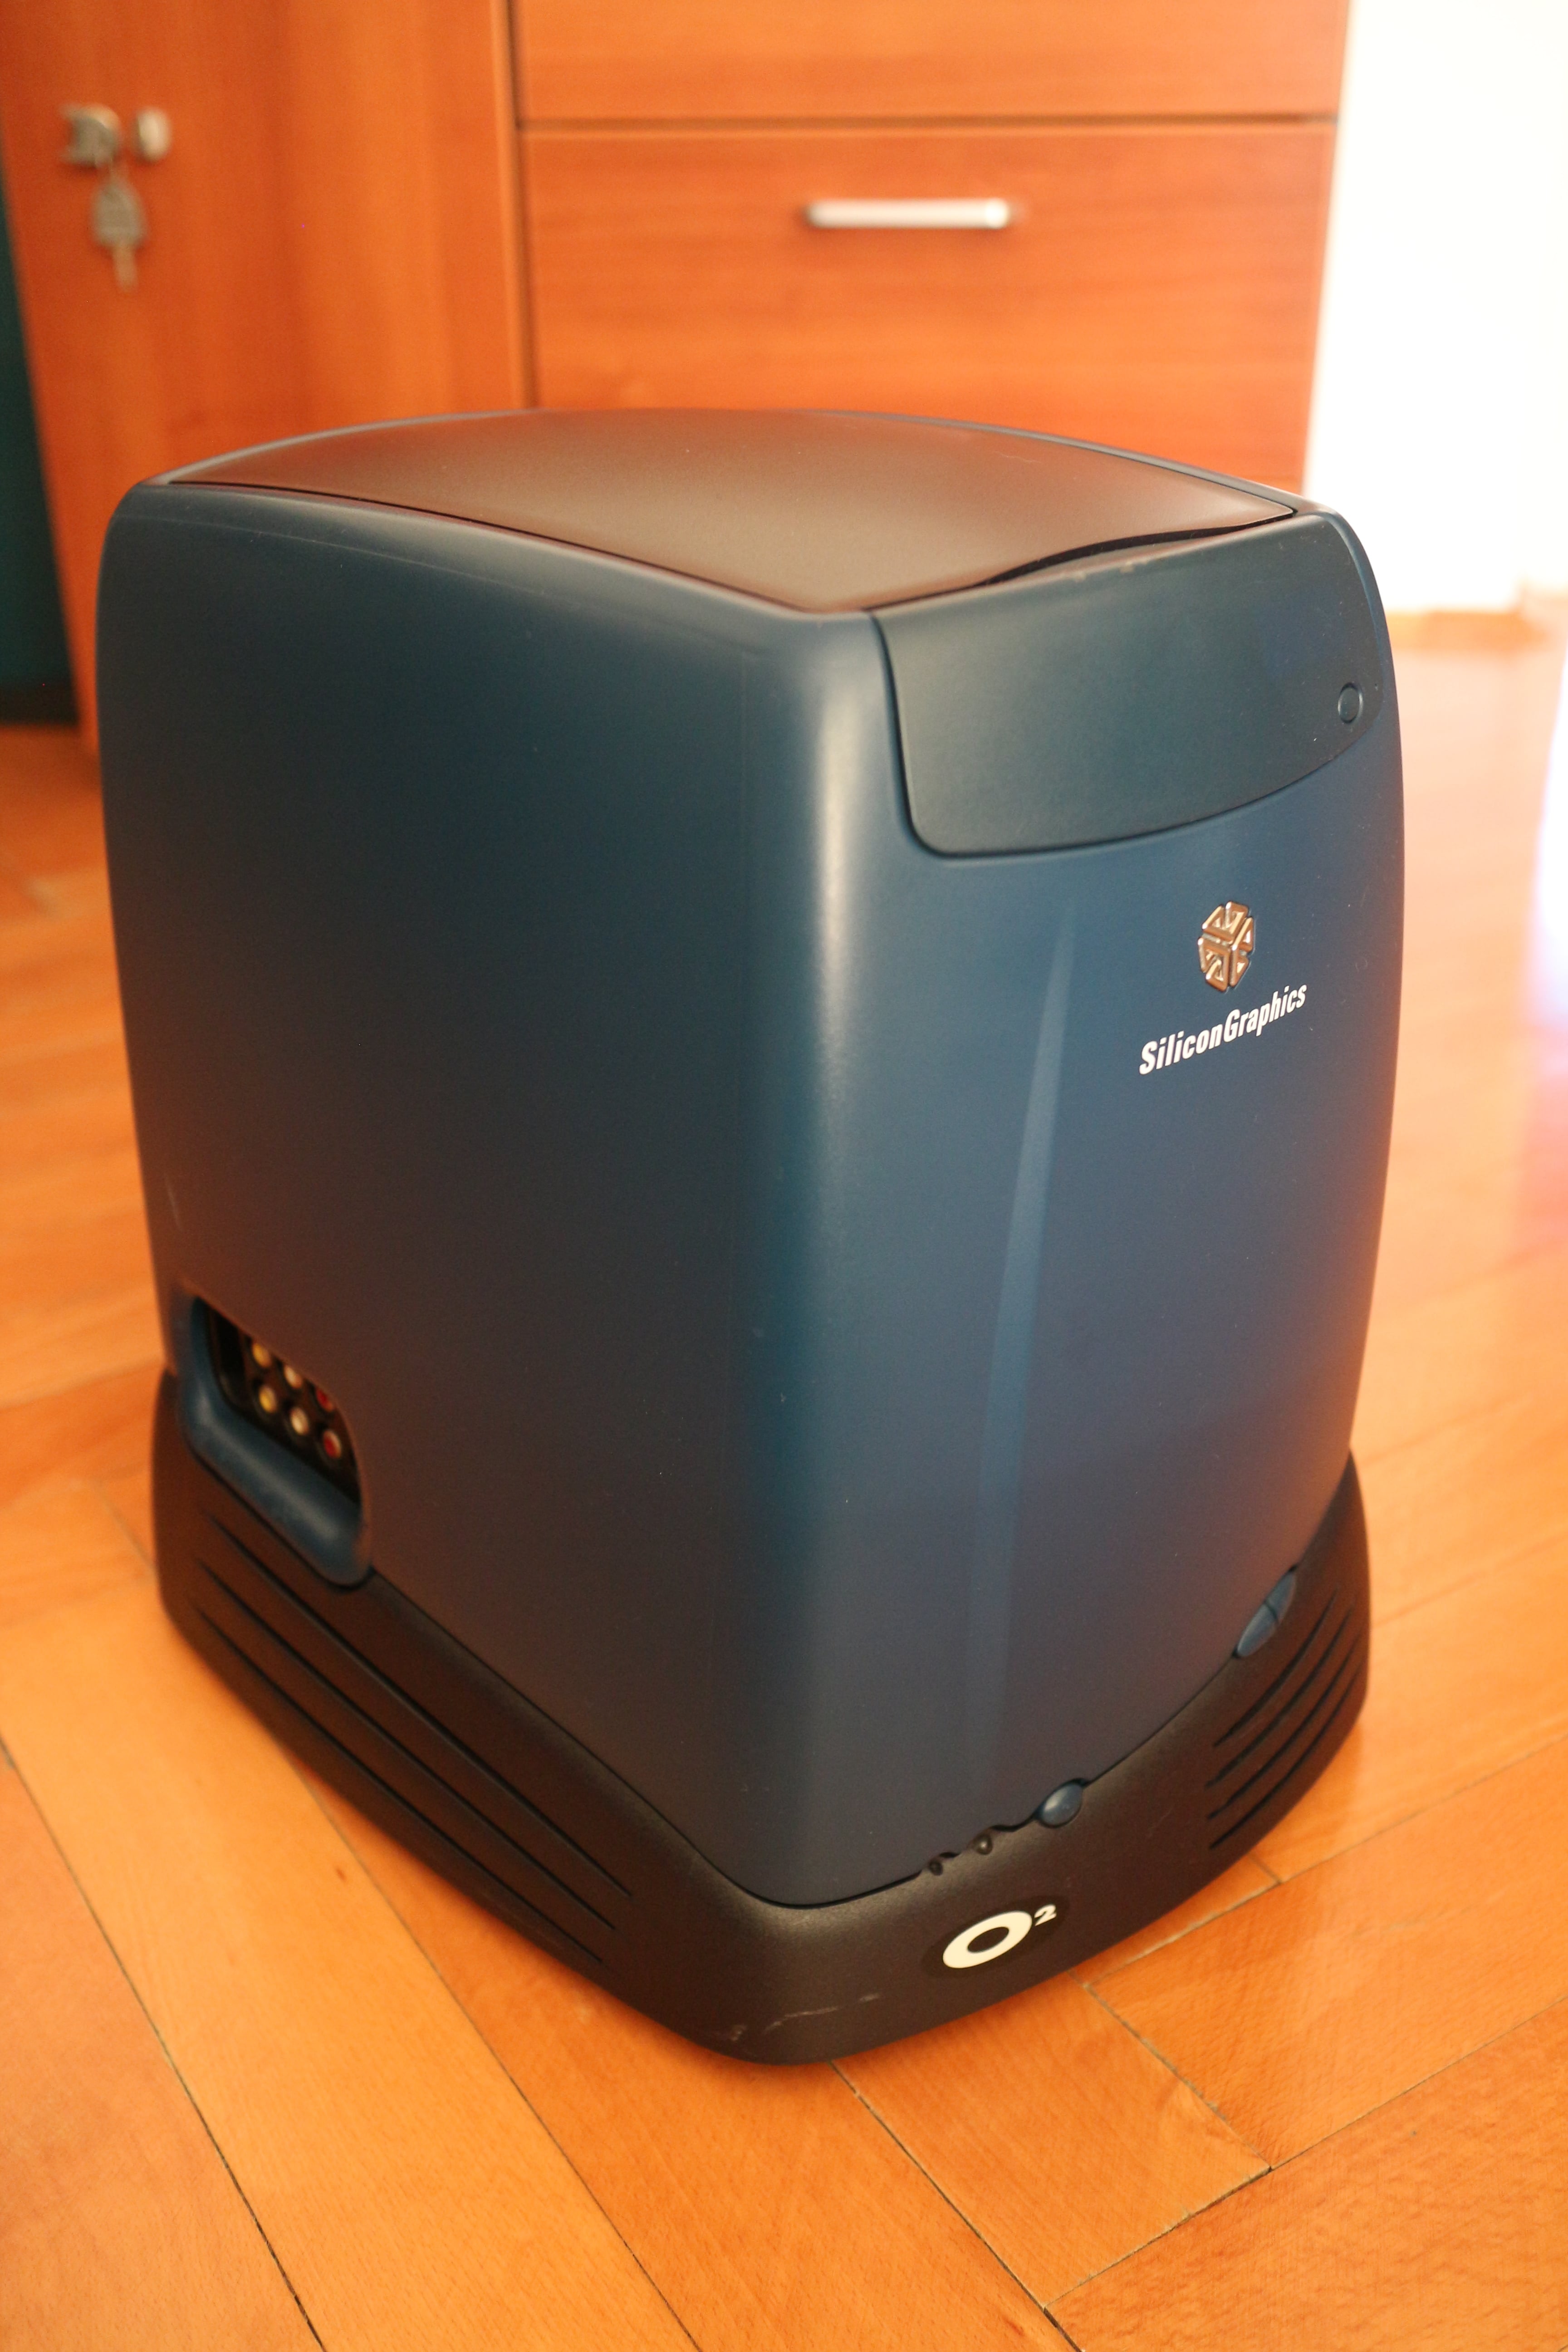
The Silicon Graphics O2 is a graphics and multimedia workstation from 1996. It was designed as the successor to the Indy line of workstations (the higher-end option at the time was the Octane workstation, which was the successor of the Indigo2 line of machines).
Table of contents
- Architecture
- Hardware configurations
- My O2
- Output of hinv -mvv
- Output of /usr/gfx/gfxinfo
- Output of scsimon
- Modifications
- Pictures
- Documents
- Acknowledgements
Architecture ↵^
What makes the O2 special is its Unified Memory Architecture (UMA), which puts all data into main memory, thus eliminating copying between various subsystems. For example, instead of copying captured video frames from the capture card's memory to main memory, modifying them and then copying them to the graphics processor's memory, only pointers to the data are passed around and no copying is required, since the data is always in main memory.
This brings down the system cost and enables various neat tricks, such as:
- modifying a live video input and using it as an OpenGL texture in real-time,
- simultaneously displaying live video and compressing it to disk,
- using up to 800MB of system memory for textures,
- etc.
These features made the O2 a popular choice for various broadcast studios, which continued using them until the death of standard-definition TV (they were most commonly used for titling, chroma-keying [e.g. in weather forecasts] and similar things). Due to the O2's large texture memory, it was also included with a few CT scanners for visualising tomography scans (the only other SGI machine with enough texture RAM at the time was an Onyx2, which was very expensive, large, and loud).

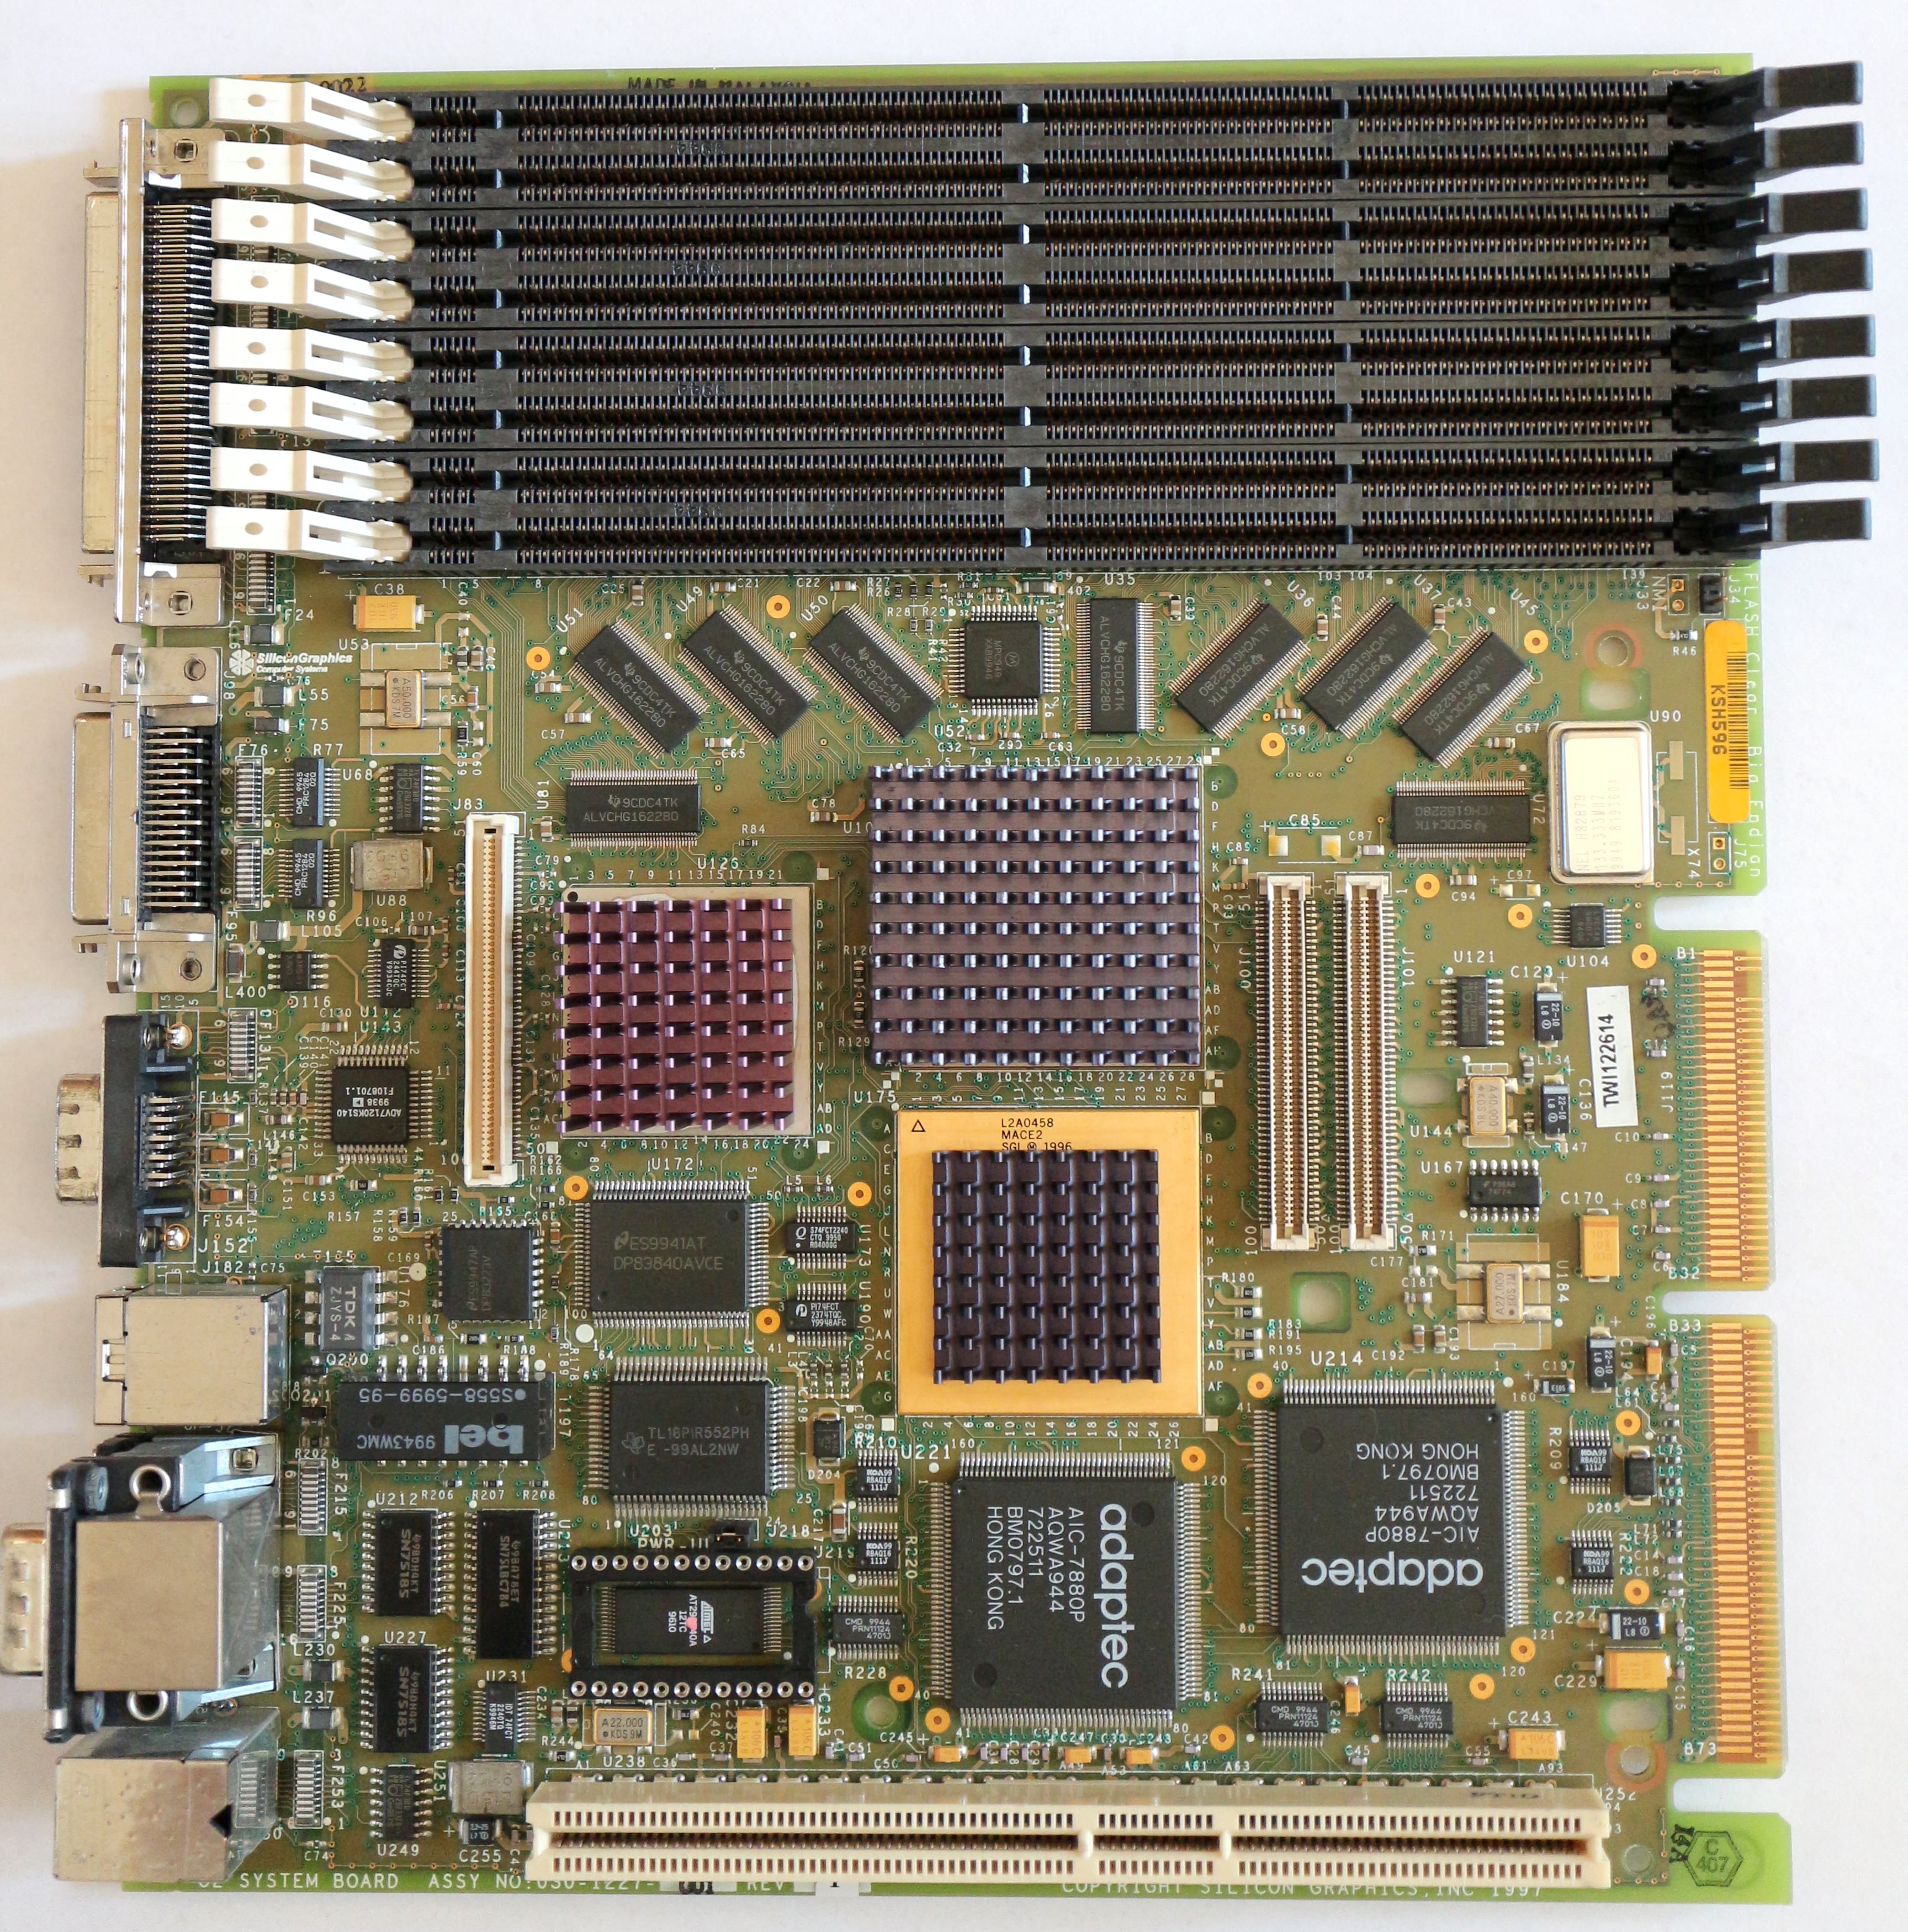
At the heart of the O2 is the CRIME (CPU, Rendering, Interconnect and Memory Engine) chip, which handles the memory, parts of the OpenGL rendering pipeline (everything except the geometry operations, those are done on the main CPU), color-space conversion, the processor interface (SysAD bus), and the interface to the I/O subsystem.
I/O to the outside world is handled by the MACE (Multimedia, Audio and Communications Engine) chip, which controls audio & video, serial, parallel, PS/2 keyboard & mouse, real-time clock, 10/100 ethernet, and PCI. The GBE (Graphics Back End) chip streams the graphics framebuffer from main memory to the RAMDAC and out the VGA port.
Another interesting part of the O2 architecture is the VICE (Video and Image Compression Engine), a special coprocessor that can be used to accelerate certain image and video operations (and even some OpenGL features).
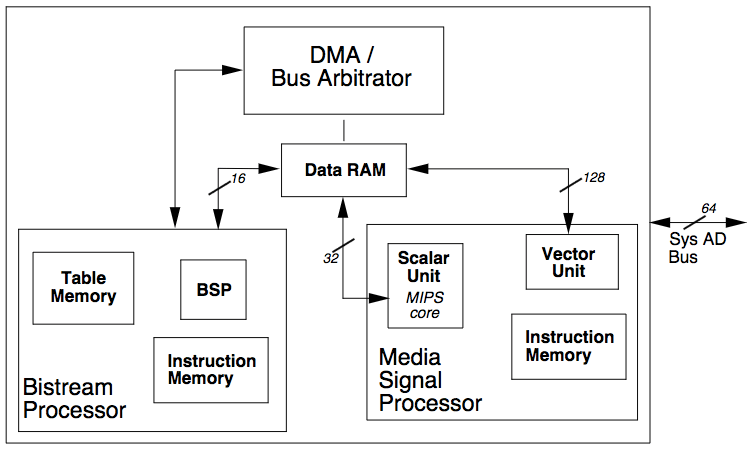
The VICE chip is located on the CPU board and actually contains two additional processors, running at 66MHz — the MSP (Media Signal Processor), which is a modified MIPS processor with a 128-bit SIMD unit, and the BSP (Bit-Stream Processor), which is a custom 16-bit MIPS-like processor, designed only for accelerating Huffman coding (it even includes some built-in look-up tables for this purpose). These processors are not cache-coherent with one another or the main CPU (but that's not such a big deal, since VICE is designed only for sequential processing of streams).
A program that wants to use the VICE first uploads the "microcode" (a tiny program) for the MSP and/or the BSP to VICE's instruction memory, then starts streaming the data via the VICE's DMA engine. The MSP and/or BSP coprocessors then process incoming data using the uploaded microcode and write the results back to main memory.
Even though VICE shares the same memory bus as the main processor, it can still provide a nice performance advantage for common signal processing tasks related to images or video.
The IRIX operating system accelerates video encoding and decoding in this way — the VICE accelerates DCT and IDCT operations, as well as Huffman coding. It is also used for some OpenGL operations, such as color-matrix transformations (useful for converting from one color-space to another, which is quite common when working with video).
The MSP is closely related to the Nintendo64's RSP (Reality Signal Processor), which was also designed by SGI. The instruction sets are very similar, with the MSP implementing a superset of the RSP instruction set. See the N64 RSP Programmer's Guide in the documents section below to get an idea of what the MSP is capable of. The RSP consists of a scalar unit (SU), a vector unit (VU), and has 4kB of instruction memory (IMEM) and 4kB of data memory (DMEM). It does not support interrupts, exceptions and traps, since those are not conducive to fast stream processing.
Hardware configurations ↵^
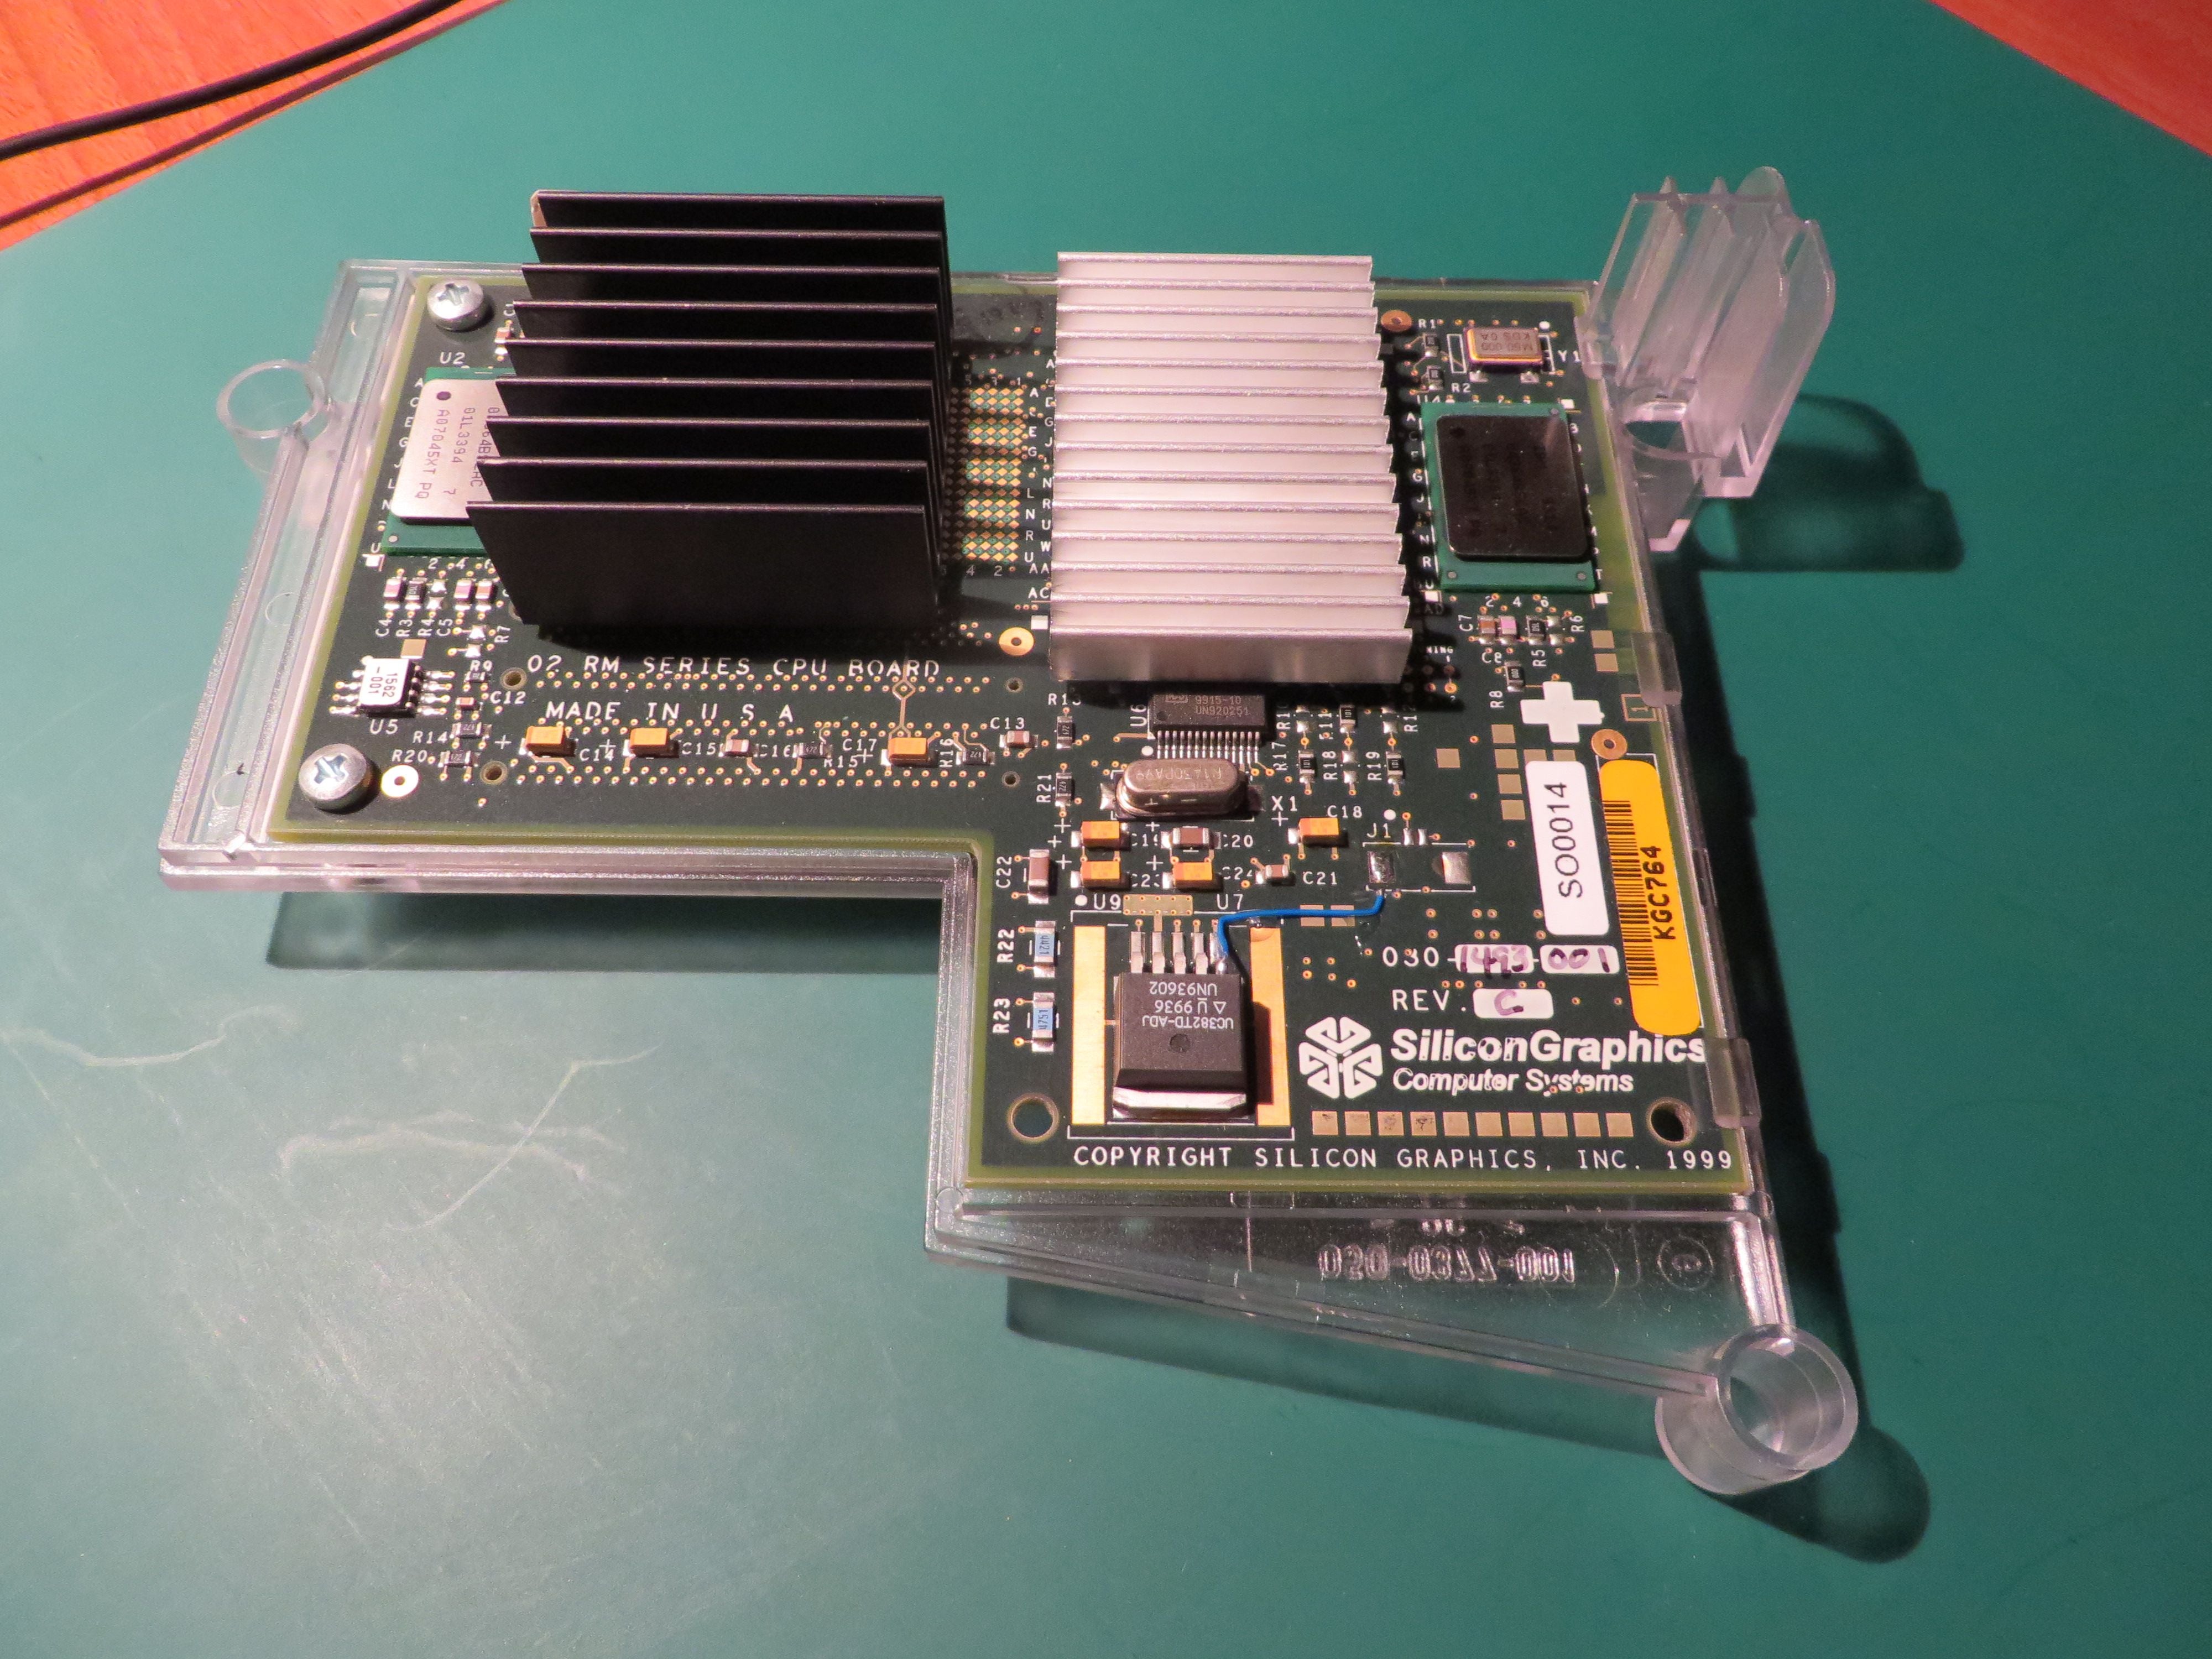
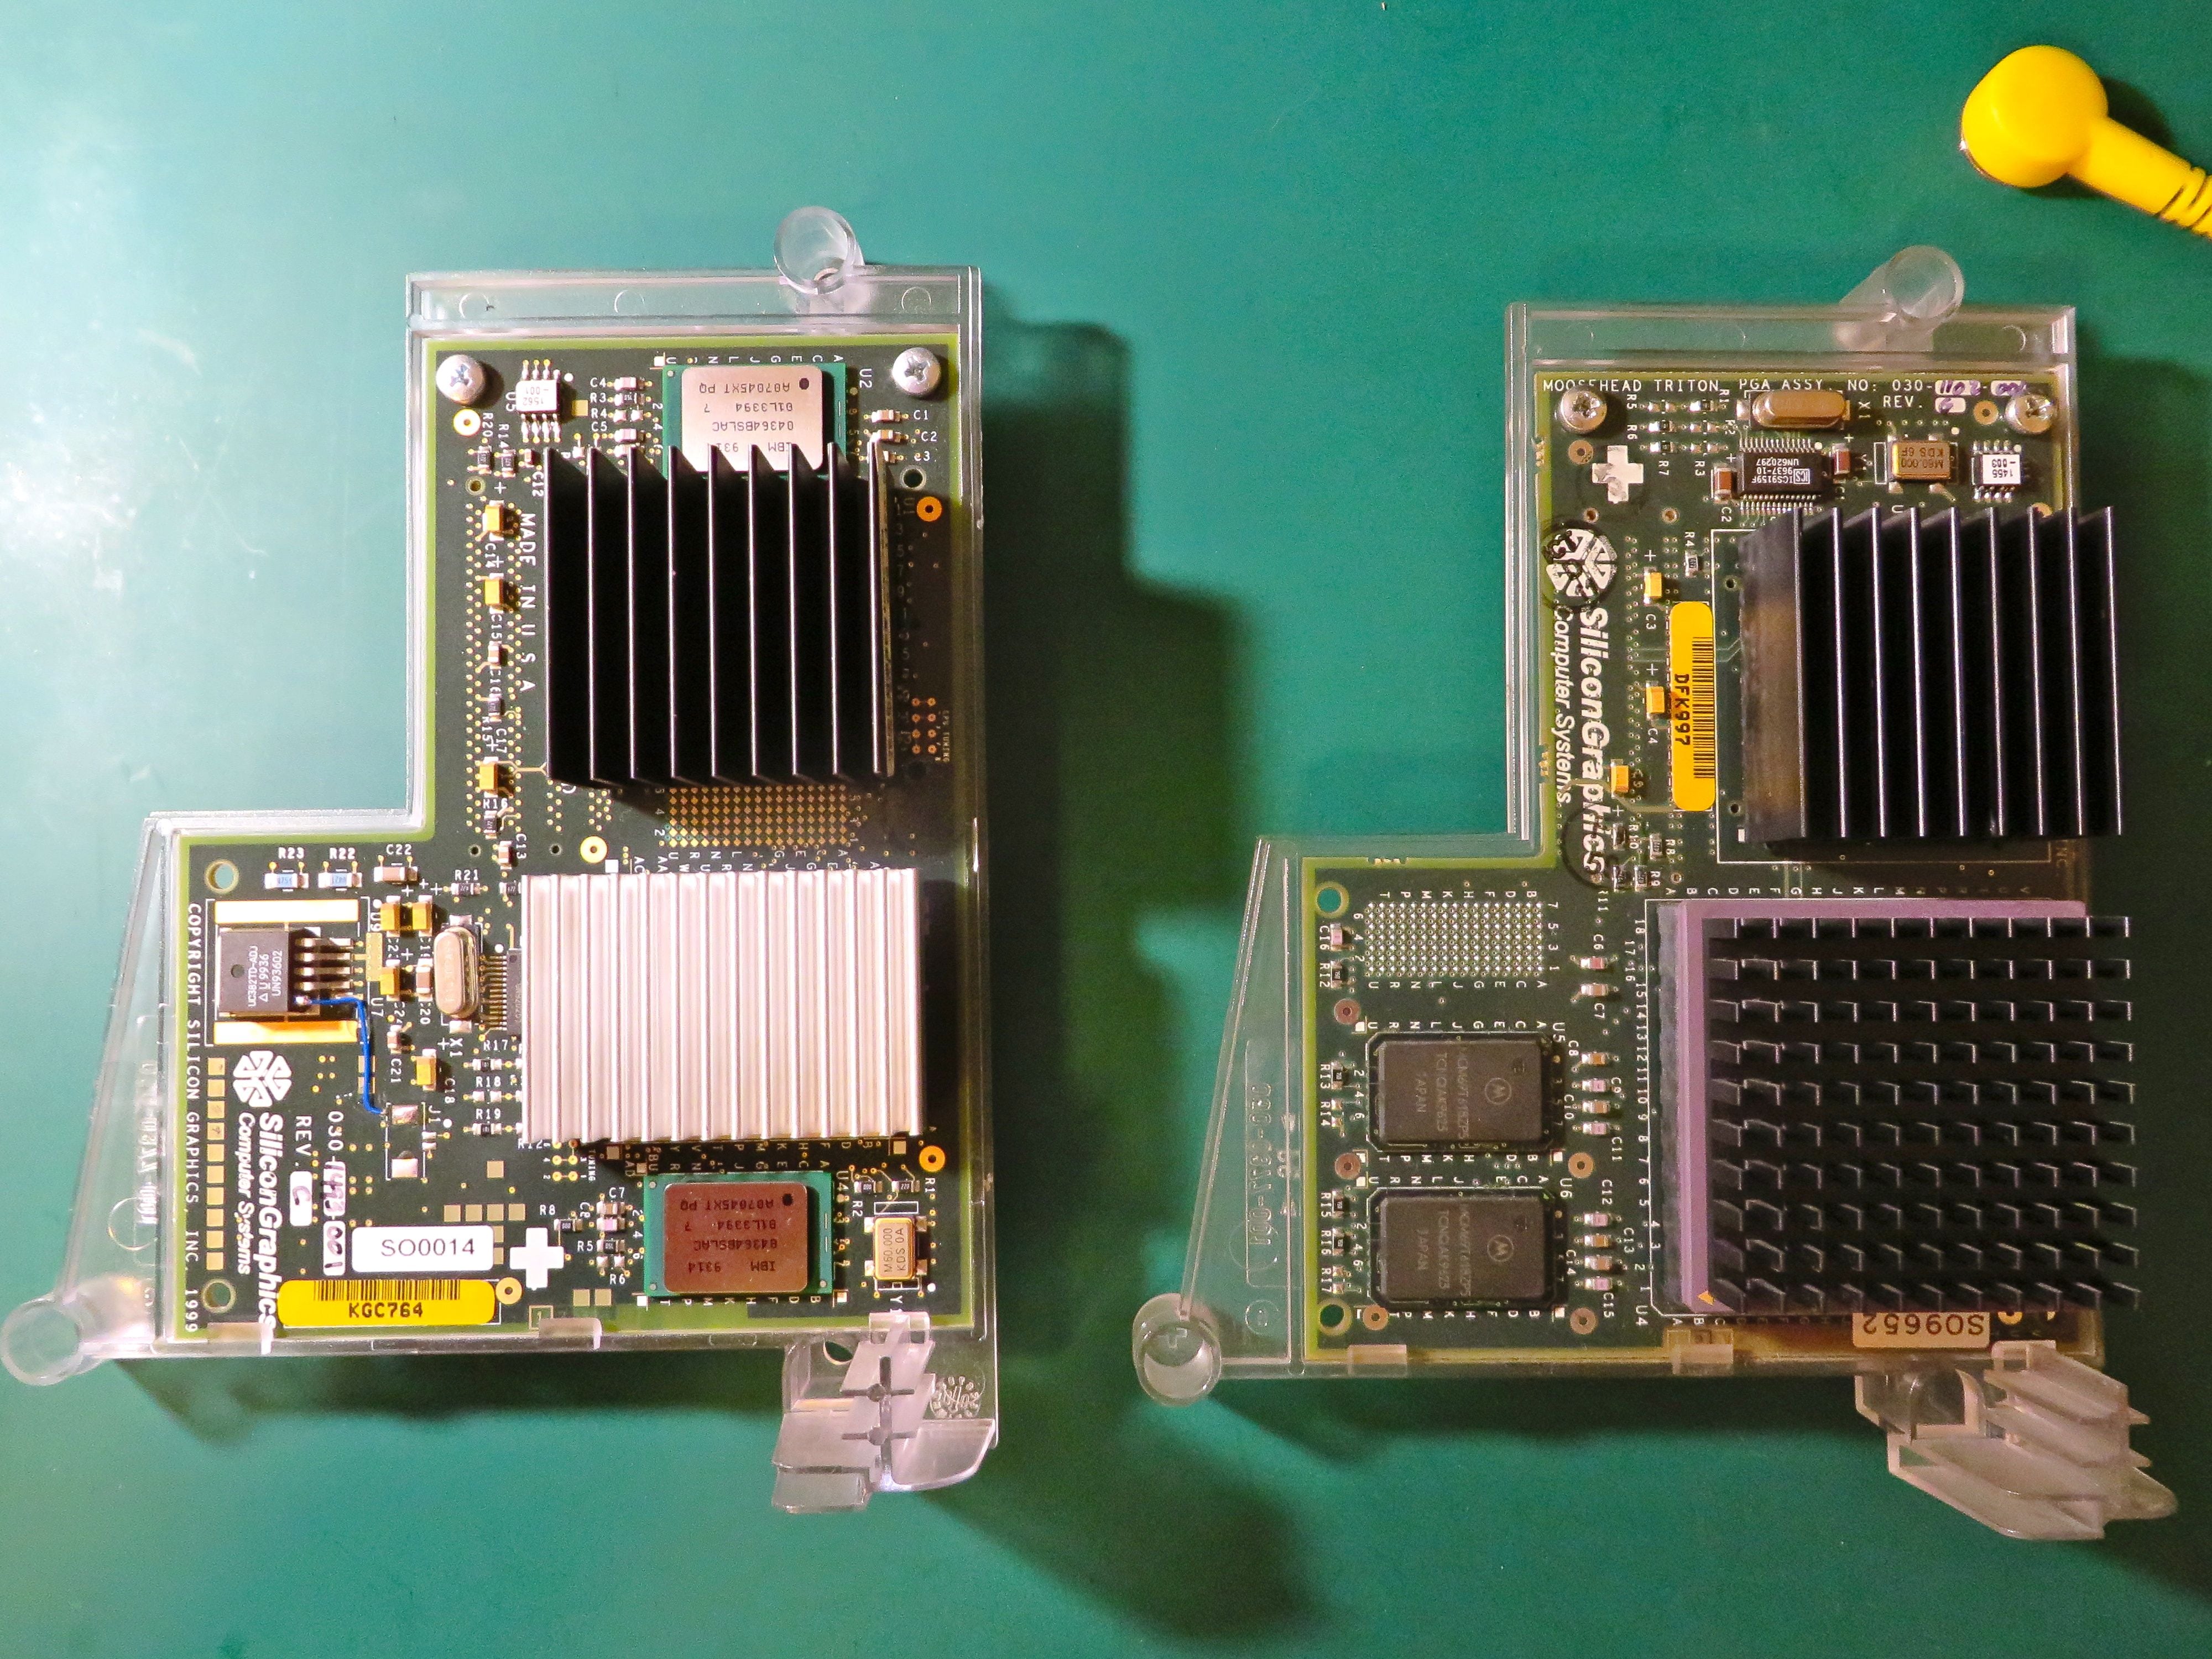
The O2 came in two major hardware configurations — the R5000 and the R10000. The difference between the two is in the processor module; the R5000 model used an R5000 or RM5271 or RM7000 processor, while the R10000 model used an R10000 or R12000 processor. The R10000 models required a different chassis with only one hard drive slot instead of two (and a taller PCI riser board) to fit the much larger R10000 processor module and its massive heatsink. However, apart from that, everything else is the same on both models.
Later versions of the O2 chassis had a removable separator for the second hard drive slot, so it was possible to upgrade an R5k system to an R10k without replacing the entire chassis.
There was also an O2+ model, but that was just a marketing move — the hardware remained completely unchanged, only the plastic skins were colored purple instead of blue, quite disappointing.
Processor options ↵^
| Processor | Clock speed [MHz] | L1 cache I/D [kB] | L2 cache I+D [kB] | Module part number |
|---|---|---|---|---|
| R5000 | 180 | 32/32 | none | 030-1039-00x |
| R5000 | 180 | 32/32 | 512 | 030-1102-00x |
| R5000 | 200 | 32/32 | 1024 | 030-1276-00x |
| RM5271 | 300 | 32/32 | 1024 | 030-1493-00x |
| RM7000 | 350 | 32/32 | 256 + 1024 L3 | 030-1733-00x |
| R10000 | 150 | 32/32 | 1024 | 030-1197-00x |
| R10000 | 175 | 32/32 | 1024 | 030-1082-00x |
| R10000 | 195 | 32/32 | 1024 | 030-1247-00x |
| R10000 | 225 | 32/32 | 1024 | 030-1375-00x |
| R10000 | 250 | 32/32 | 1024 | 030-1330-00x |
| R12000 | 270 | 32/32 | 1024 | 030-0994-00x |
| R12000 | 300 | 32/32 | 1024 | 030-0993-00x |
| R12000 | 400 | 32/32 | 2048 | 030-1529-00x |
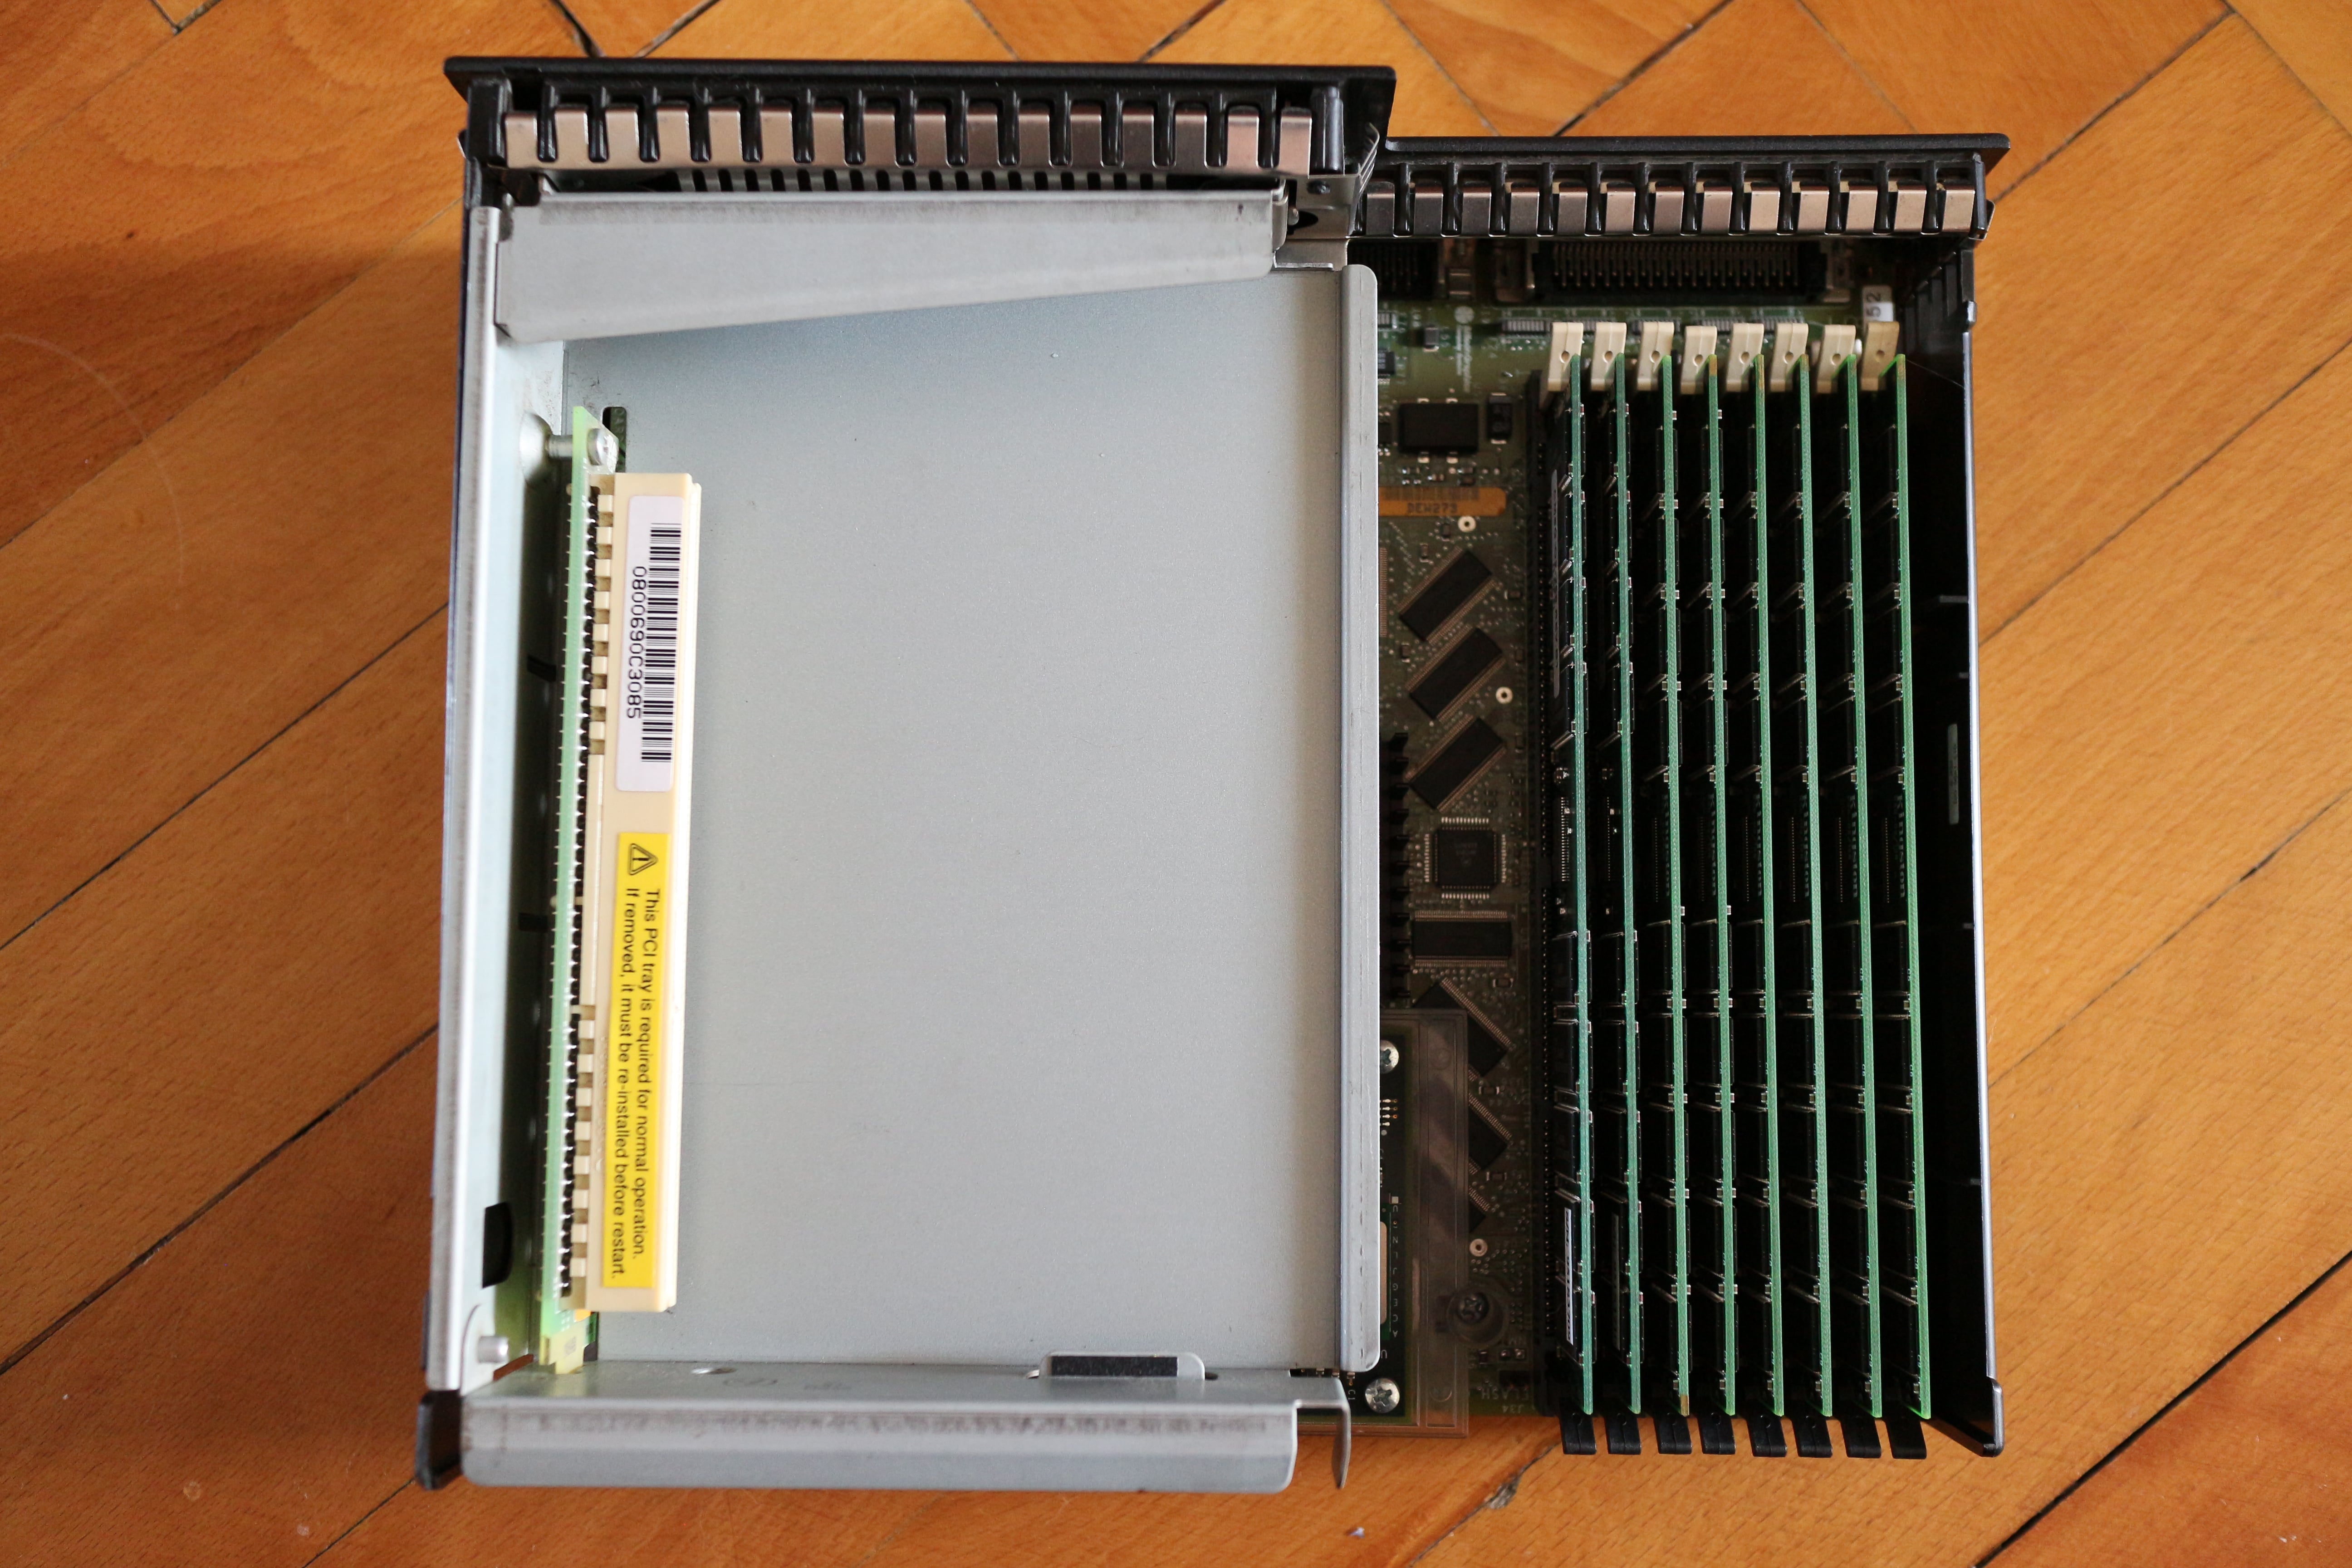
Memory options ↵^
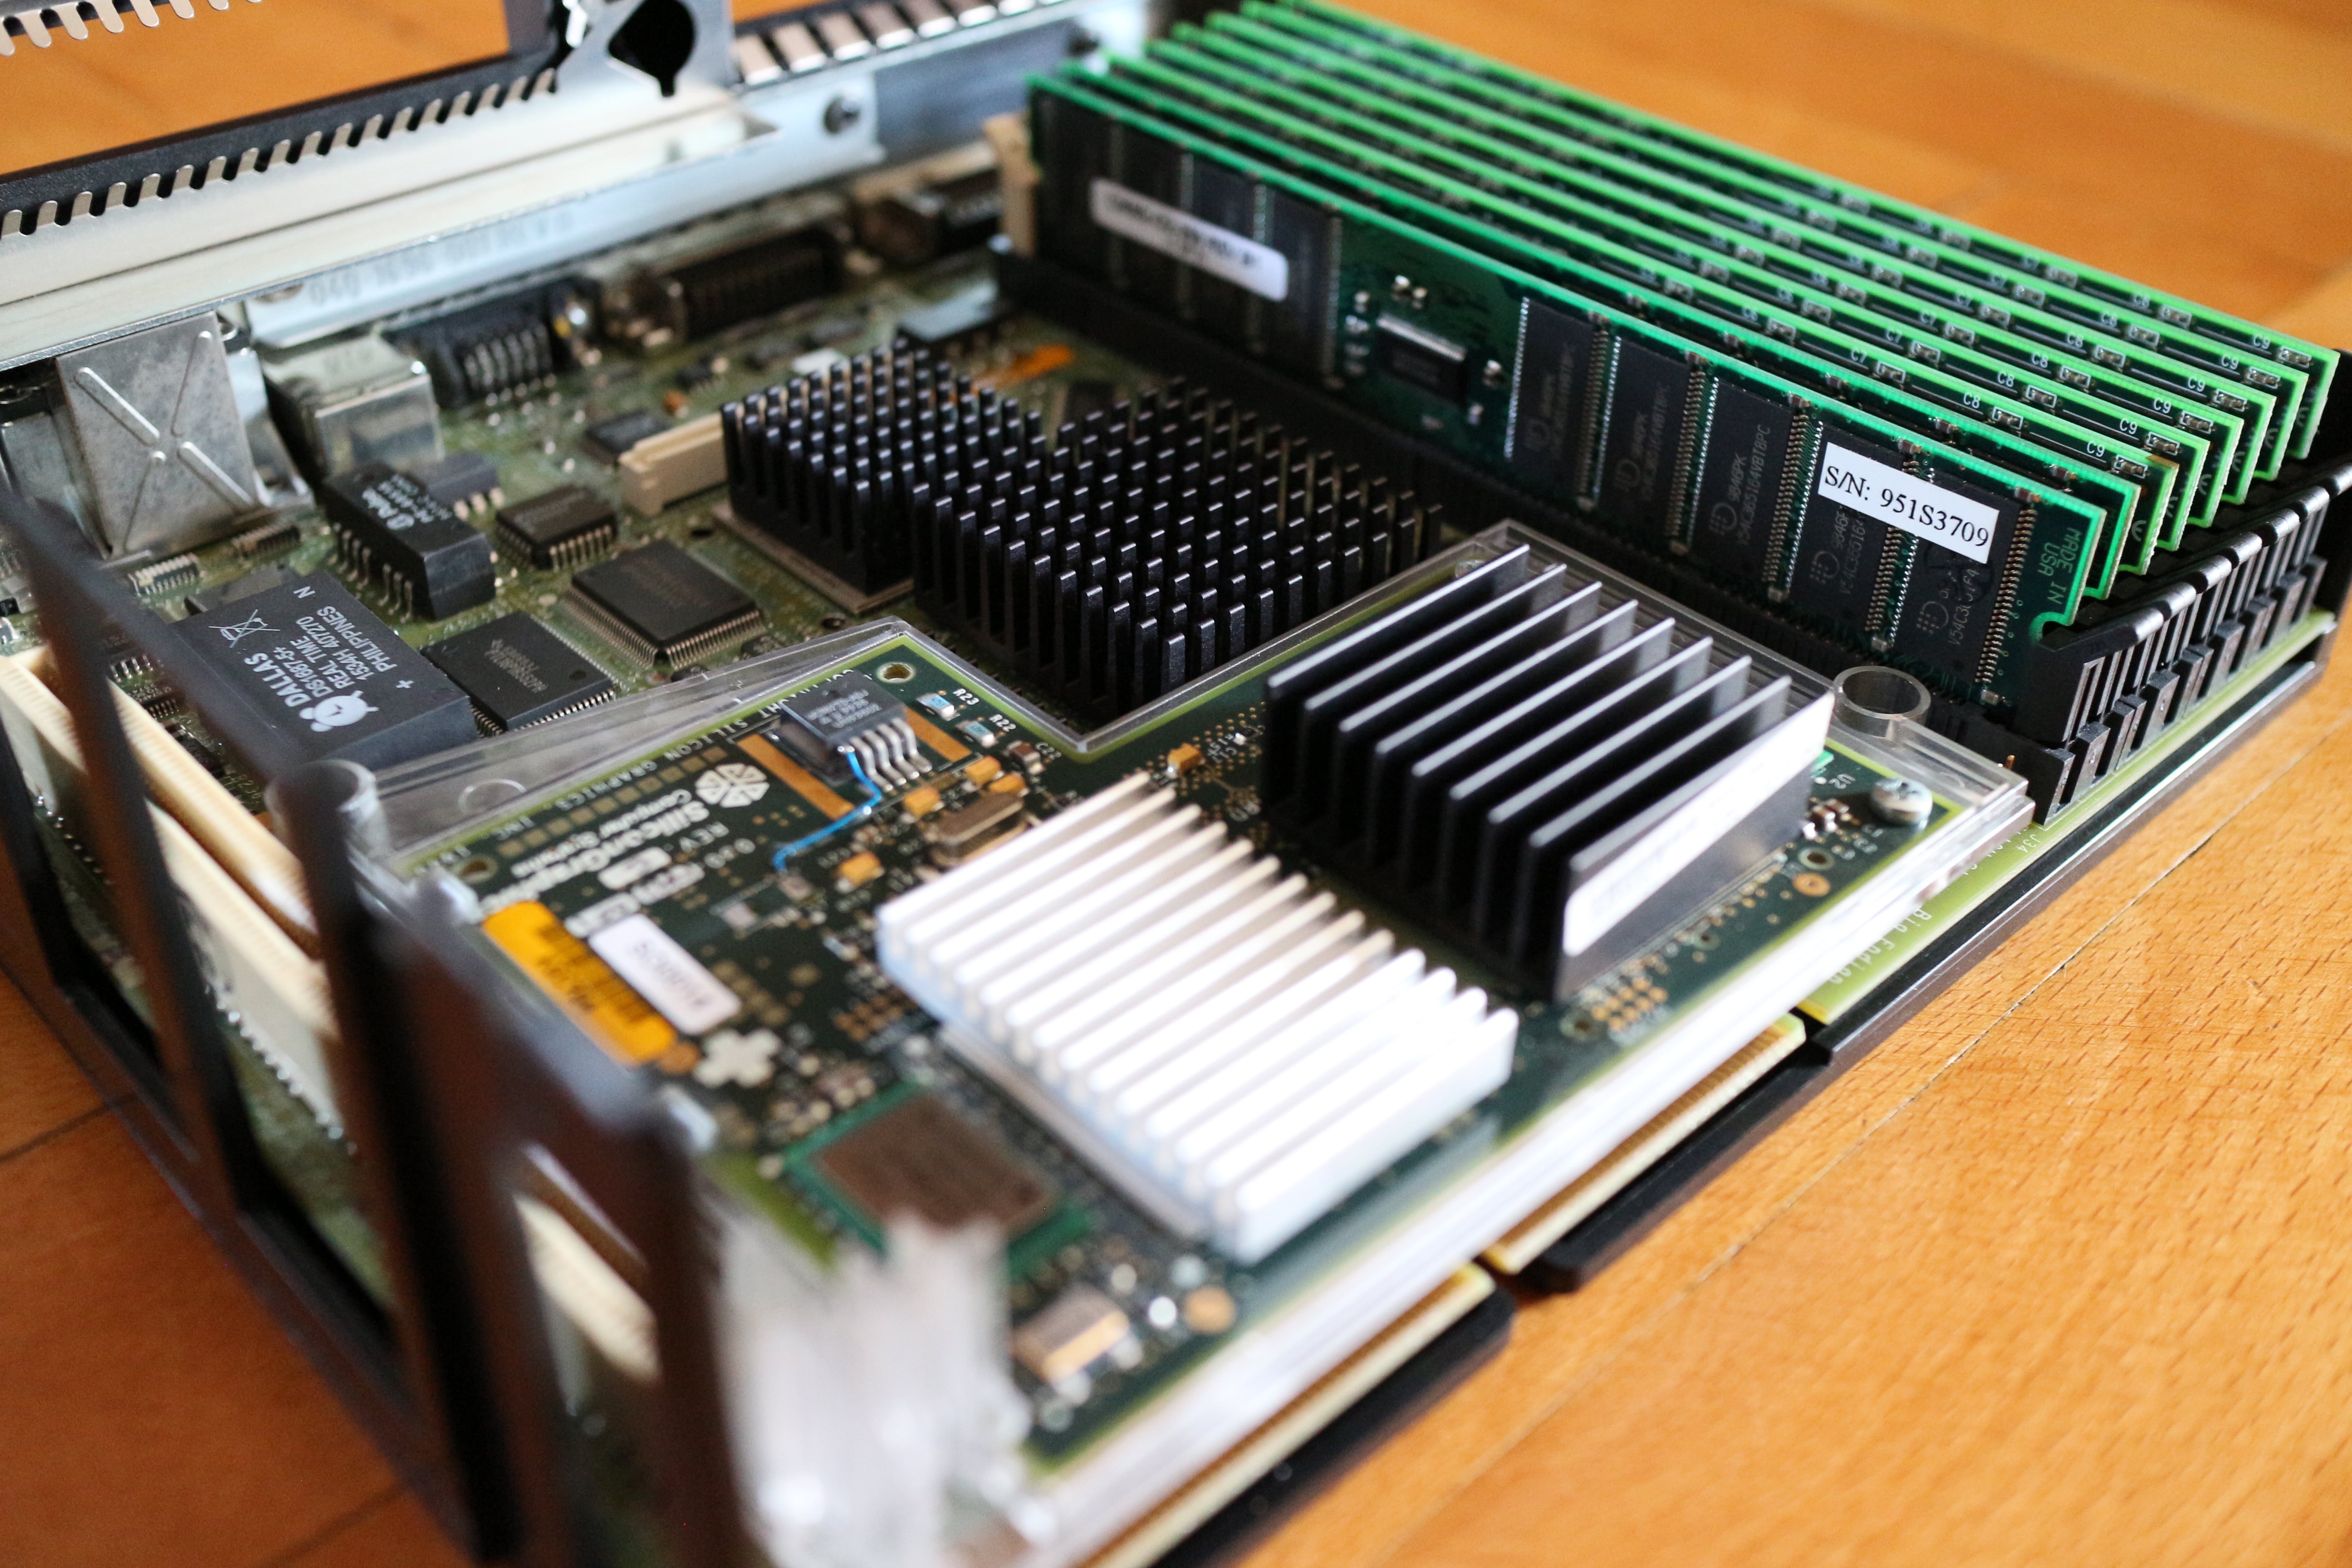
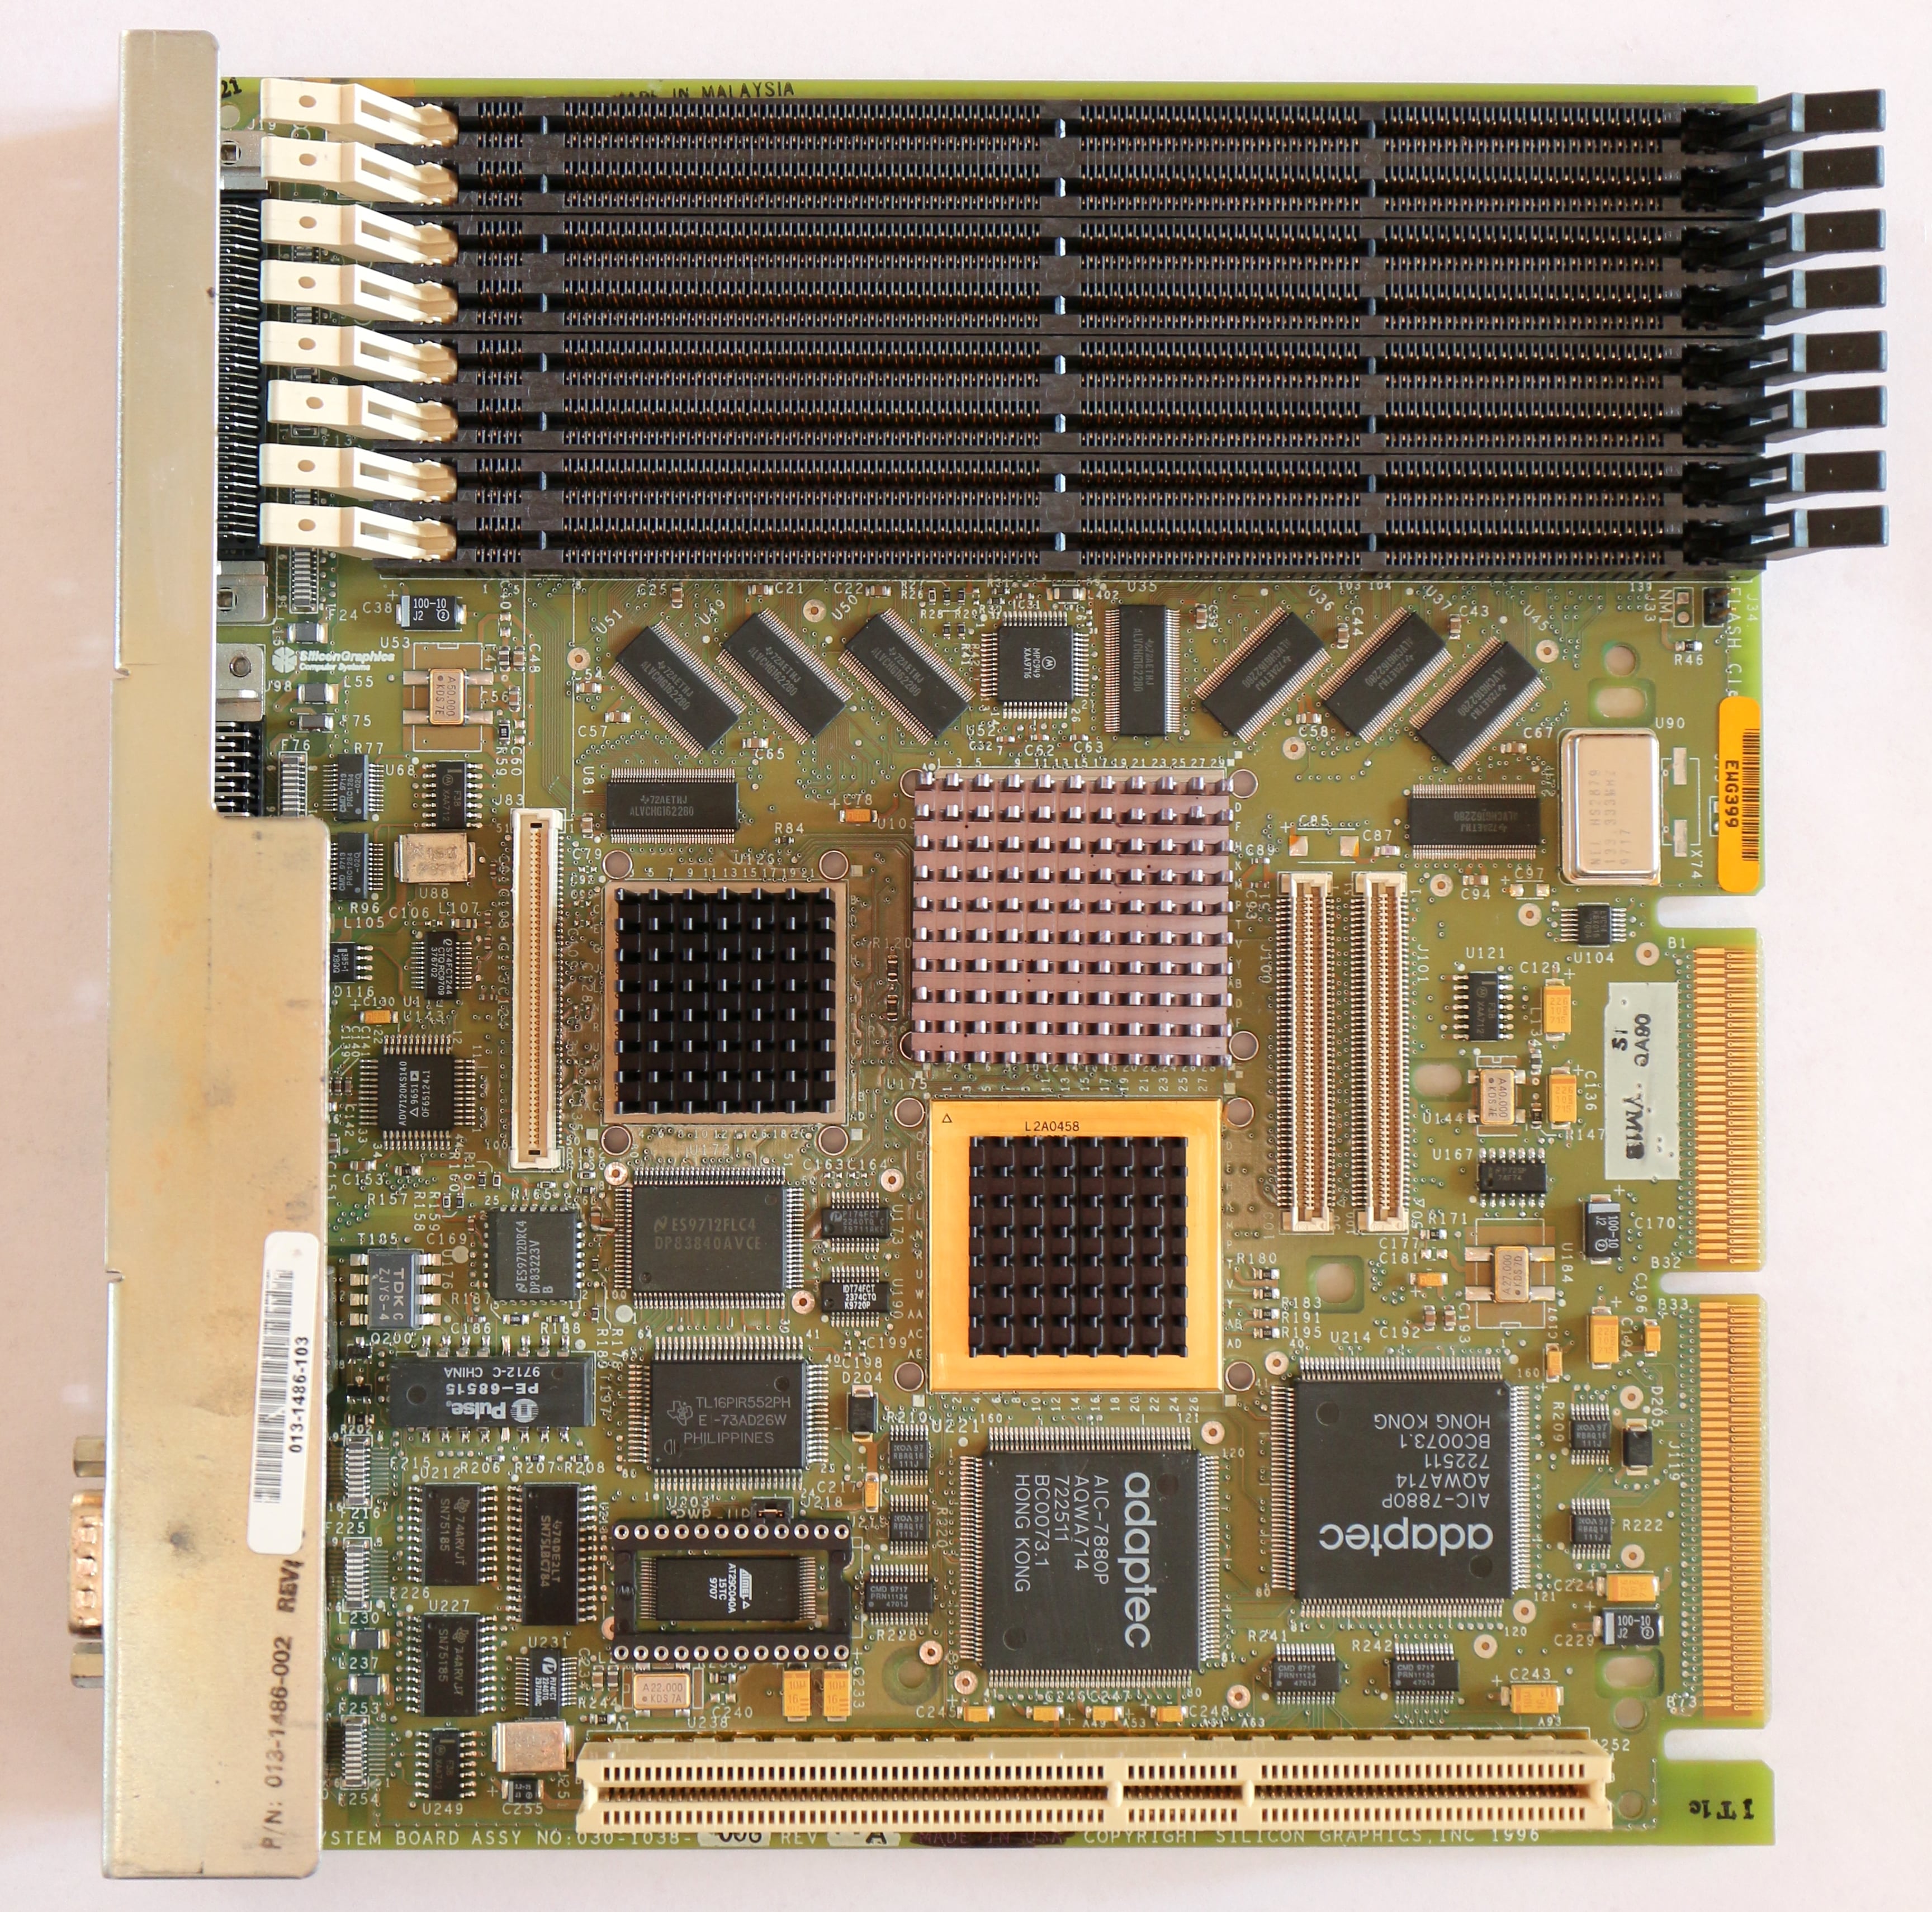
The O2 motherboard has 8 sockets for proprietary ECC SDRAM DIMMs (these are SGI-specific and only work in the O2, they're not compatible with other SGI computers).
The maximum configuration is 1GB (eight 128MB sticks) and the minimum is 32MB (two 16MB sticks). Sticks must always be installed in equal pairs.
To use 128MB DIMMs, the PROM version must be at least 4.4.
Graphics options ↵^
The O2 has no removable graphics options, since the graphics are tightly integrated into the main chipset.
There are a few add-on boards that connect to the graphics output:
- Dual-head option (part number 030-1296-00x) — adds two VGA outputs for connecting two monitors to the O2.
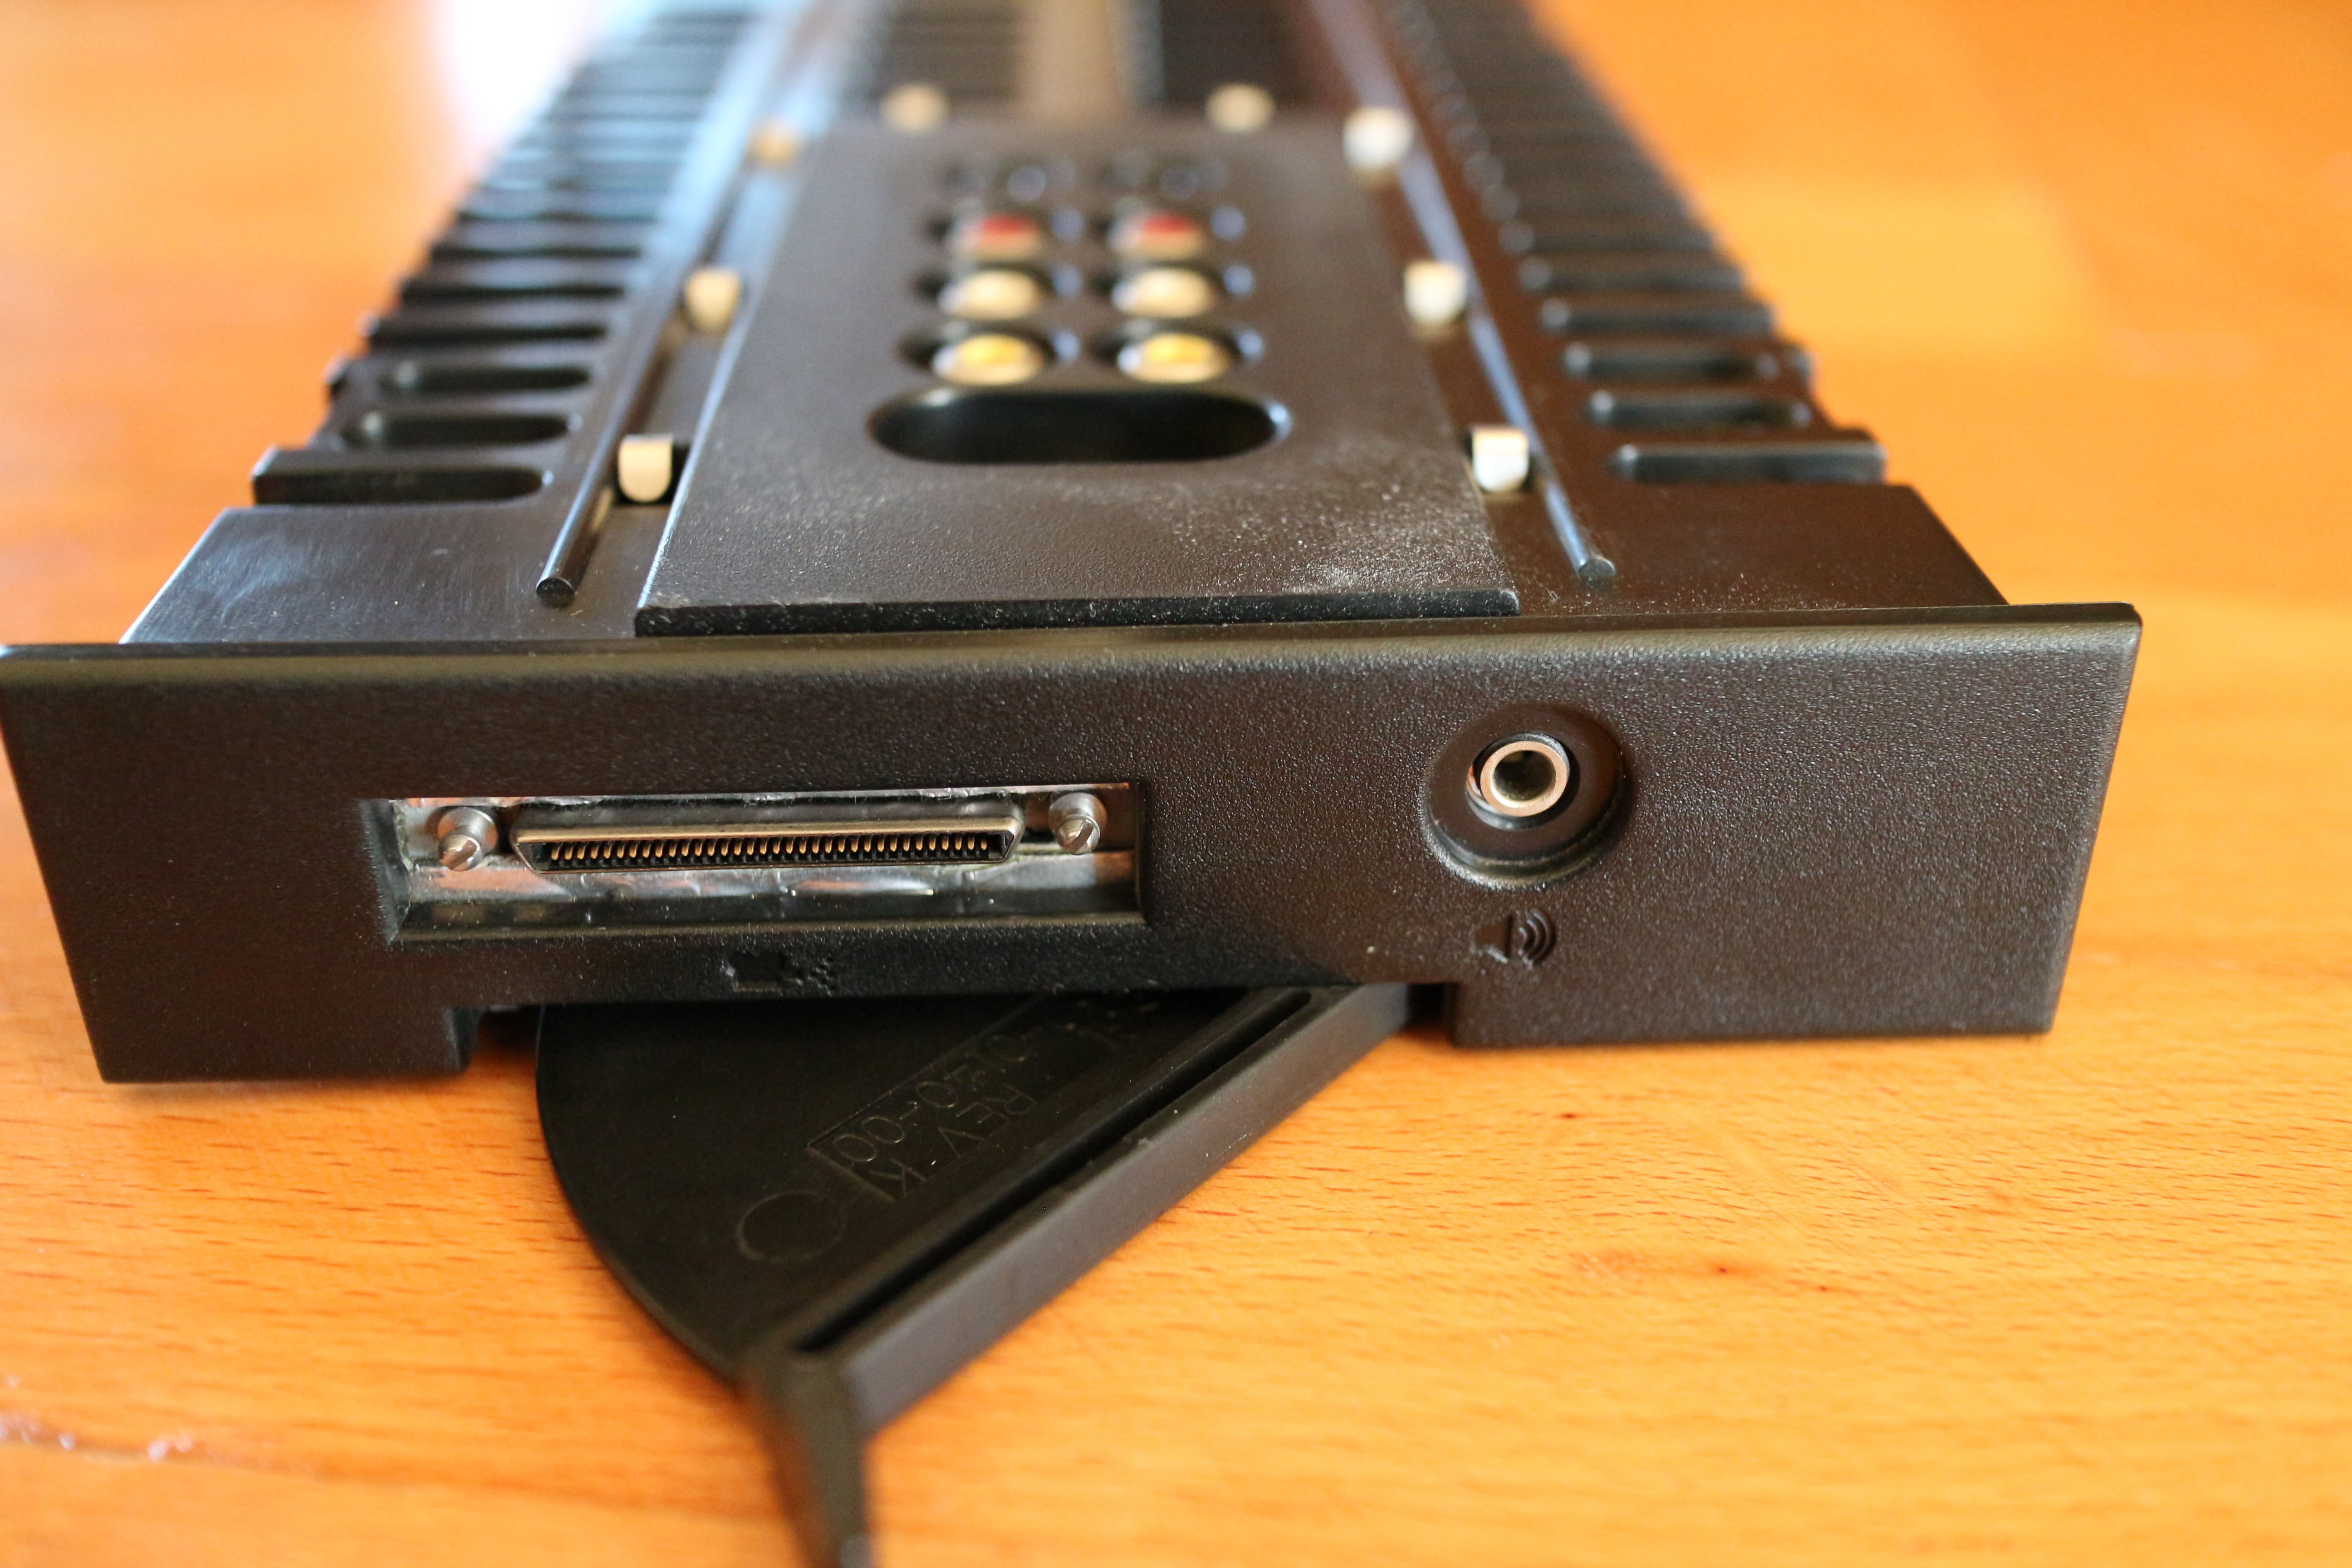
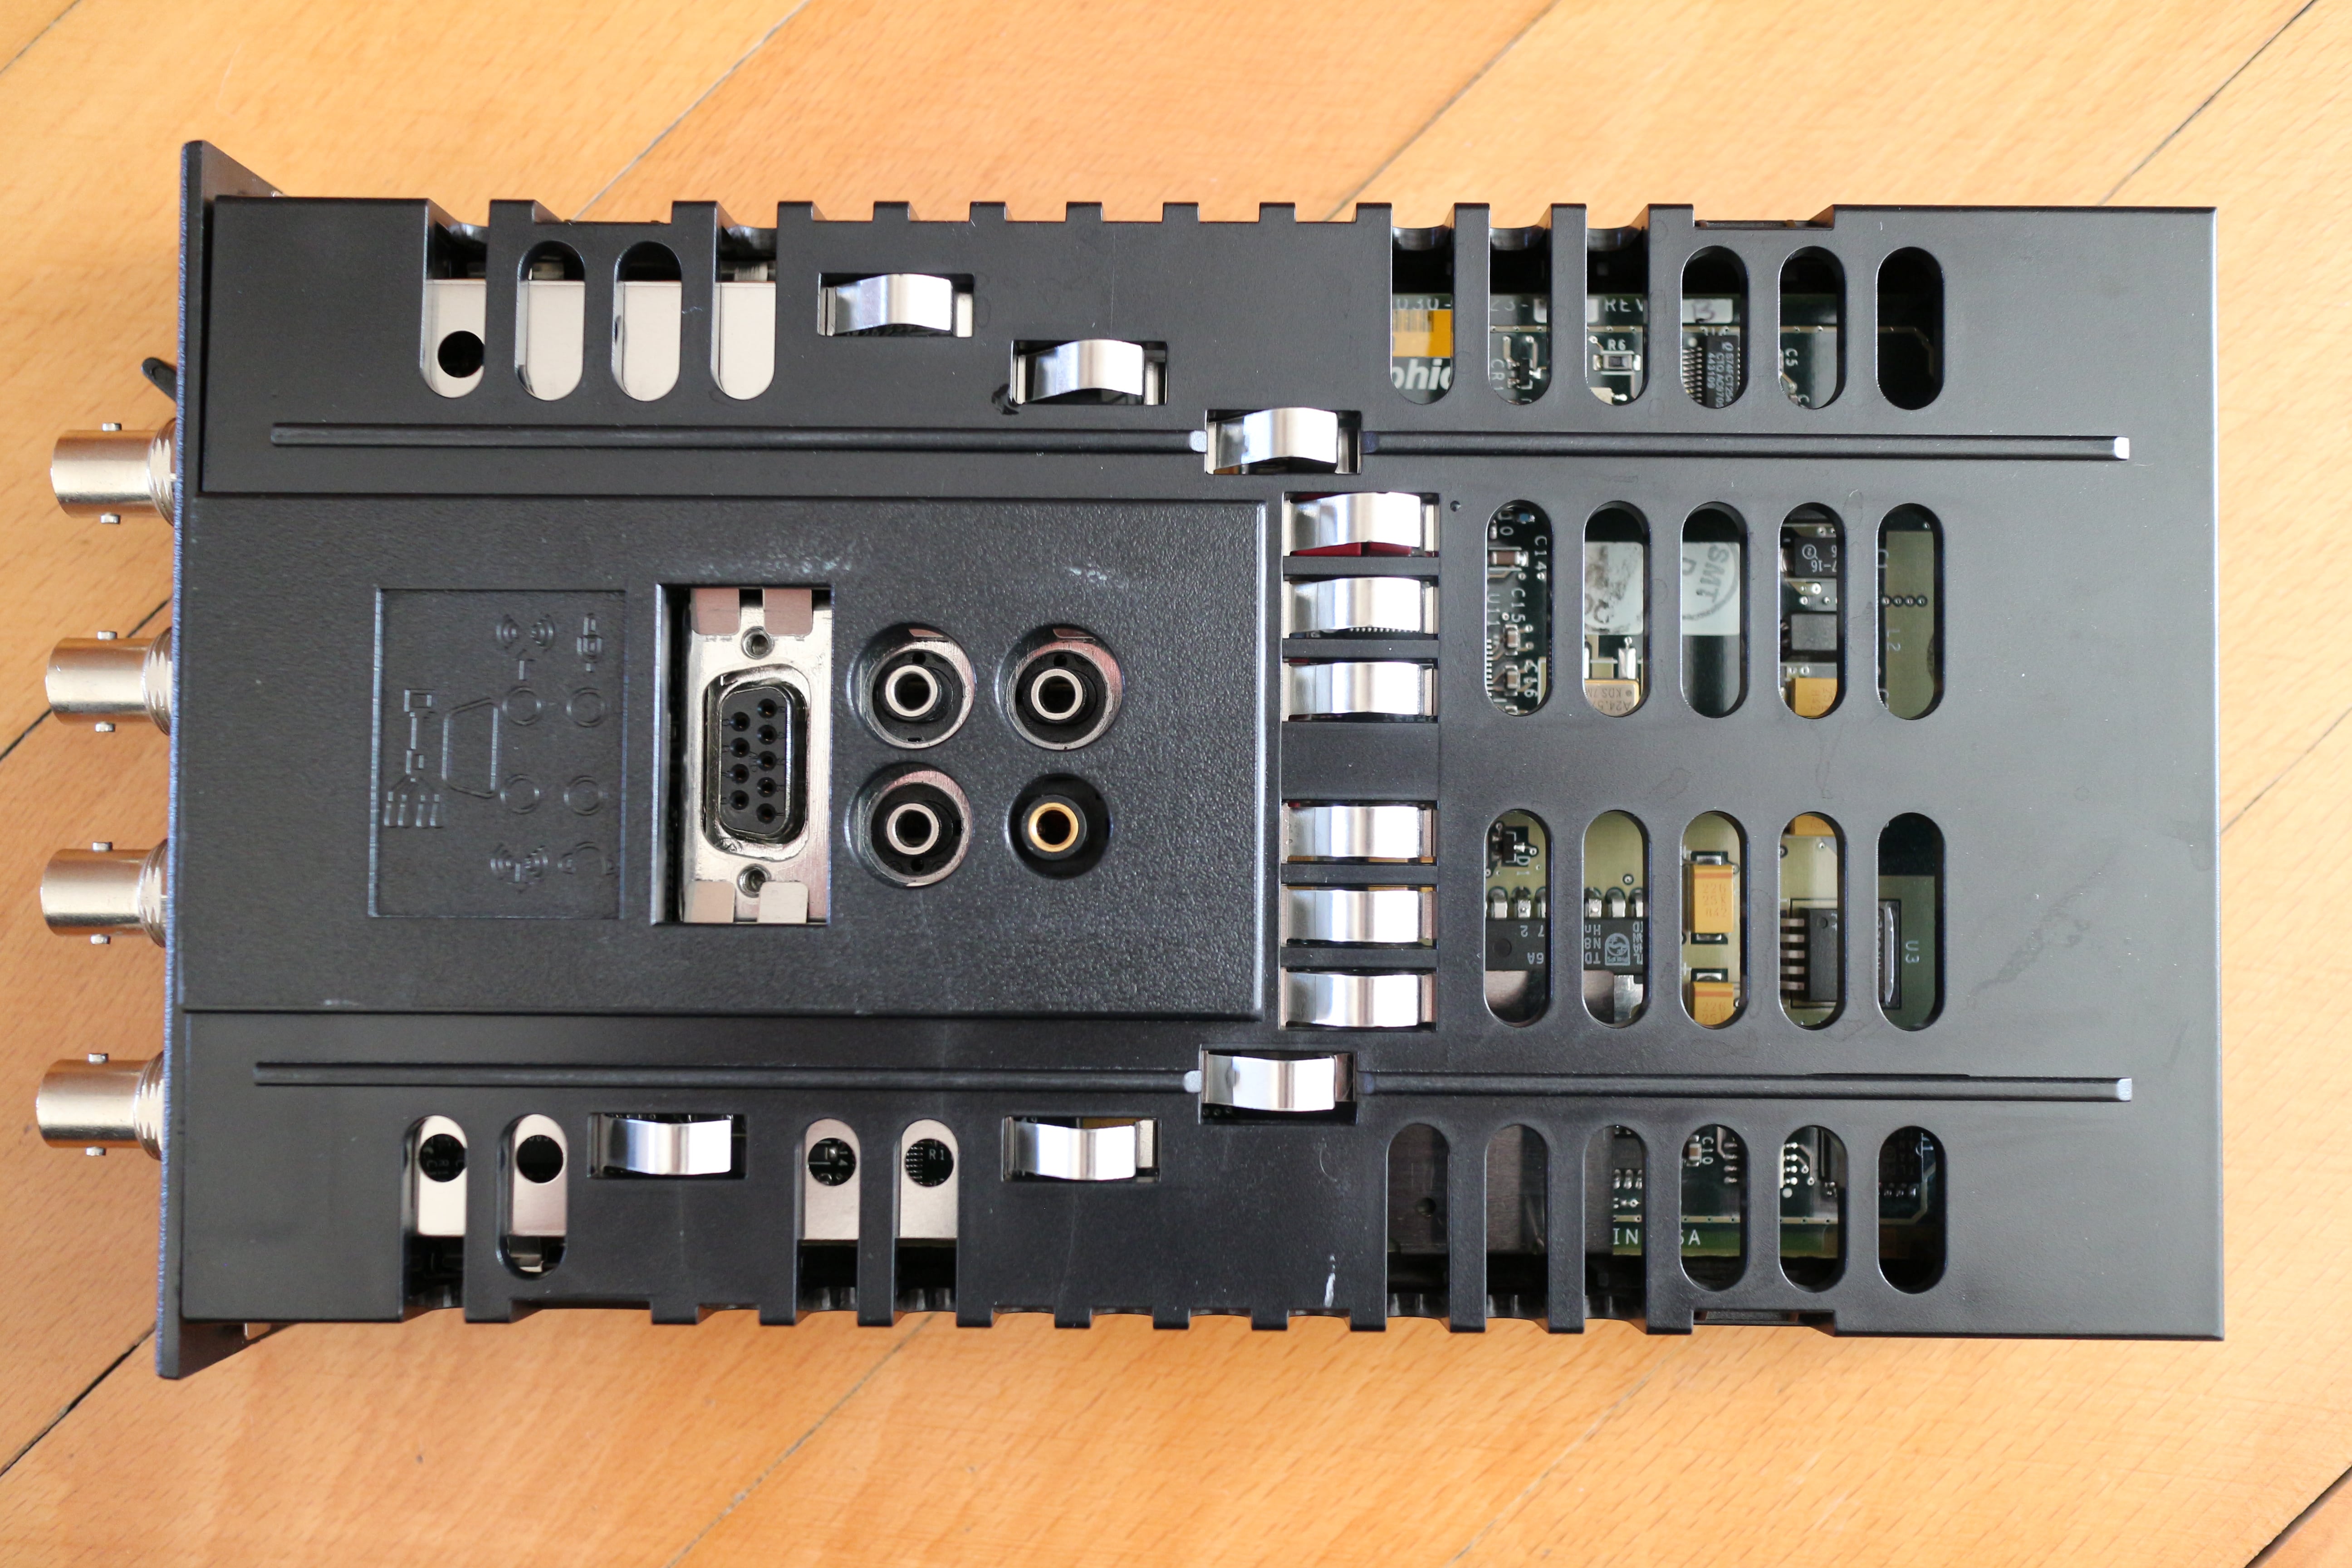
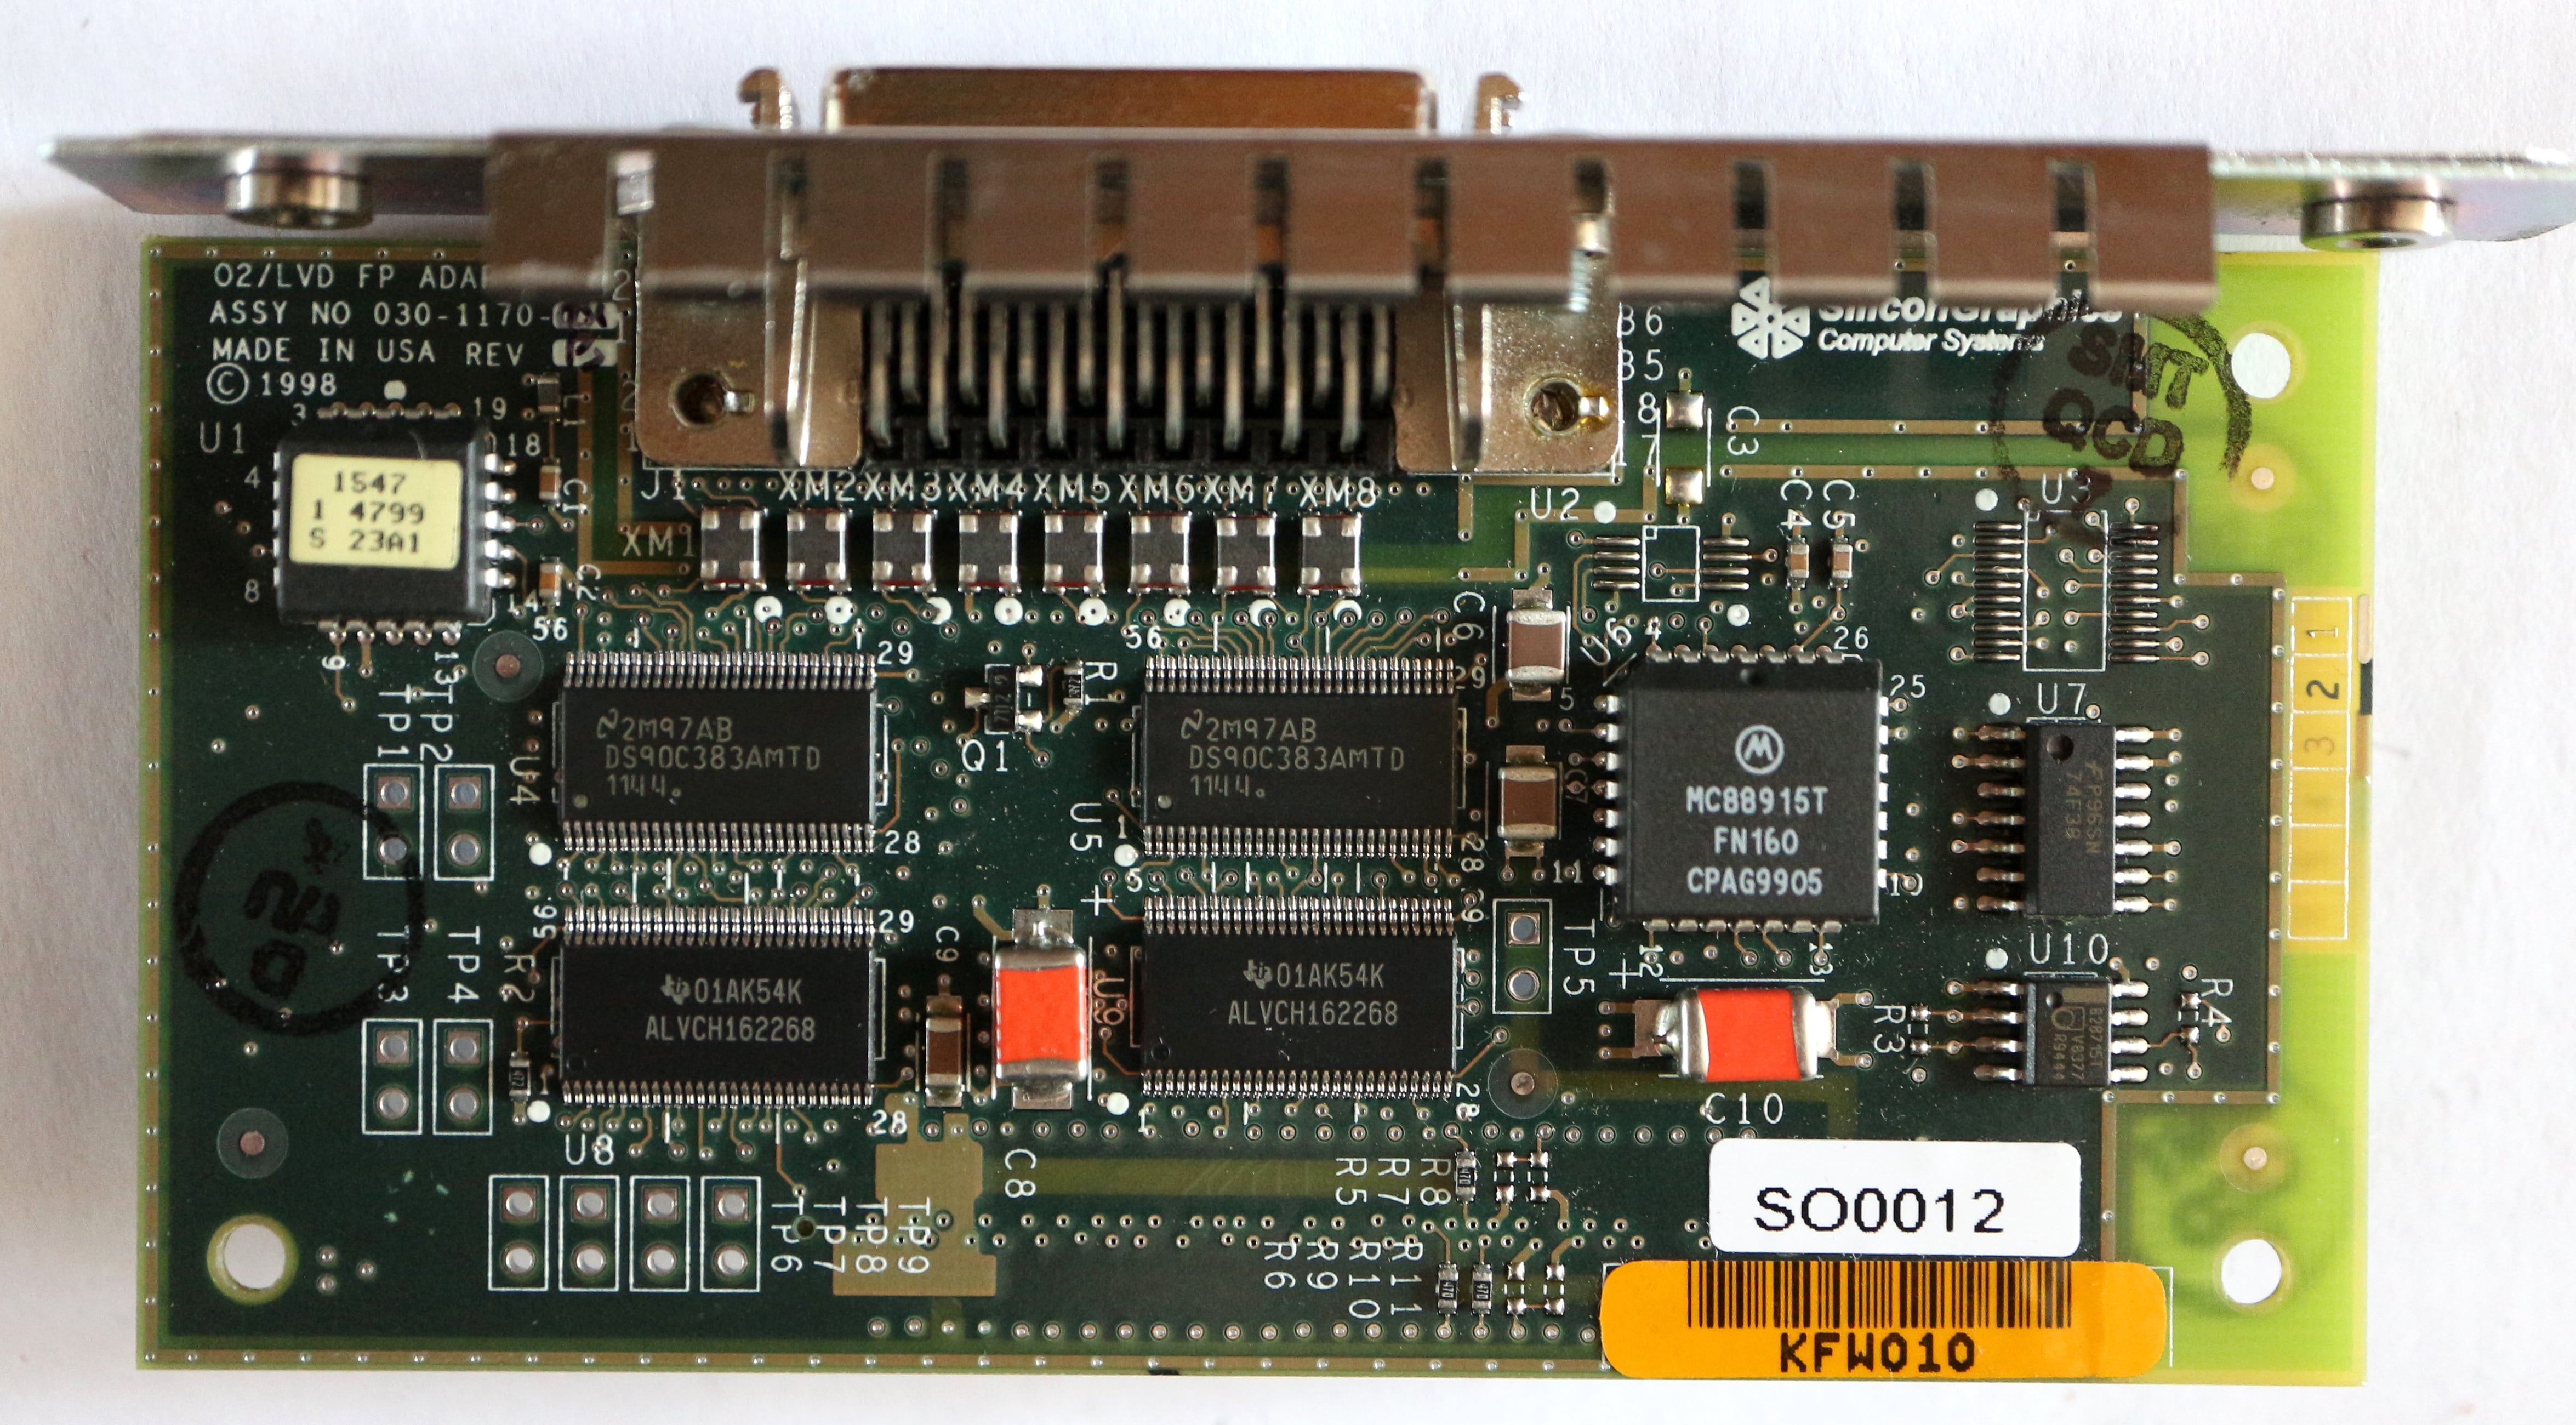
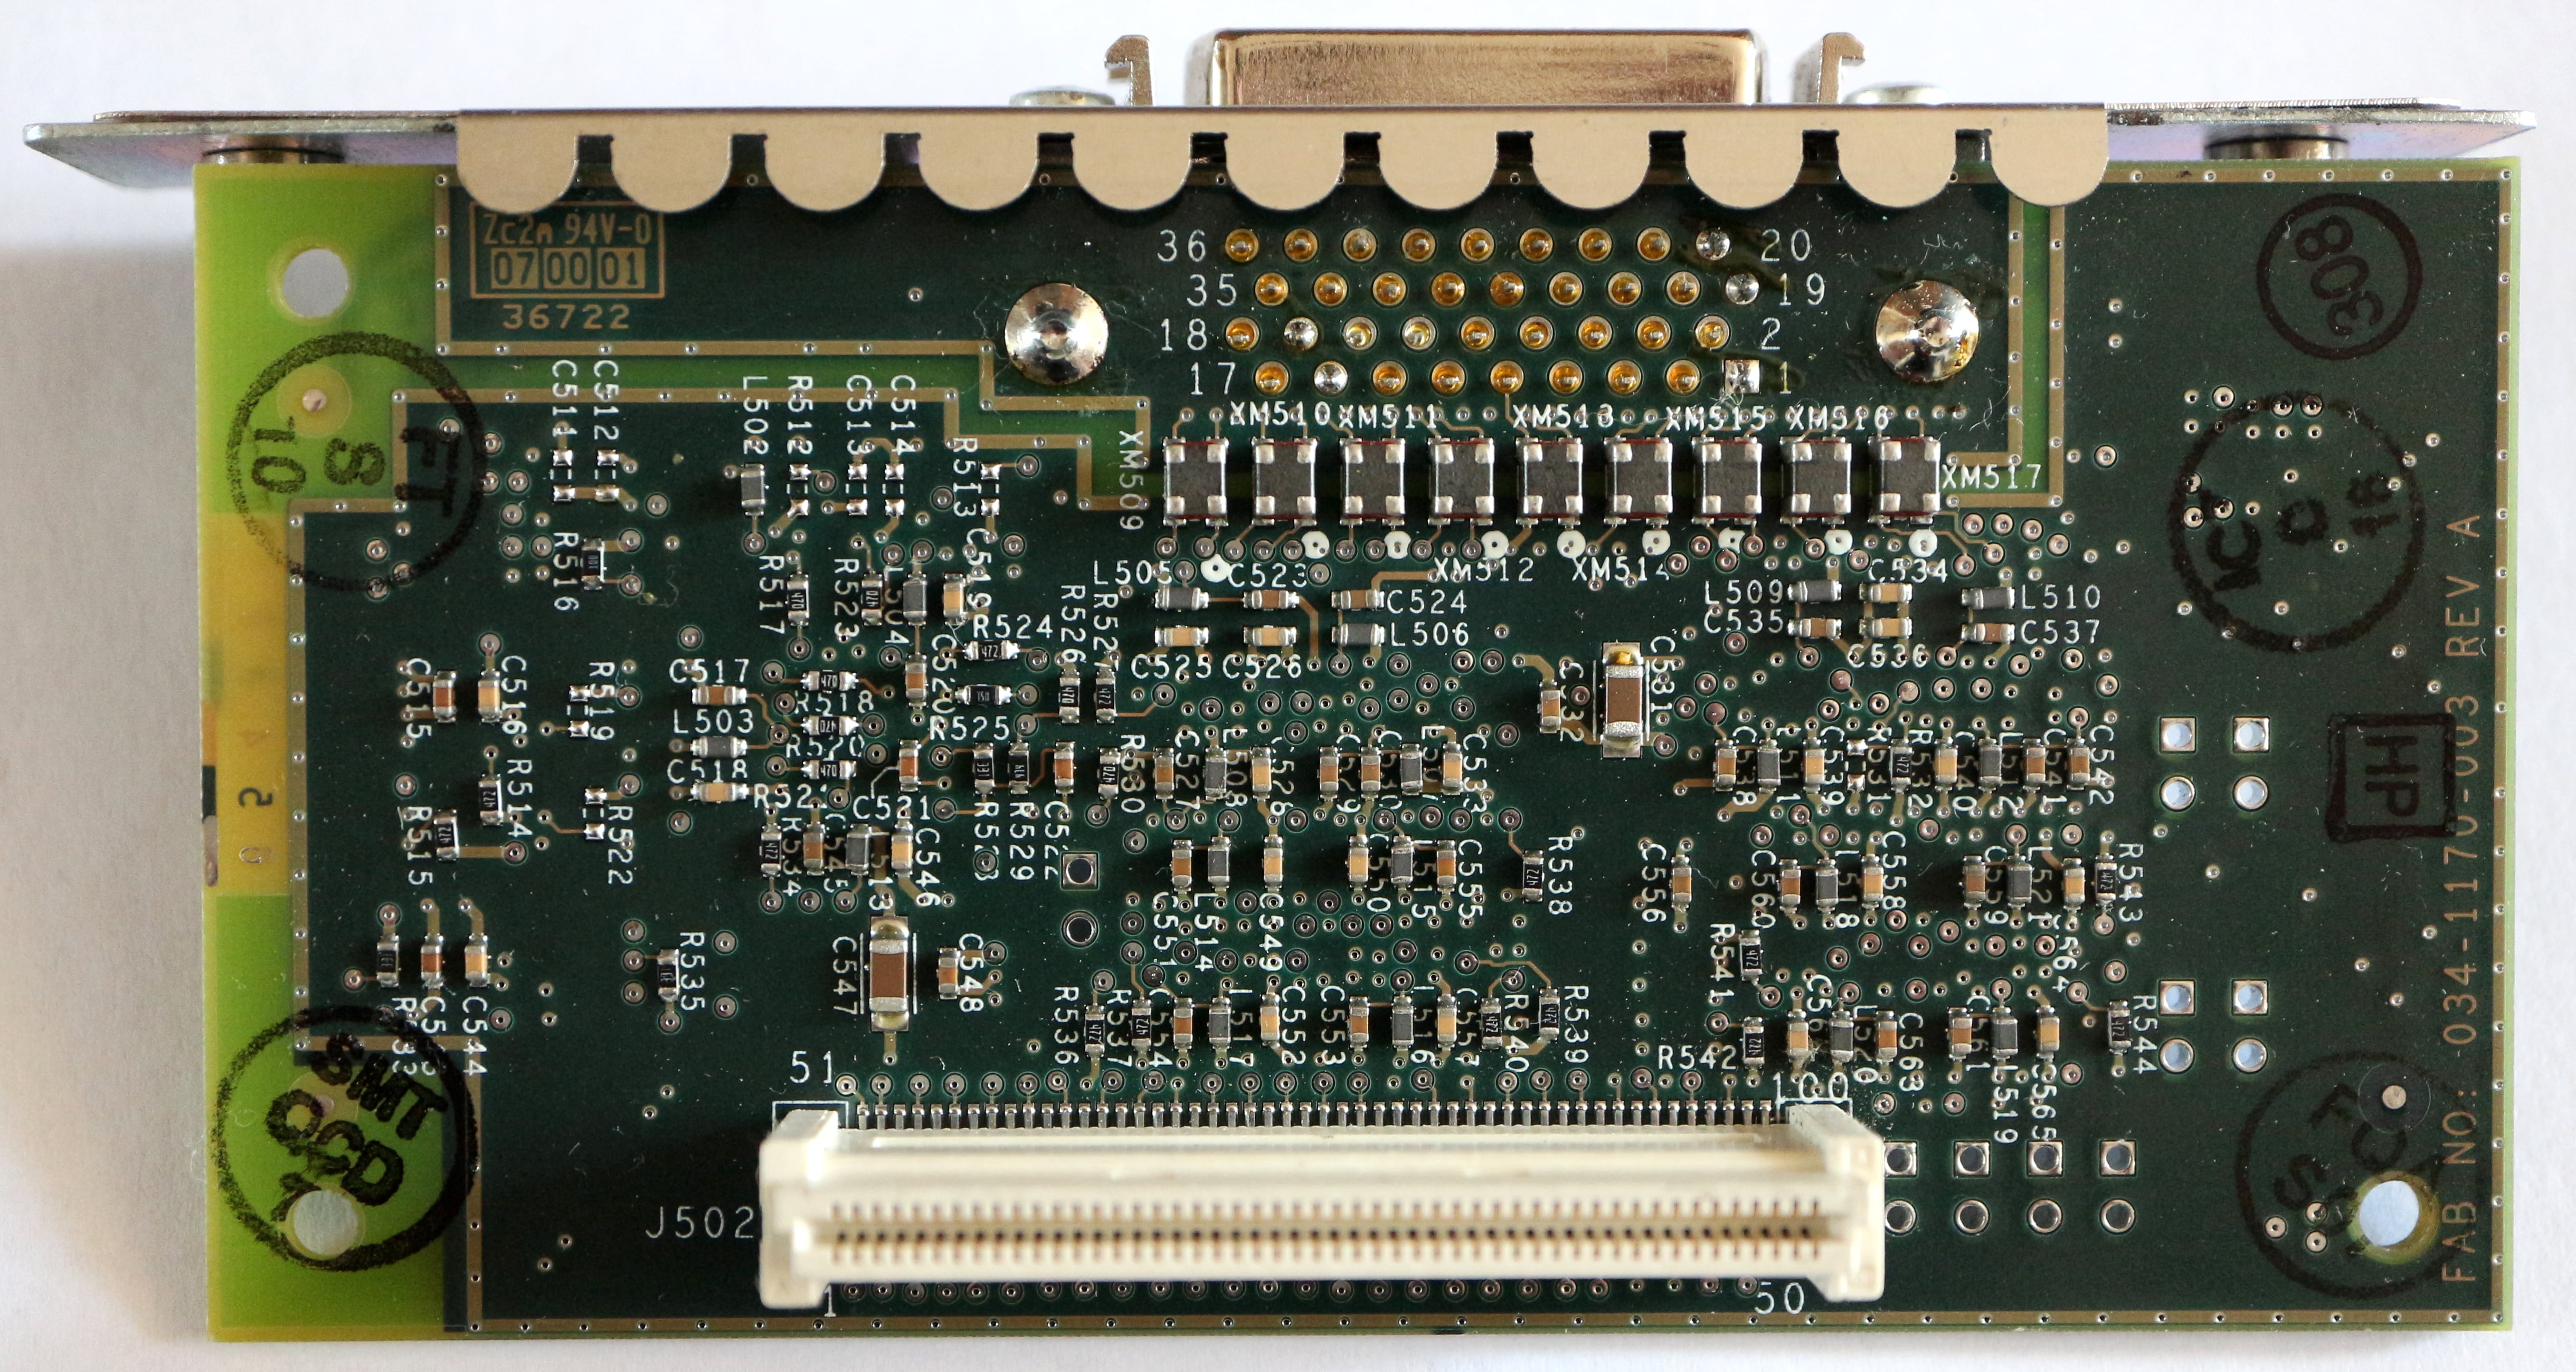
- 1600SW flat-panel adapter (part number 030-1170-00x) — adds a connection port for SGI's 1600SW LCD.
- Presenter flat-panel adapter (part number 030-1202-00x) — adds a connection port for SGI's older Indy Presenter 1280 LCD.
When an add-on board is present, the main VGA port on the motherboard is disabled.
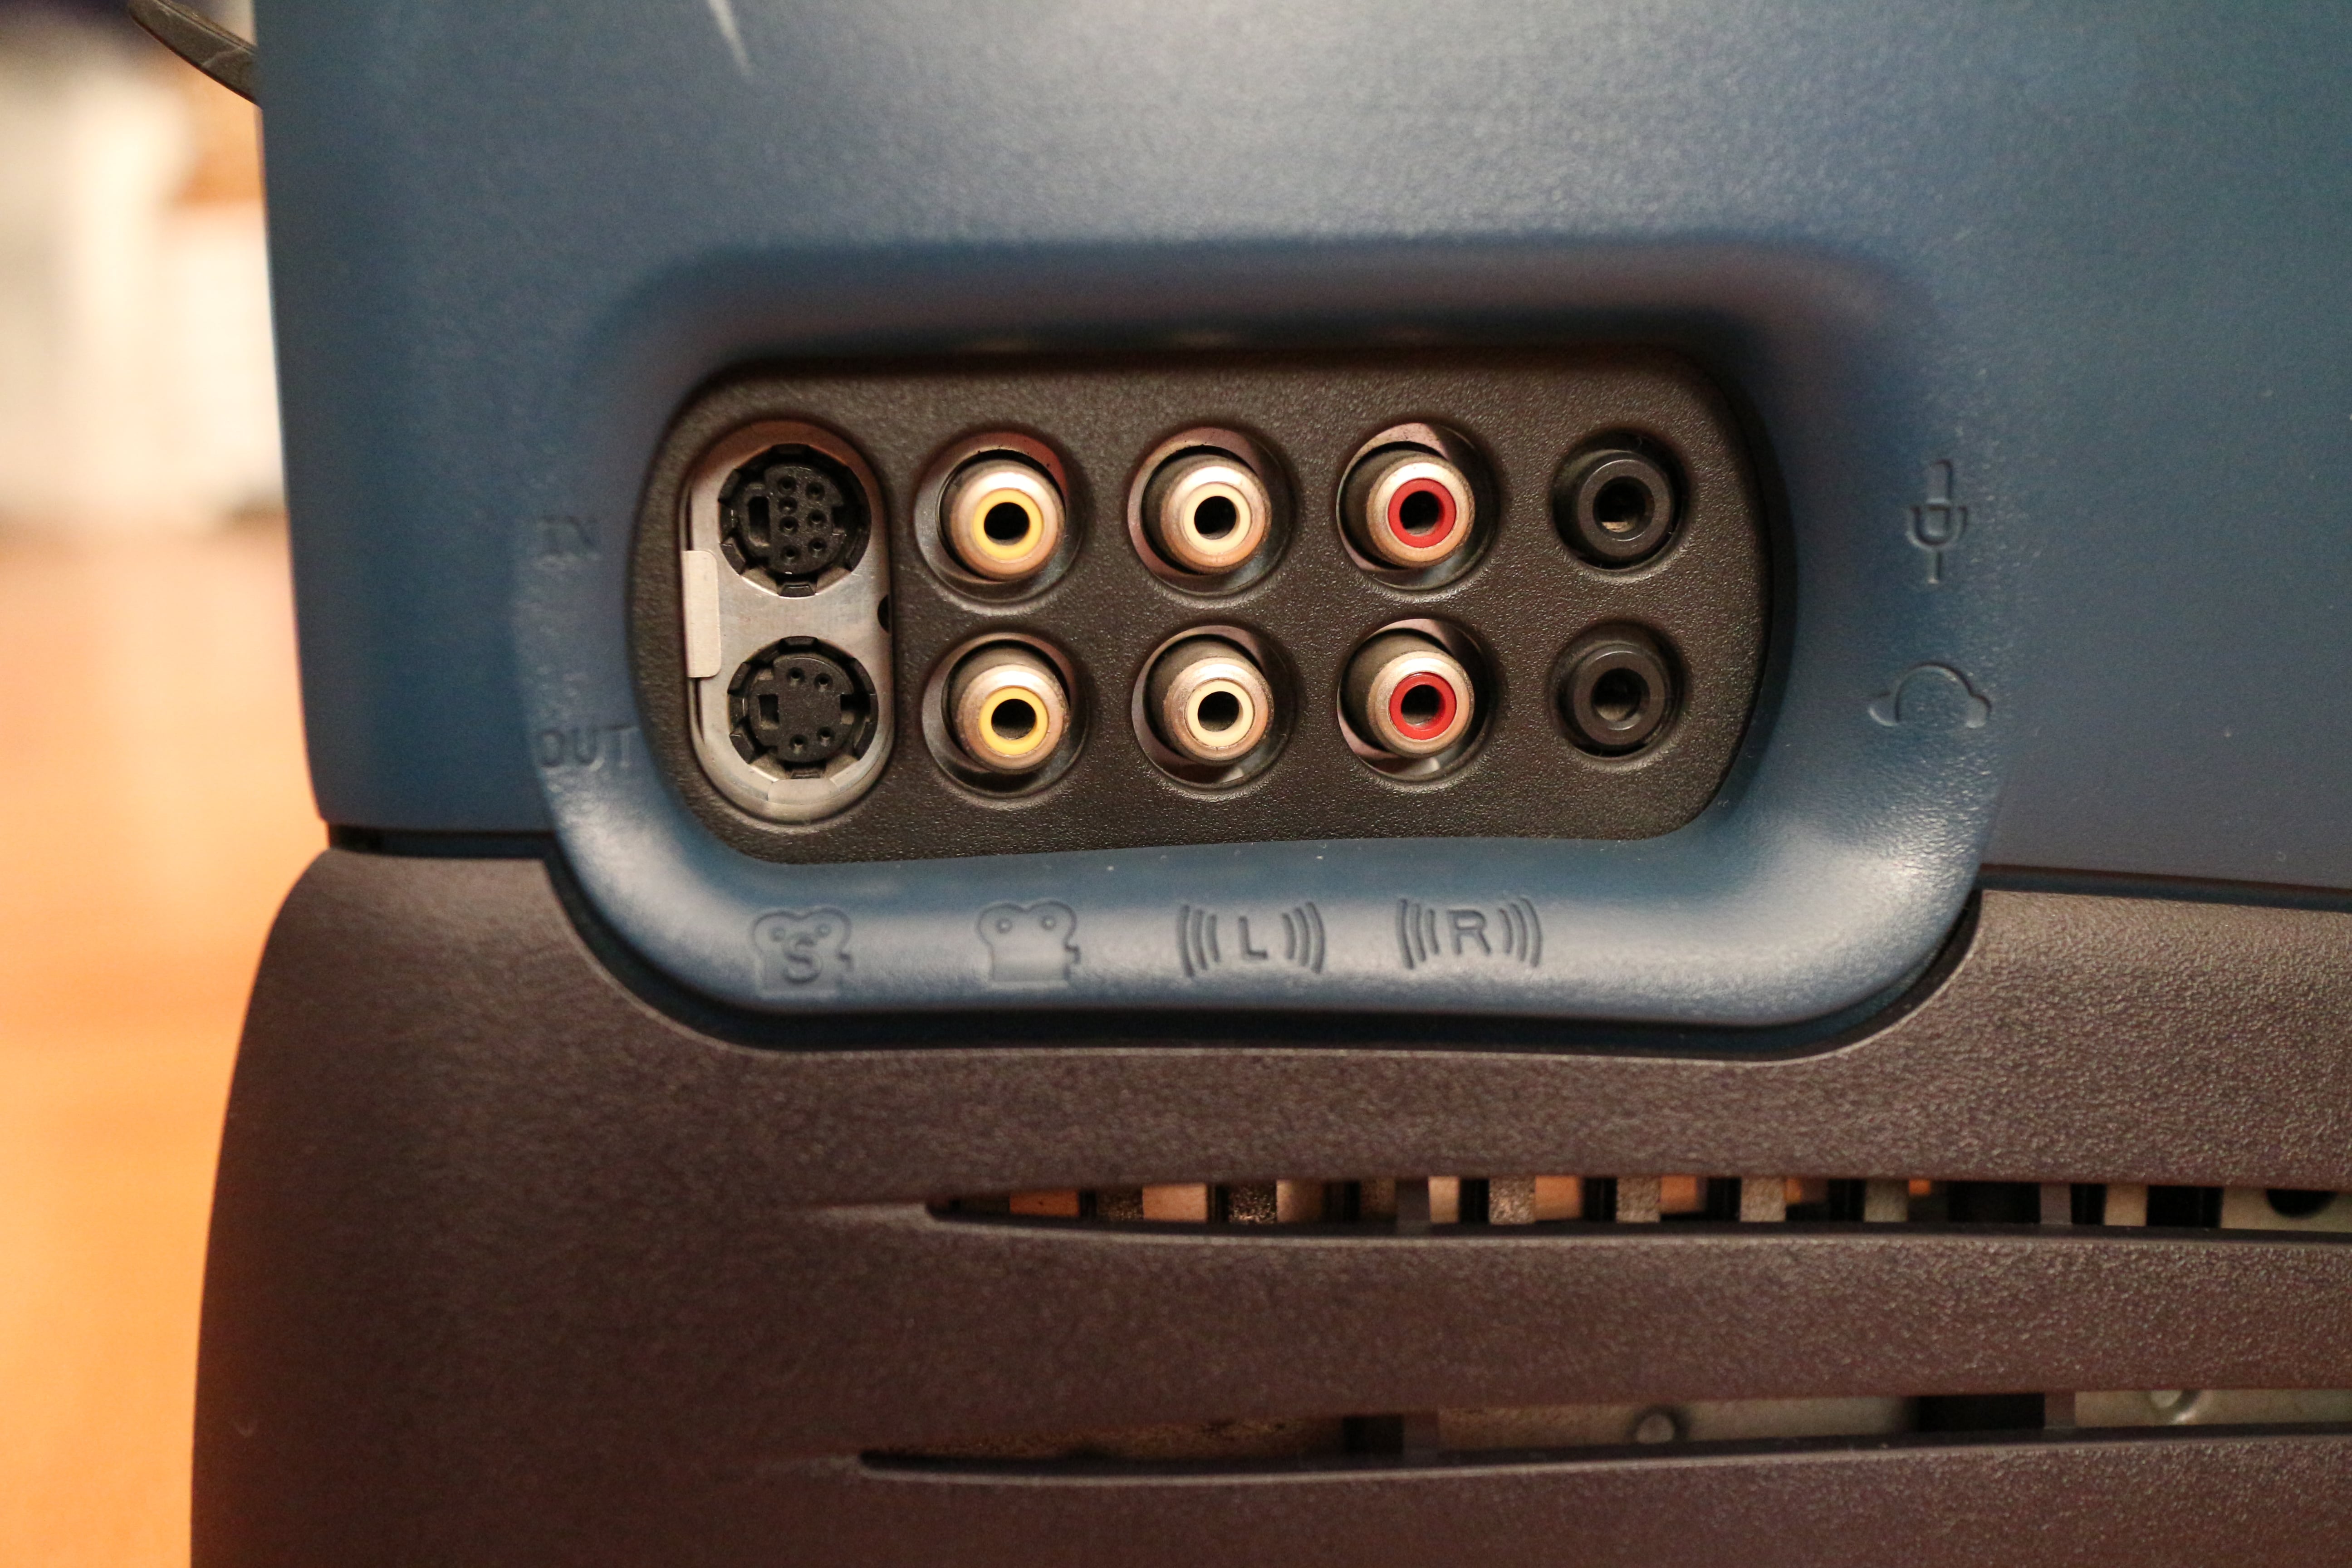
Audio/Video I/O options ↵^
There are three possible A/V modules that can be inserted into the O2:
- Audio-only module (part number 030-1145-00x).
- Analog audio/video module (a.k.a. AV1, part number 030-0728-00x).
- Digital video module w/ analog audio (a.k.a. AV2, part number 030-1223-00x).
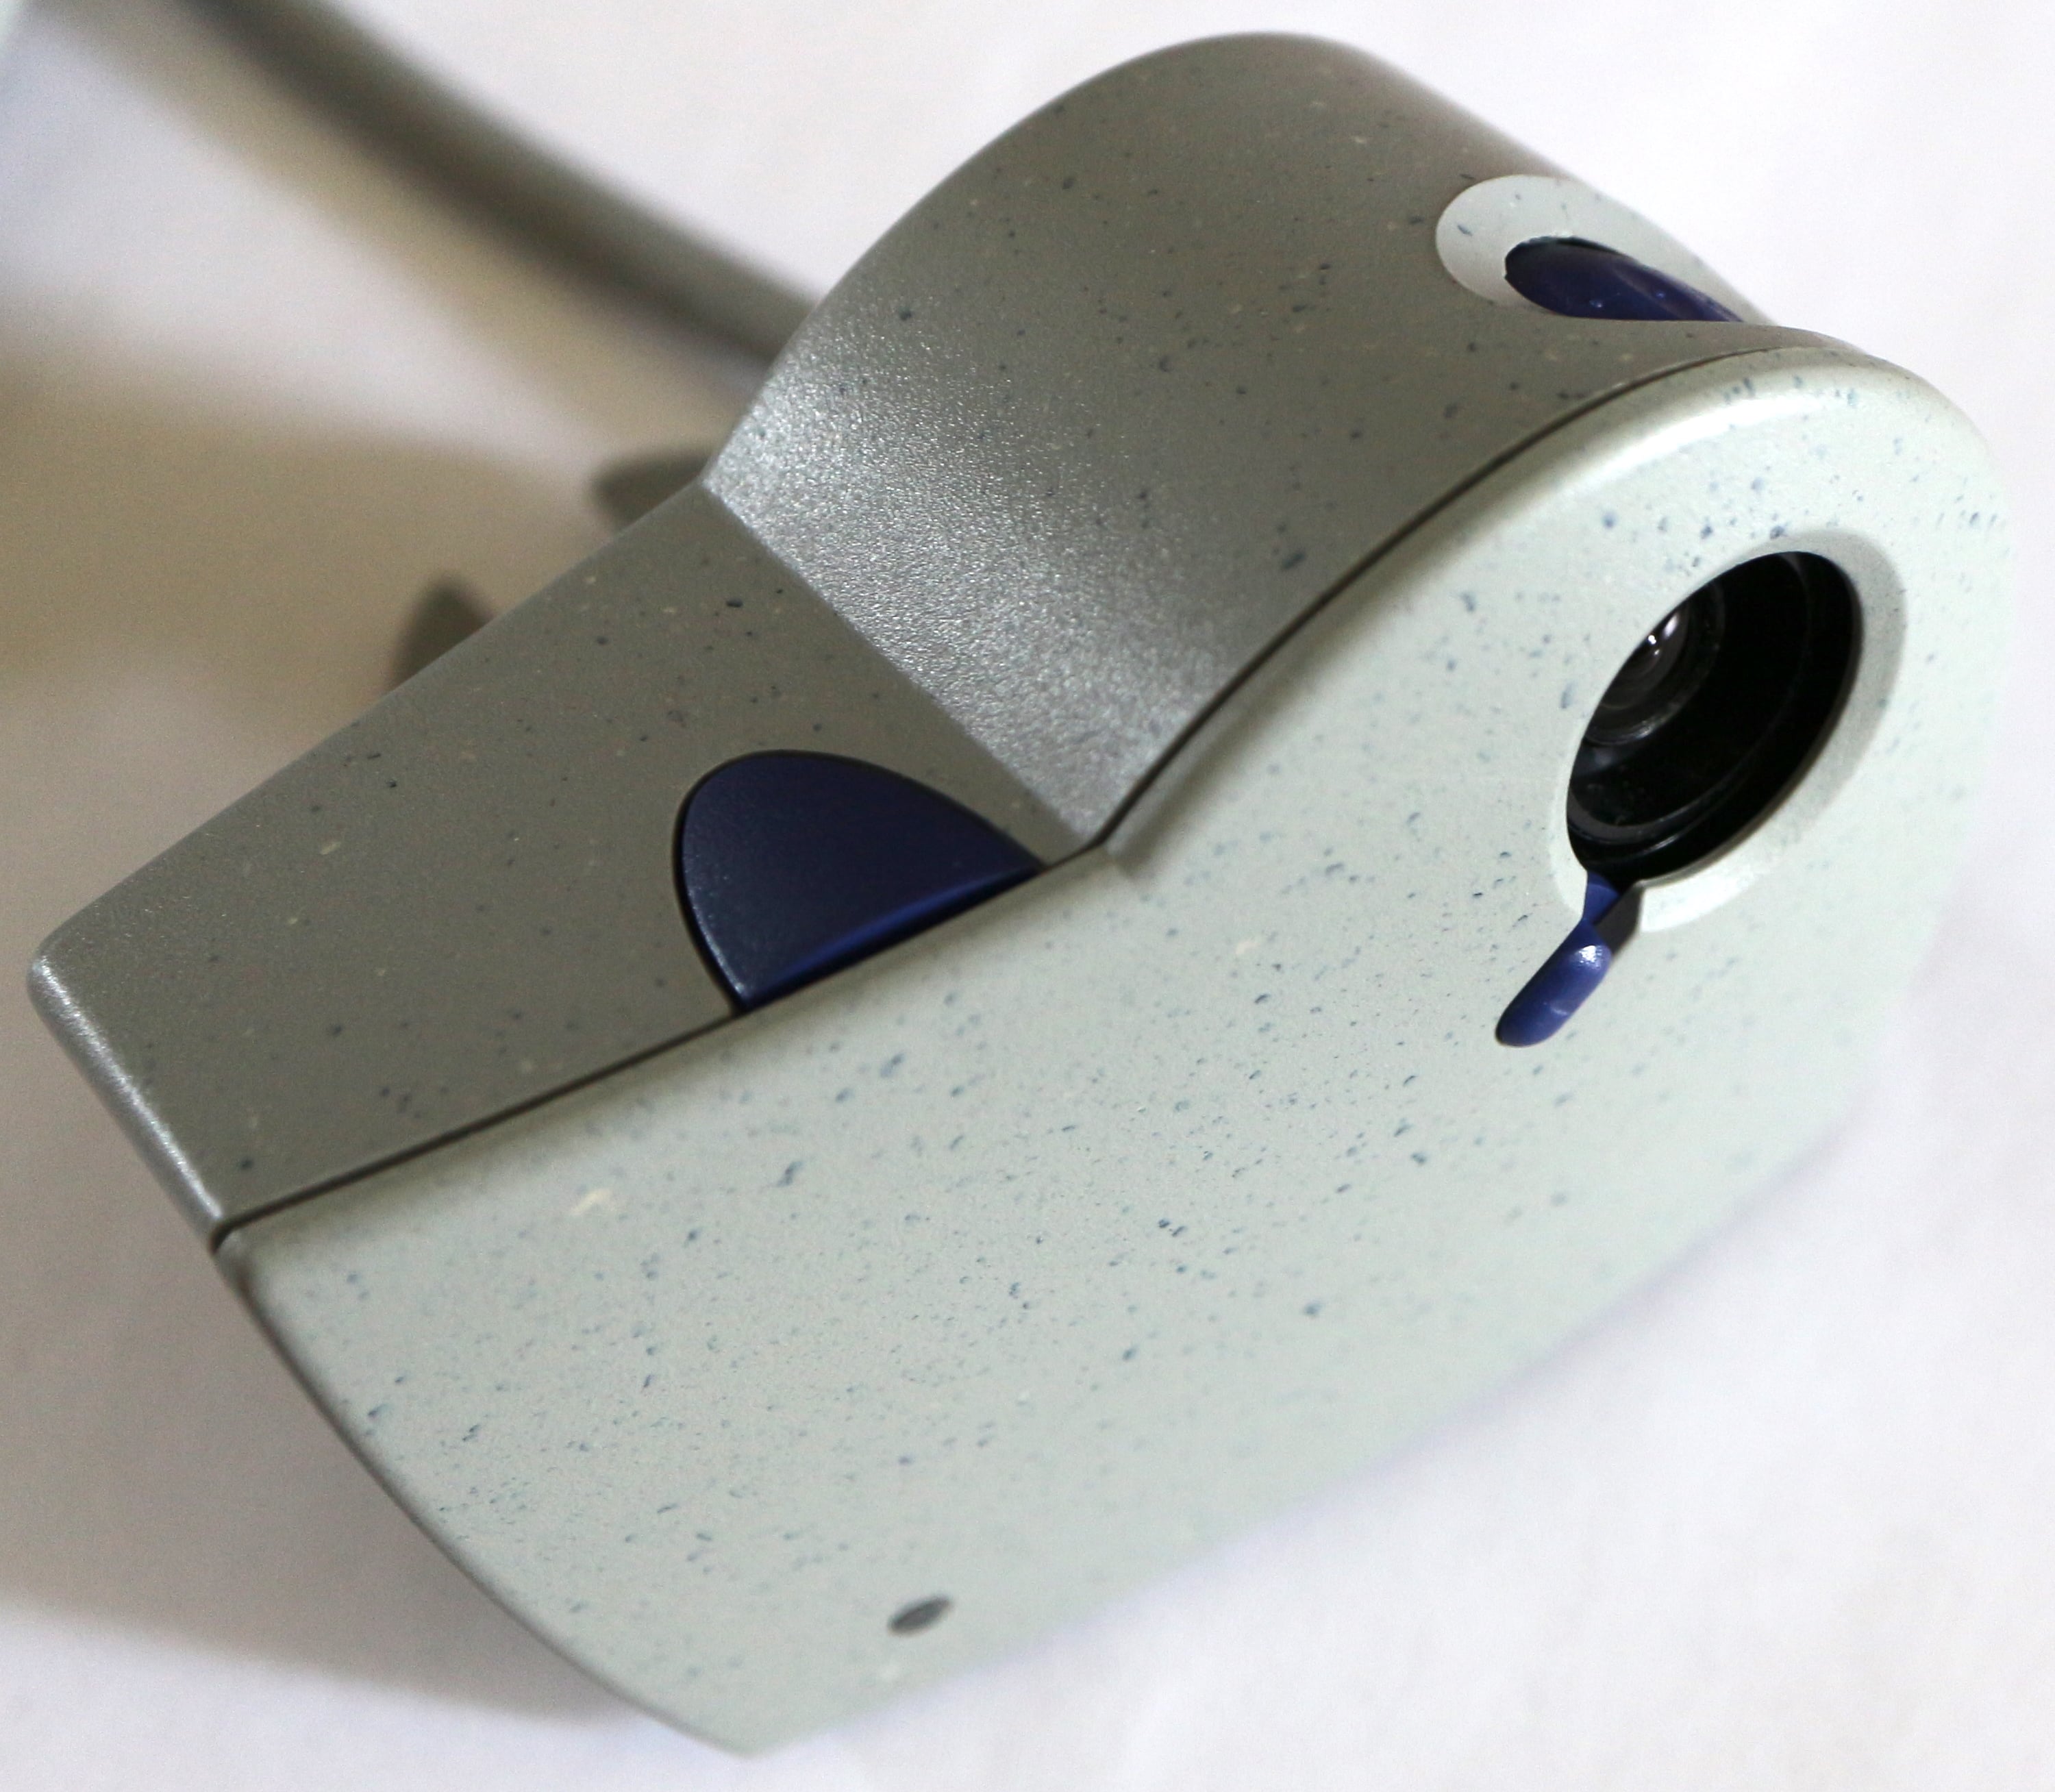
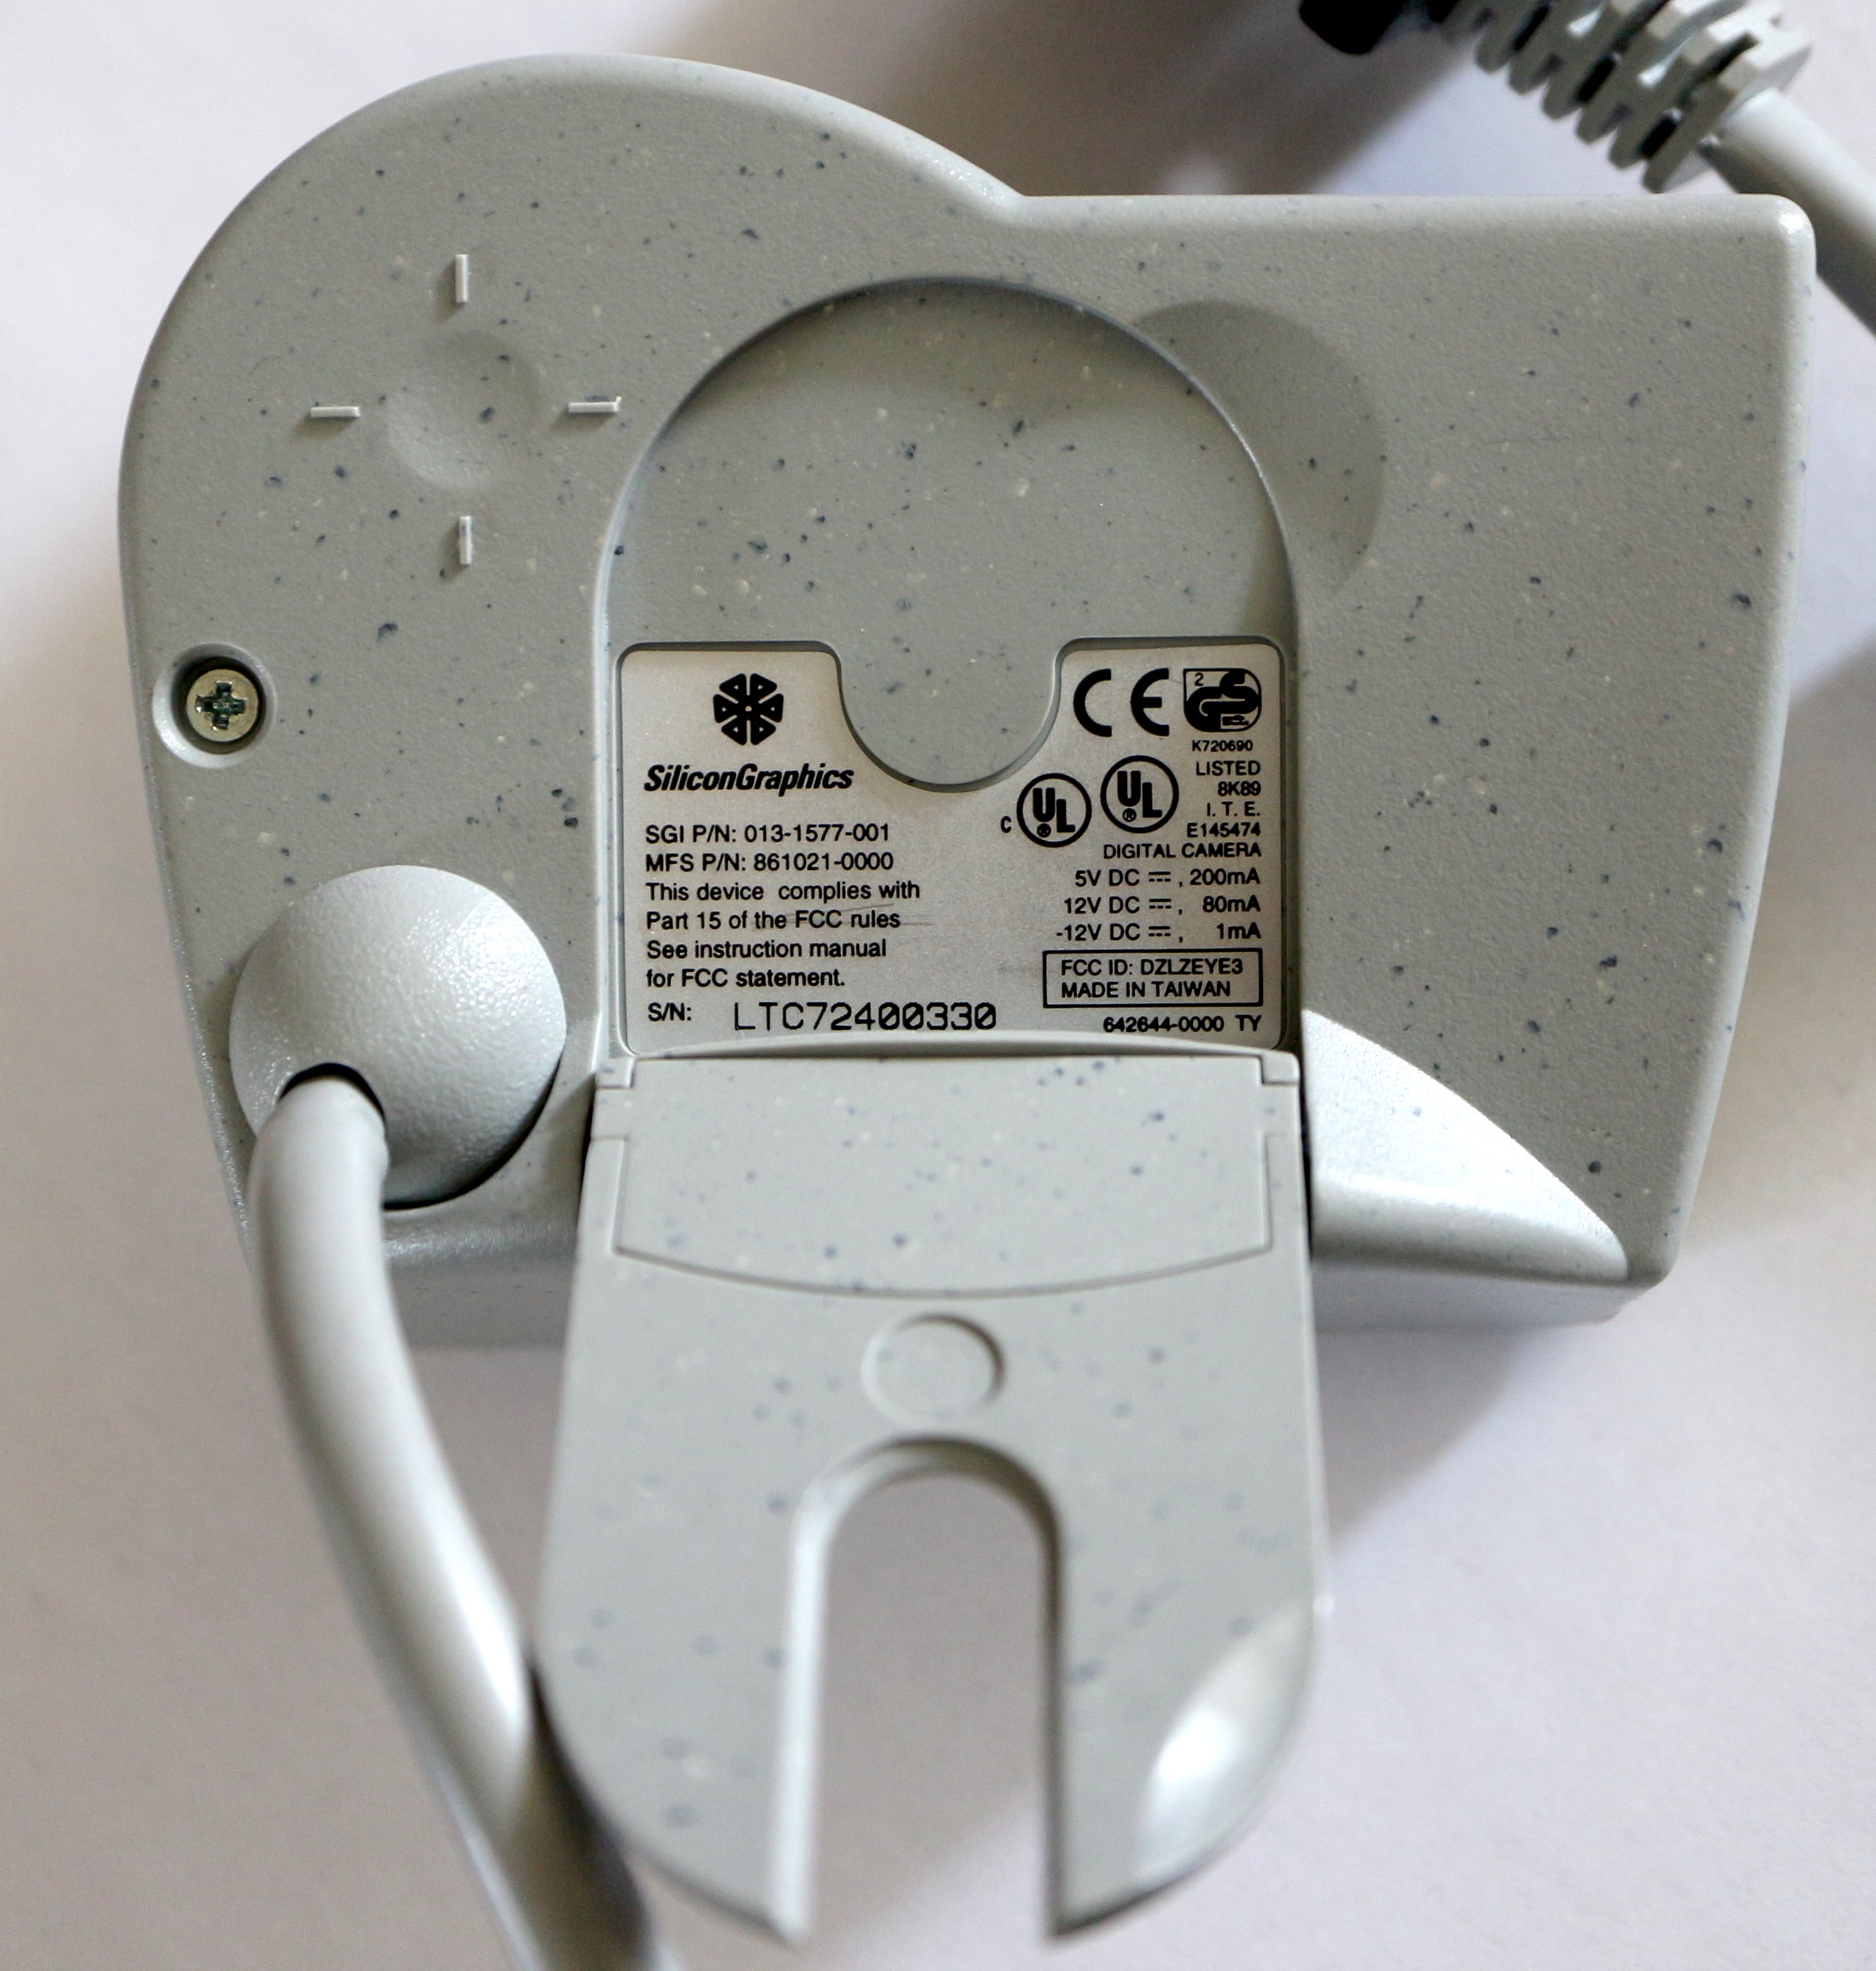
The AV1 module also has a special connector for the O2cam, an NTSC camera with directional microphone (mono).
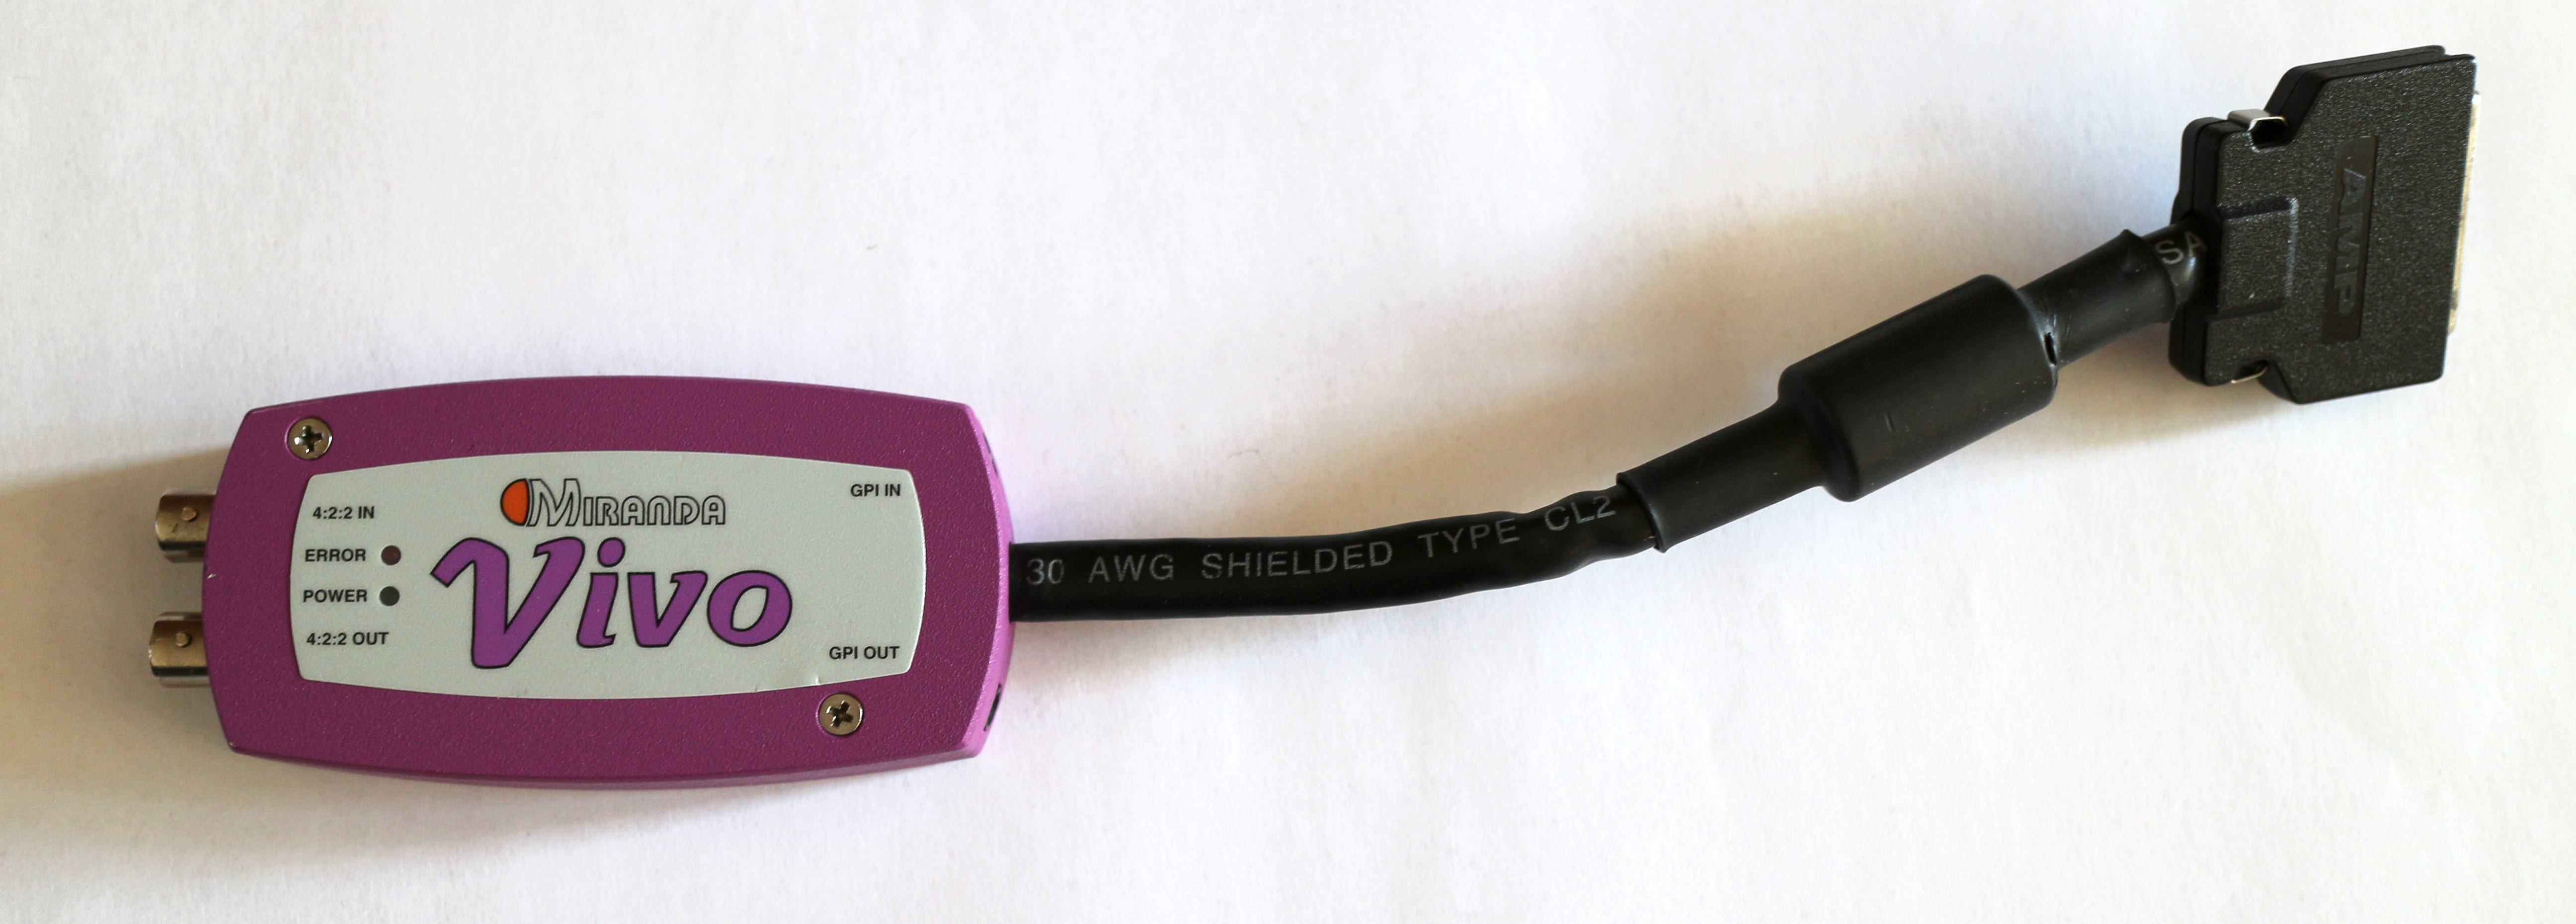
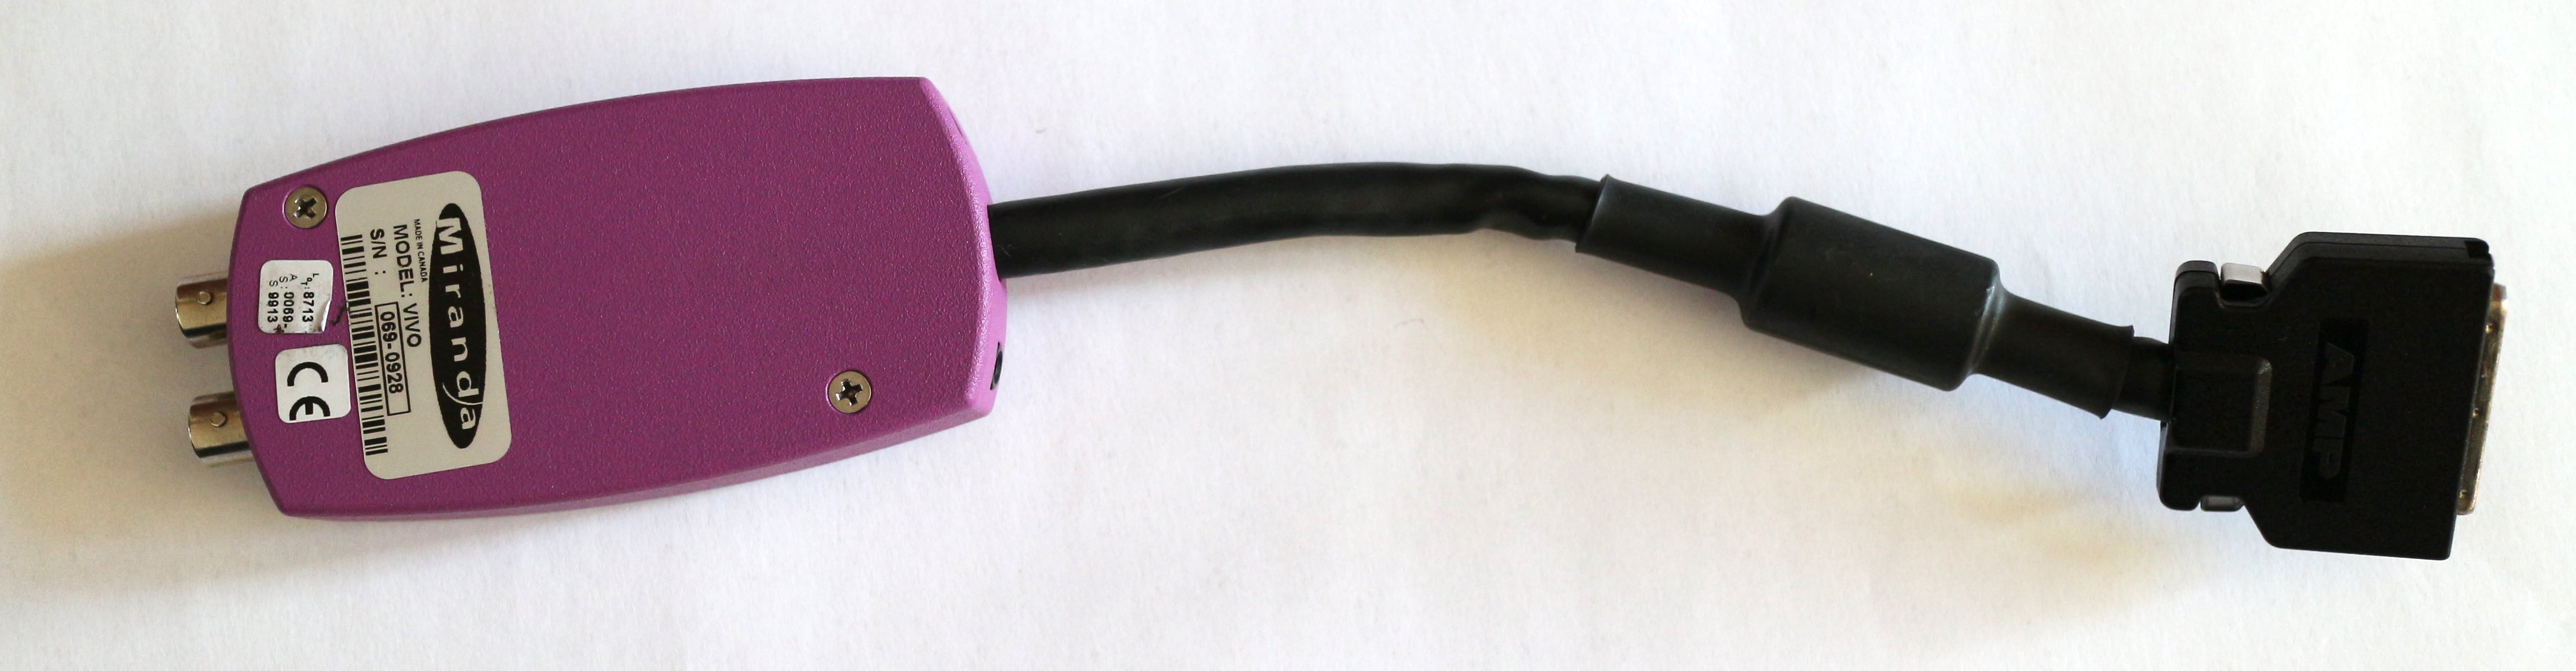
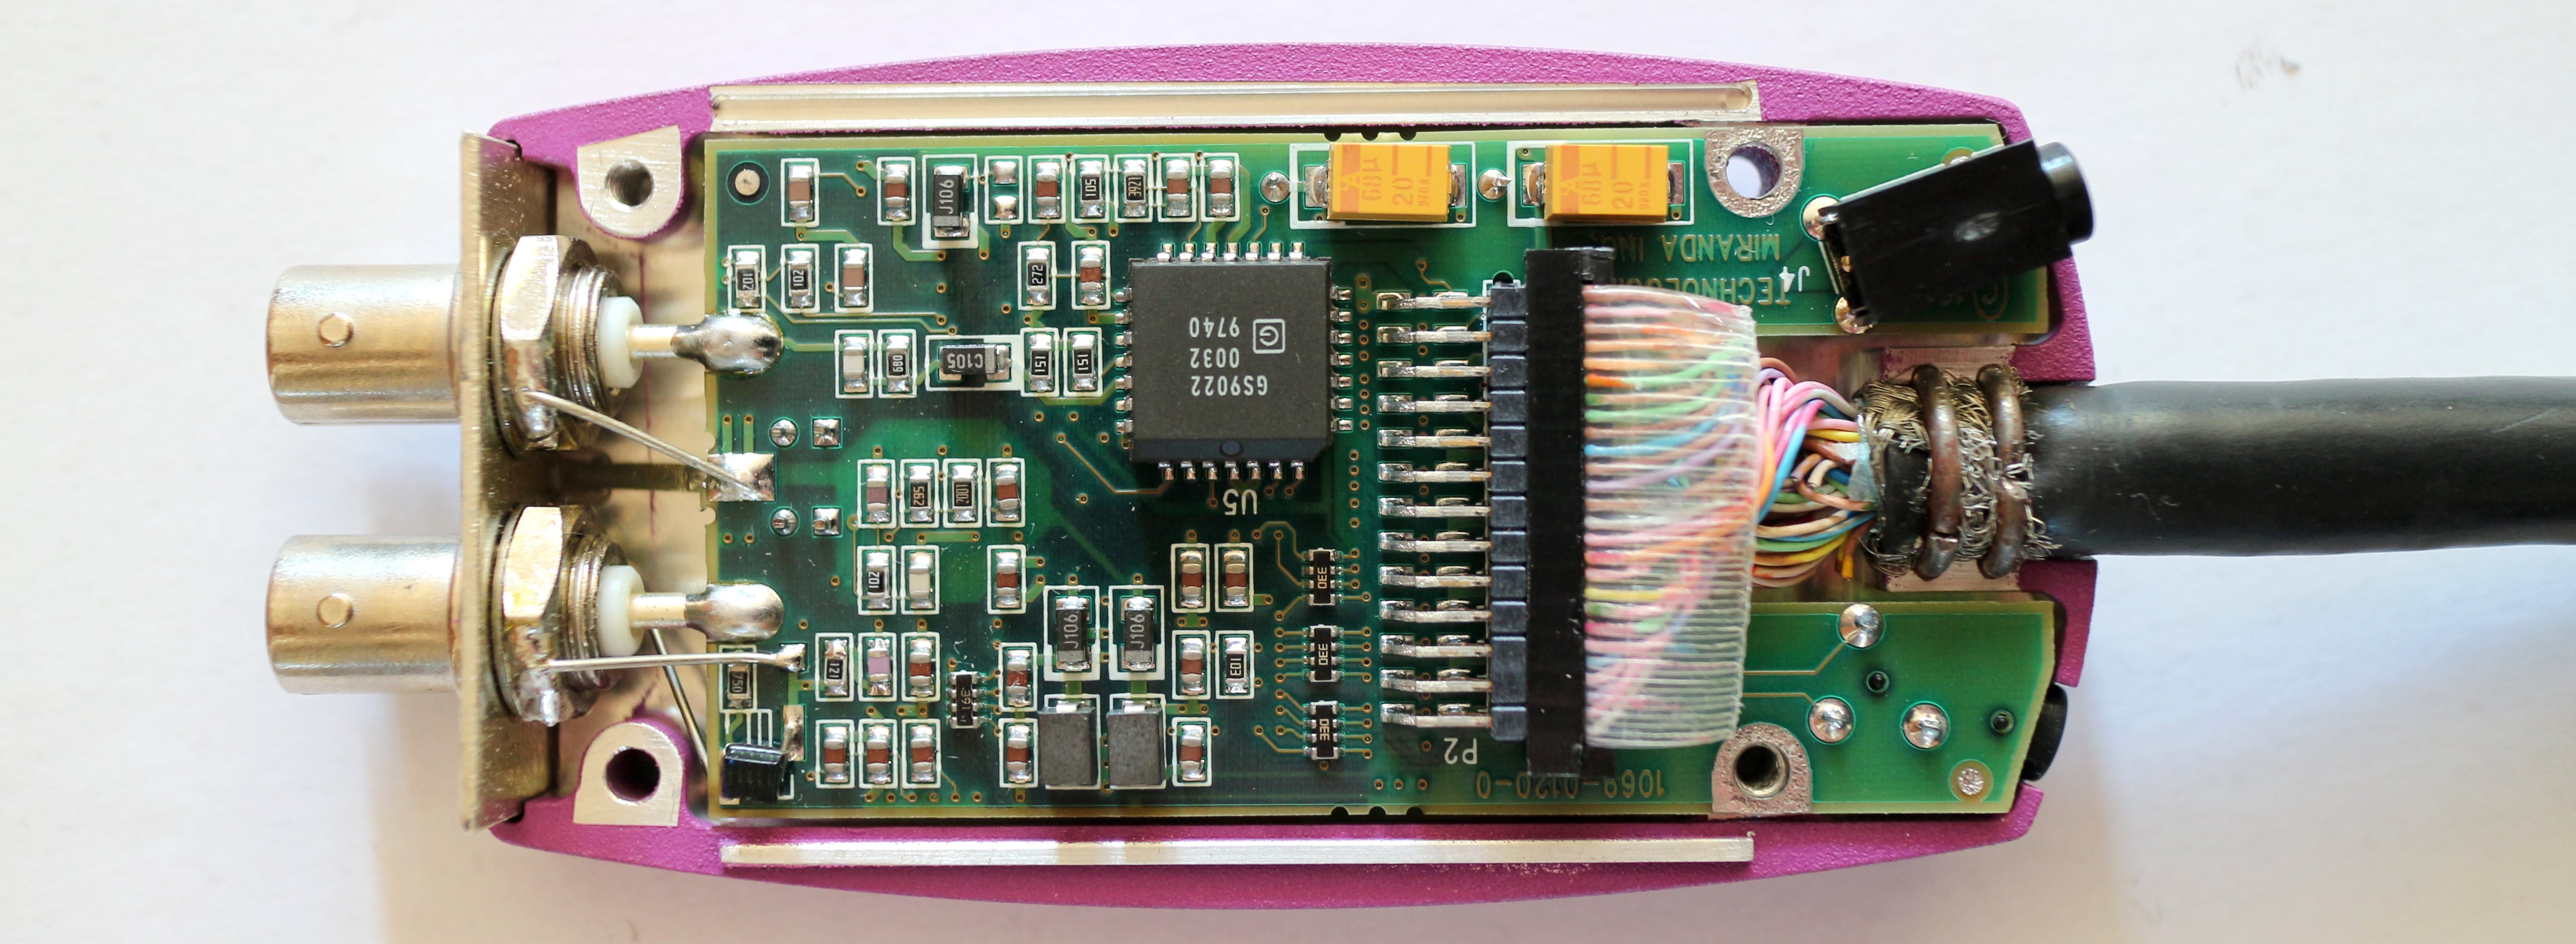
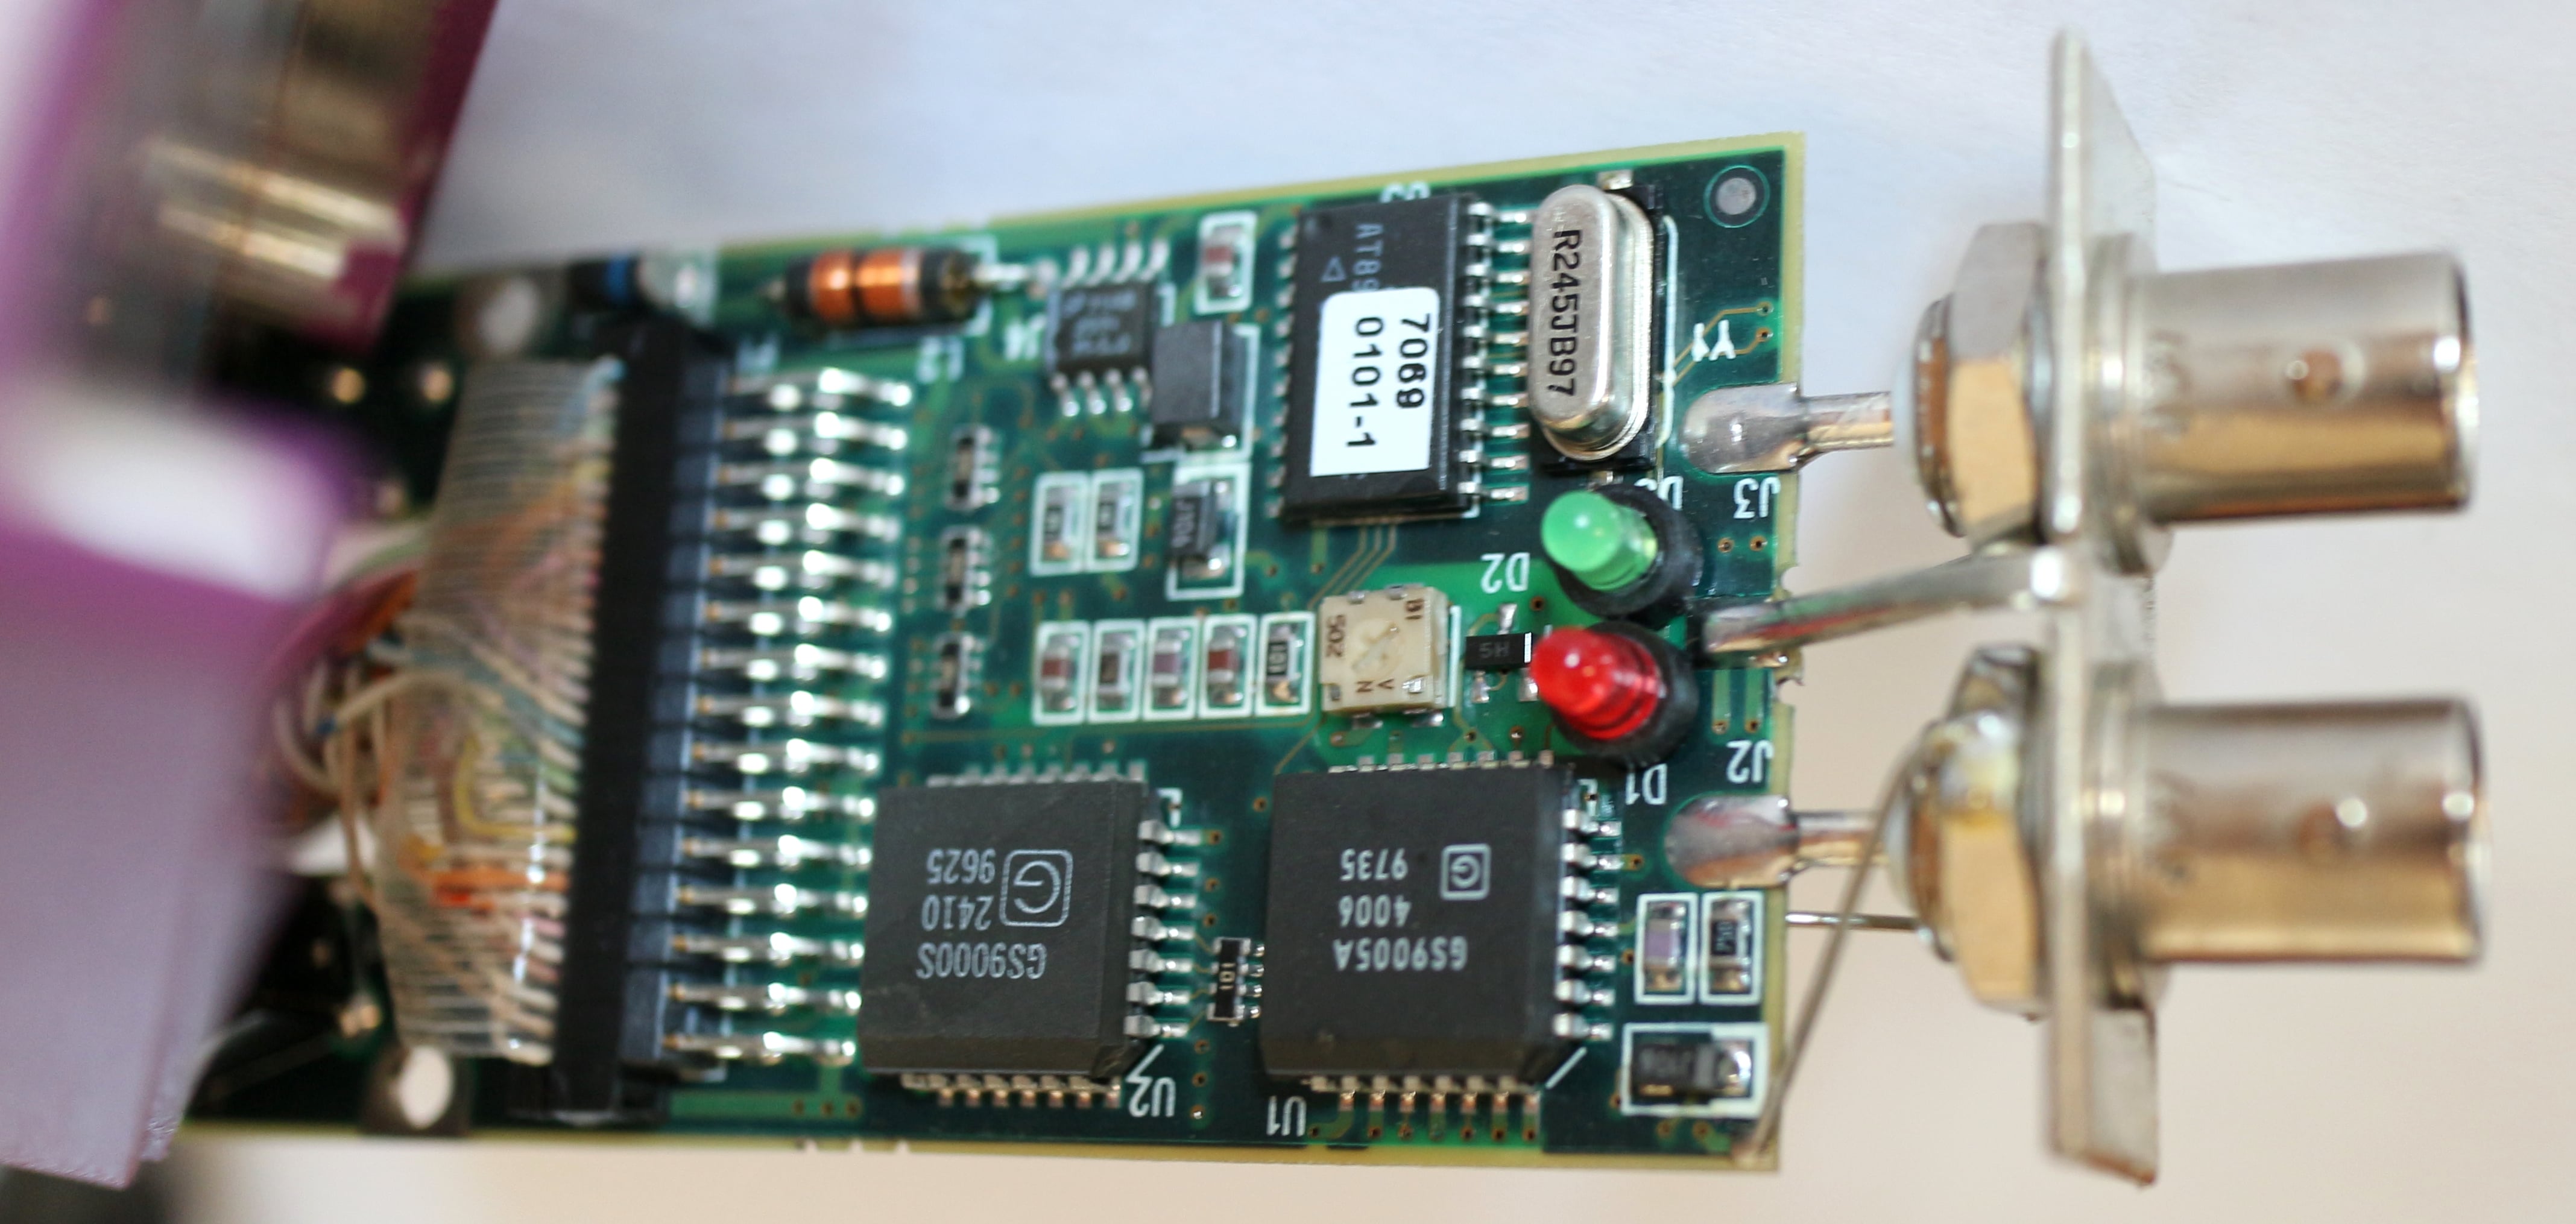
The O2cam is not the only thing you can attach to the connector on the AV1 module. There were a few third-party digital video interfaces produced that enable the O2 to have digital SDI video input and/or output without needing the AV2 module. One such device is the Miranda VIVO, which offers both SDI input and output.
It's possible to swap the A/V modules in and out when the machine is off (don't forget to unplug the power cable as well!) without reinstalling the OS or other software — the system will automatically detect which module is present.
 O2 digital video I/O module (AV2)
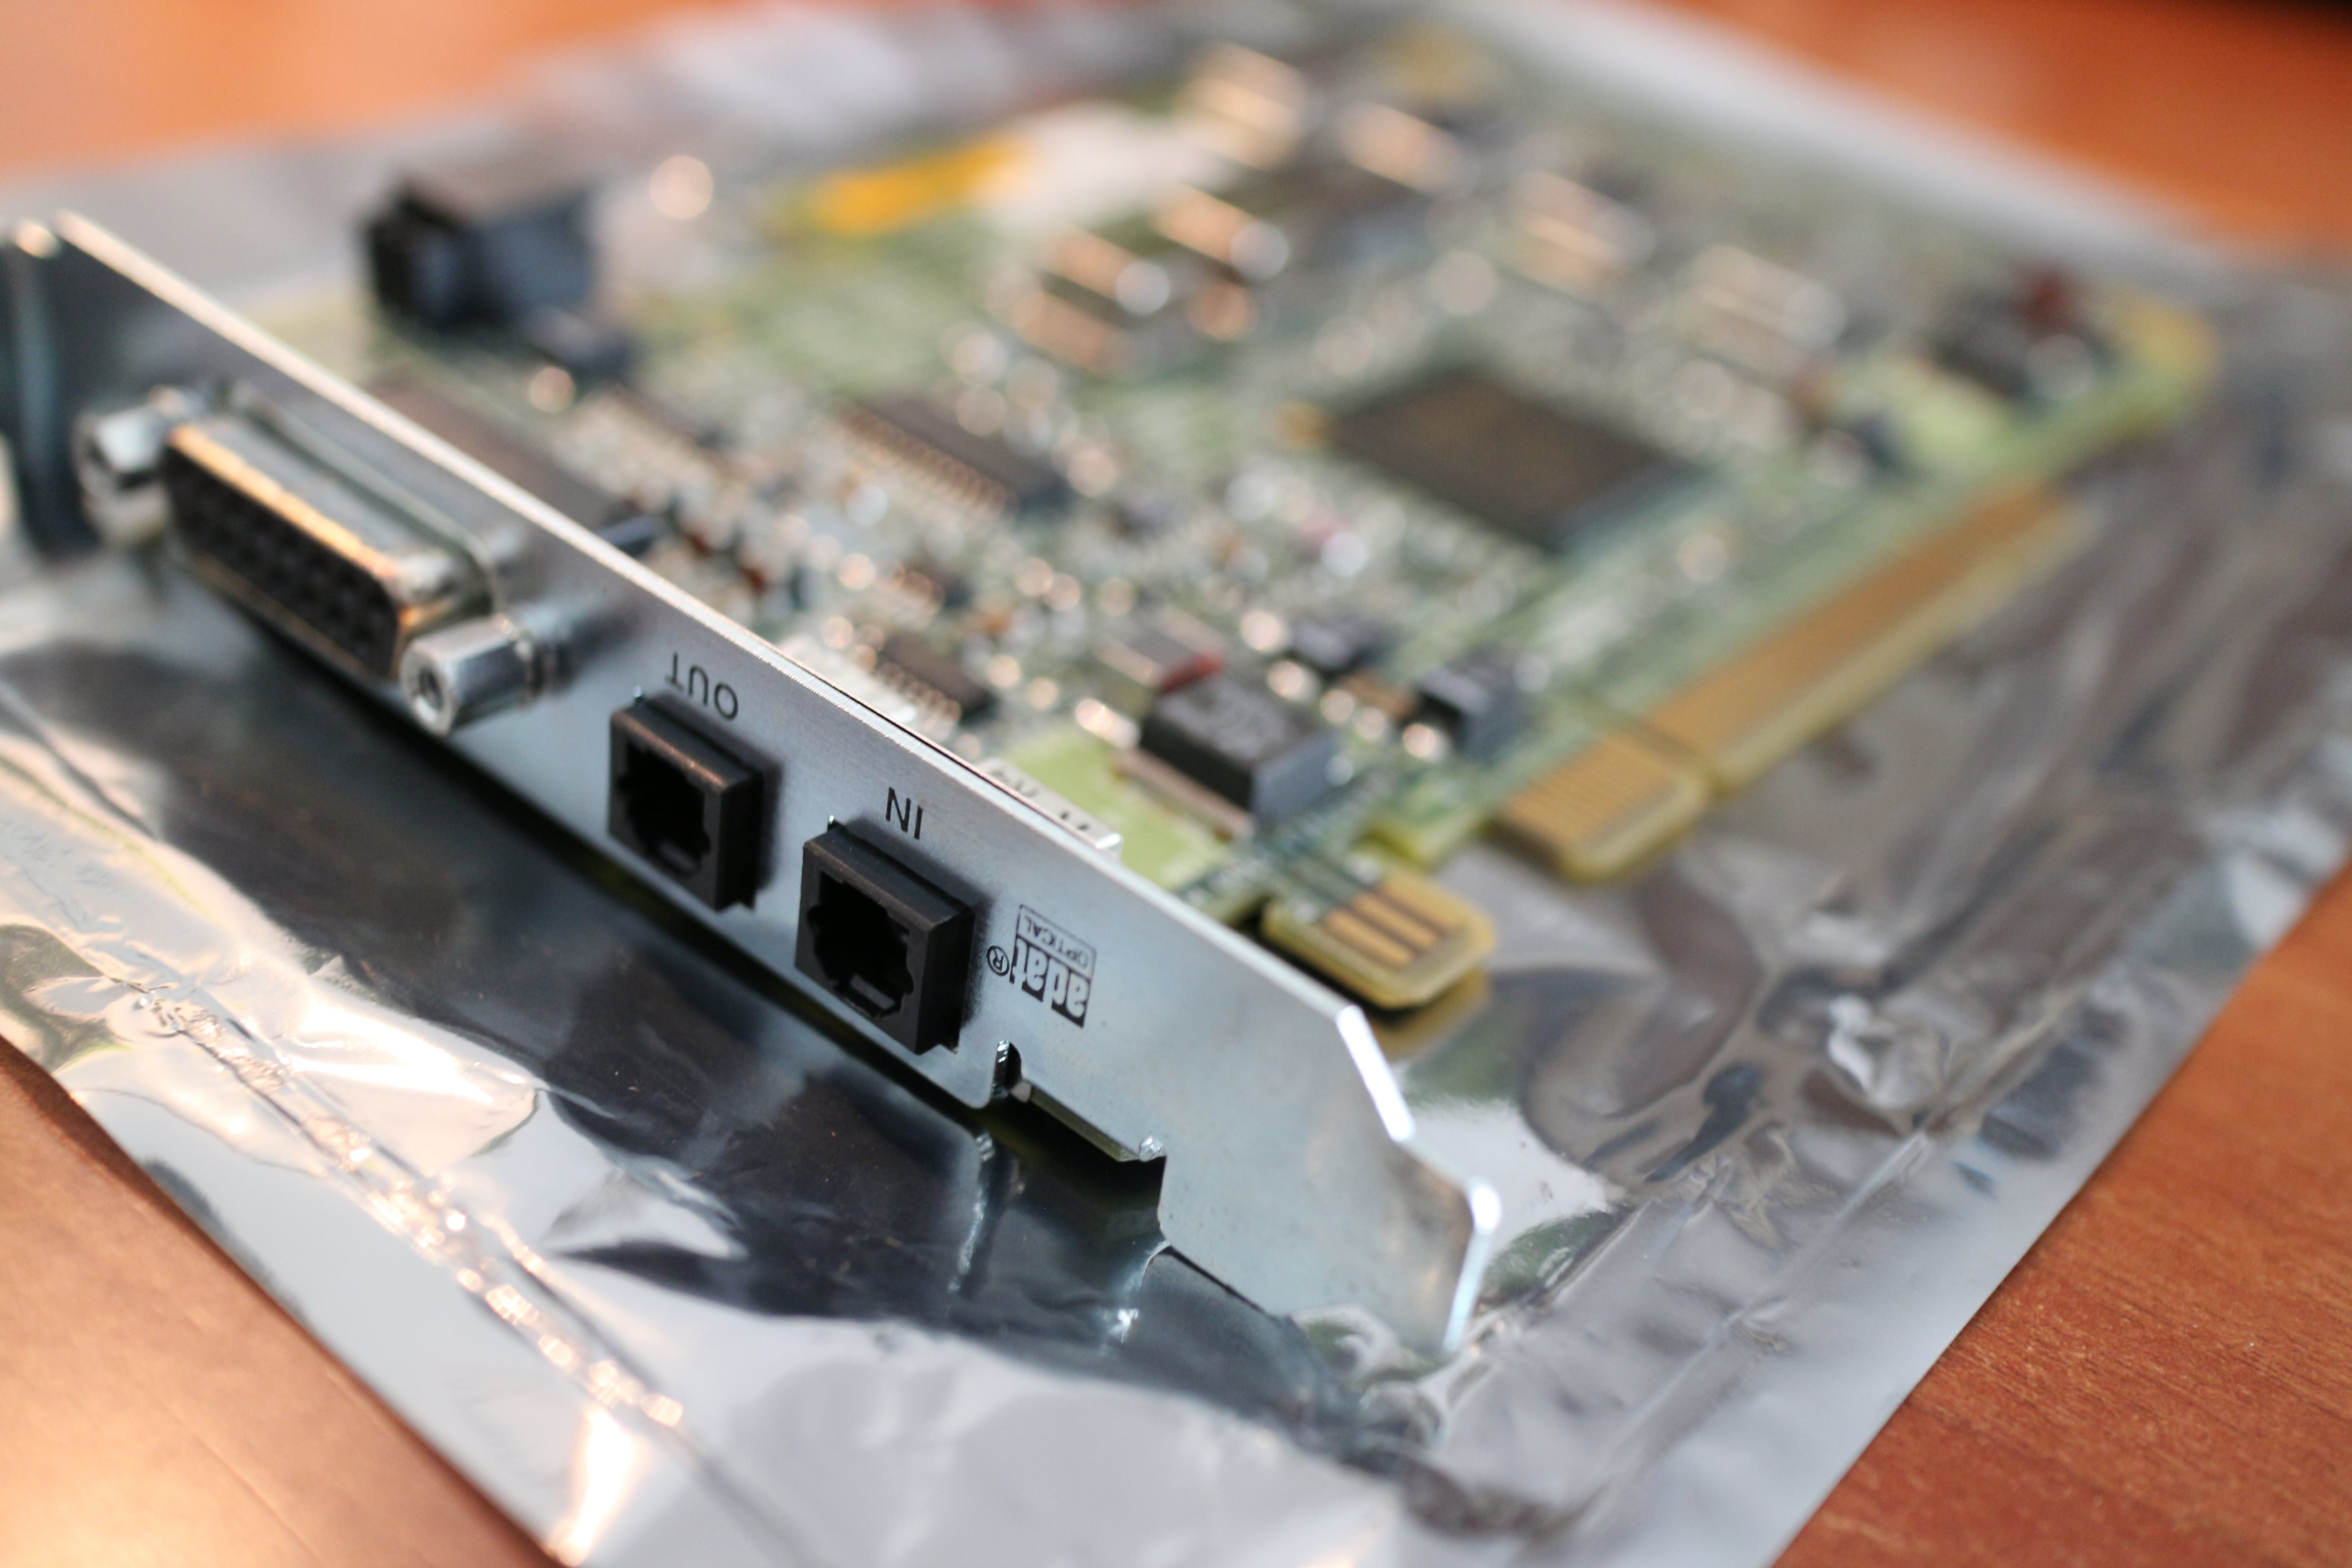
 RAD PCI digital audio board
 O2cam
O2camApart from the built-in audio, an additional SGI Radical (RAD) Digital Audio PCI board (part number 030-1649-00x) can be installed, giving two optical ADAT ports (one input, one output, both use a Toslink connector). Each ADAT port offers 8 channels of 24-bit digital audio and is compatible with the more common S/PDIF standard (in 2-channel mode). A special breakout cable (part number 018-0648-001) adds two coaxial digital audio ports (one input, one output), and a genlock input and loop-through for synchronizing to a video source. Typically, for broadcast applications, the genlock input would be connected to the house source and looped through to the AV2 digital video module's genlock input, keeping both the video and audio in perfect sync. The optical audio I/O ports are usually connected to external high-quality digital-to-analog and analog-to-digital converters (e.g. the Lucid ADA 8824, which is a 24-bit ADC/DAC, or the more budget-friendly Fostex VC-8, which is a 20-bit ADC/DAC). The built-in audio ADC/DAC on the O2's AV1 and AV2 cards is 16-bit (Analog Devices AD1843).
My O2 ↵^
My O2 has a 300MHz RM5271 processor (with 1MB L2 cache), 1GB of RAM, and both AV1 (analog) and AV2 (digital) audio/video I/O modules that I can swap in and out depending on what I need. It also has the RAD Audio PCI card installed. The hard drive is a Seagate ST336754LC (36.7GB 15kRPM).
I mostly use it for digitizing old VHS tapes (along with a Leitch DPS-575 time-base corrector, an external 300GB 10kRPM drive, and a video capture program I've written myself), so it's still quite useful even today :)
Output of hinv -mvv
CPU: MIPS R5000 Processor Chip Revision: 10.0
FPU: MIPS R5000 Floating Point Coprocessor Revision: 10.0
1 300 MHZ IP32 Processor
Main memory size: 1024 Mbytes
Secondary unified instruction/data cache size: 1 Mbyte on Processor 0
Instruction cache size: 32 Kbytes
Data cache size: 32 Kbytes
FLASH PROM version 4.18
Integral SCSI controller 0: Version ADAPTEC 7880
  Disk drive: unit 1 on SCSI controller 0 (unit 1)
  CDROM: unit 4 on SCSI controller 0
Integral SCSI controller 1: Version ADAPTEC 7880
On-board serial ports: tty1
On-board serial ports: tty2
On-board EPP/ECP parallel port
CRM graphics installed
Integral Ethernet: ec0, version 1
Iris Audio Processor: version A3 revision 0
Iris Audio Processor: version RAD revision 13.0, number 1
  PCI Adapter ID (vendor 0x9004, device 0x8078) PCI slot 1
  PCI Adapter ID (vendor 0x9004, device 0x8078) PCI slot 2
  PCI Adapter ID (vendor 0x10a9, device 0x0005) PCI slot 3
Video: MVP unit 0 version 1.4
AV: AV1 Card version 1, Camera not connected.
Vice: TRE
Output of /usr/gfx/gfxinfo
Graphics board 0 is "CRM" graphics.
        Managed (":0.0") 1280x1024
        32 + 32 bitplanes
        board revision 2, CRM revision C, GBE revision B
         Monitor 0 type: SAM 1408
        Channel 0:
         Origin = (0,0)
         Video Output: 1280 pixels, 1024 lines, 59.94Hz (1280x1024_60)
Output of scsimon
/dev/scsi/sc0d1l0: [SEAGATE ST336754LC D403] 43C/109F [68C/154F]
Modifications ↵^
I've made a few modifications to my O2:
- replaced the internal CD-ROM drive with a Toshiba SD-M1711 DVD-ROM drive,
- replaced the power supply fan with a quieter one,
- replaced the real-time clock chip with a new and better one.
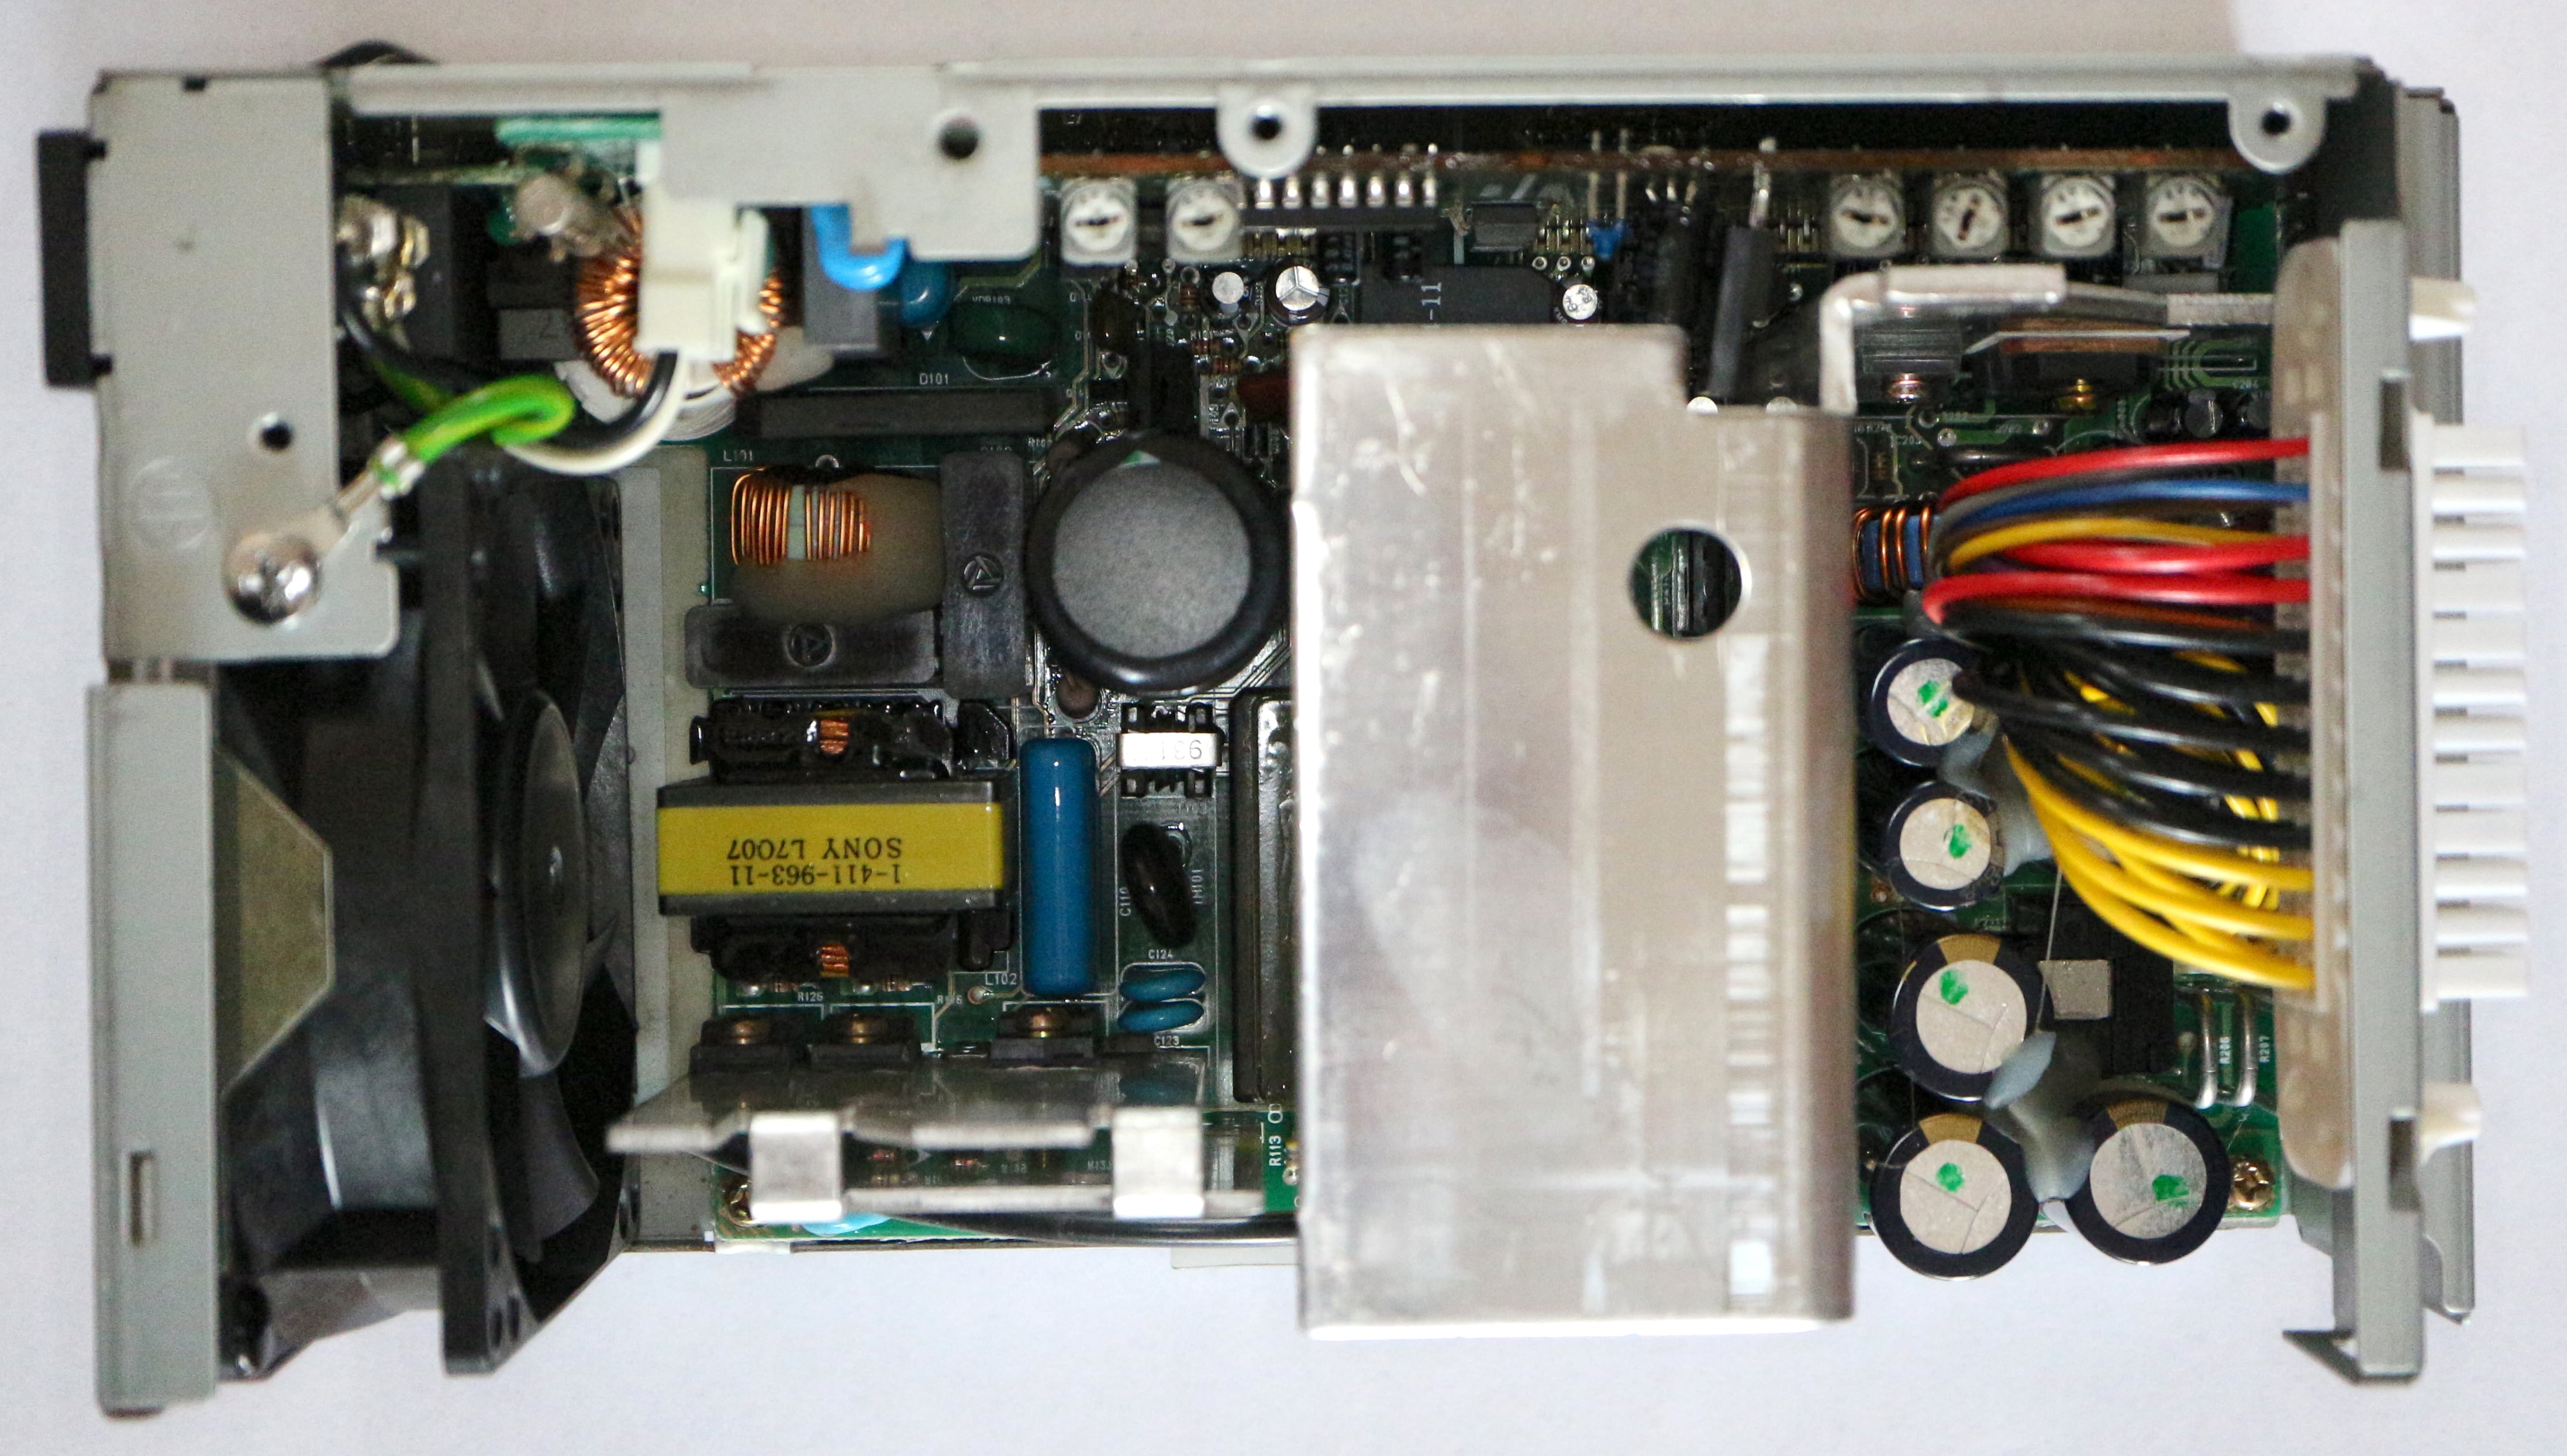
Power supply fan replacement ↵^
The original fan inside the O2's power supply is a Panaflo FBA08A12U1A. It's not bad, however, it's based on a self-lubricating sleeve-bearing design that will start wearing out with time, thus making the fan run louder.
I've replaced it with a quieter EBM Papst 8412N fan, which has a very good ball-bearing design and will probably outlive the O2 :)
Some people recommend putting even quieter PC fans inside the O2, but read on to see why this is a really bad idea!
| Fan | Airflow [CFM] | Static pressure [mmH2O] | RPM | Noise [dB] |
|---|---|---|---|---|
| Panaflo FBA08A12U1A | 46.9 | 4.8 | 3450 | 38.2 |
| EBM Papst 8412N | 40.6 | 4 | 3100 | 32.0 |
| Noctua NF-A8 FLX | 30 | 1.96 | 2000 | 16.1 |
| Noctua NF-R8 | 31 | 1.4 | 1800 | 17.1 |
| Arctic F8 | 31 | 1 | 2000 | 20 |
The PSU fan is the only exhaust fan inside an O2 and a typical O2 needs about 90W of power, so all that heat must be vented. Therefore, it is important that the fan is able to suck enough air over all the various components in the O2's densely-packed chassis and expell the hot air.
This is where the static pressure rating comes in — it tells us how good the fan is at sucking air over various obstructions at its intake — the bigger the static pressure rating, the better. A fan with low static pressure is suitable for airflow configurations with little or no obstructions (e.g. an intake or exhaust fan in a PC case). If such a fan is placed in an airflow path with lots of obstructions (such as in the O2), the fan's airflow will reduce and it will cool only the nearby components, but won't reach anything further on.
This means that if you put a low-static-pressure fan into the O2's power supply, it will only cool the power supply; the rest of the machine will be more-or-less cooled by convection and the internal temperature will rise. Prolonged usage of the machine in such conditions will lead to failures (RAM, hard disk, custom chips on the motherboard).
As you can see from the table above, the replacement fans suggested elsewhere have really low (inadequate) static pressure! Much less than half that of the original fan!
When choosing a replacement fan, it's not enough to just look at the airflow rating and say "Oh, if the CFM are close enough, she'll be alright!" — that is not so! Without a fan that can handle a lot of static pressure to suck all the hot air out, the O2 will slowly cook itself to death (especially if you have an R10k or R12k processor inside)! It might not matter if you only power it up for an hour a week during winter, but if you don't want to shorten the lifespan of your O2, you should pay a bit more for a proper fan or, better yet, leave it as it is.
Remember: when selecting a replacement fan, always compare the static pressure vs. airflow curves in the fan's datasheet to those of the original fan! If a fan doesn't have this graph in its datasheet or if it doesn't even have a datasheet in the first place, it is garbage and you should not use it in any serious equipment.
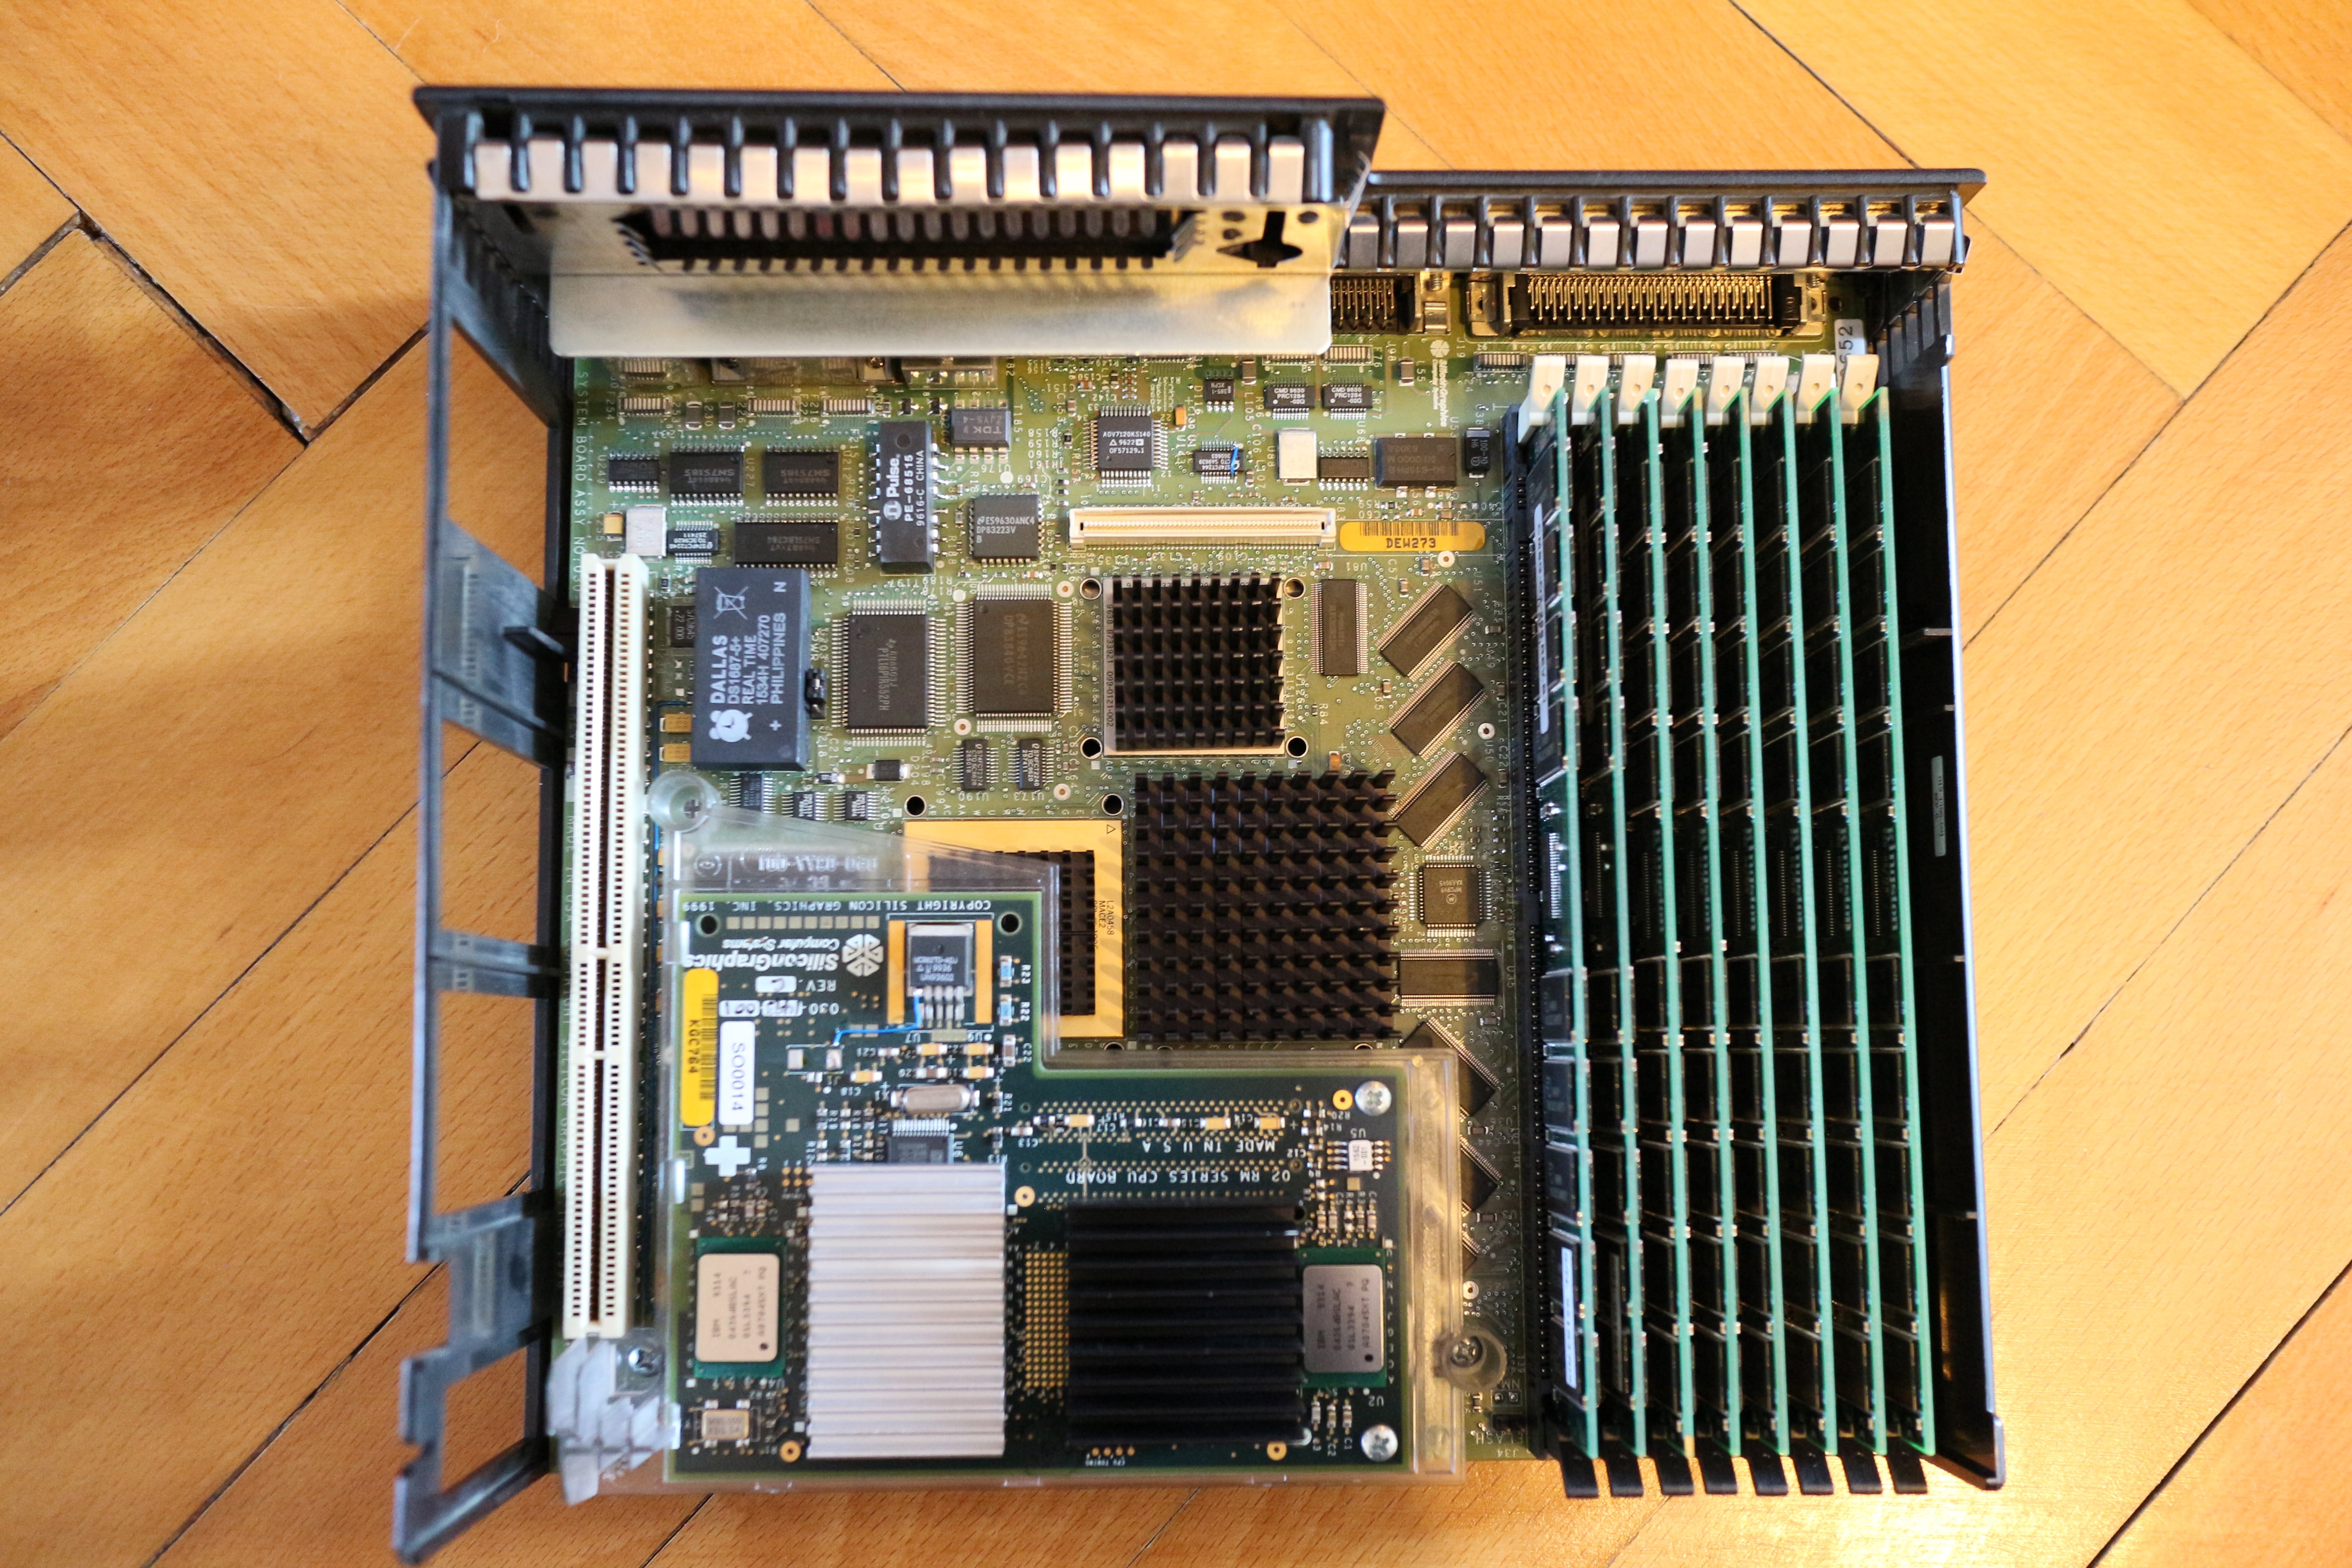
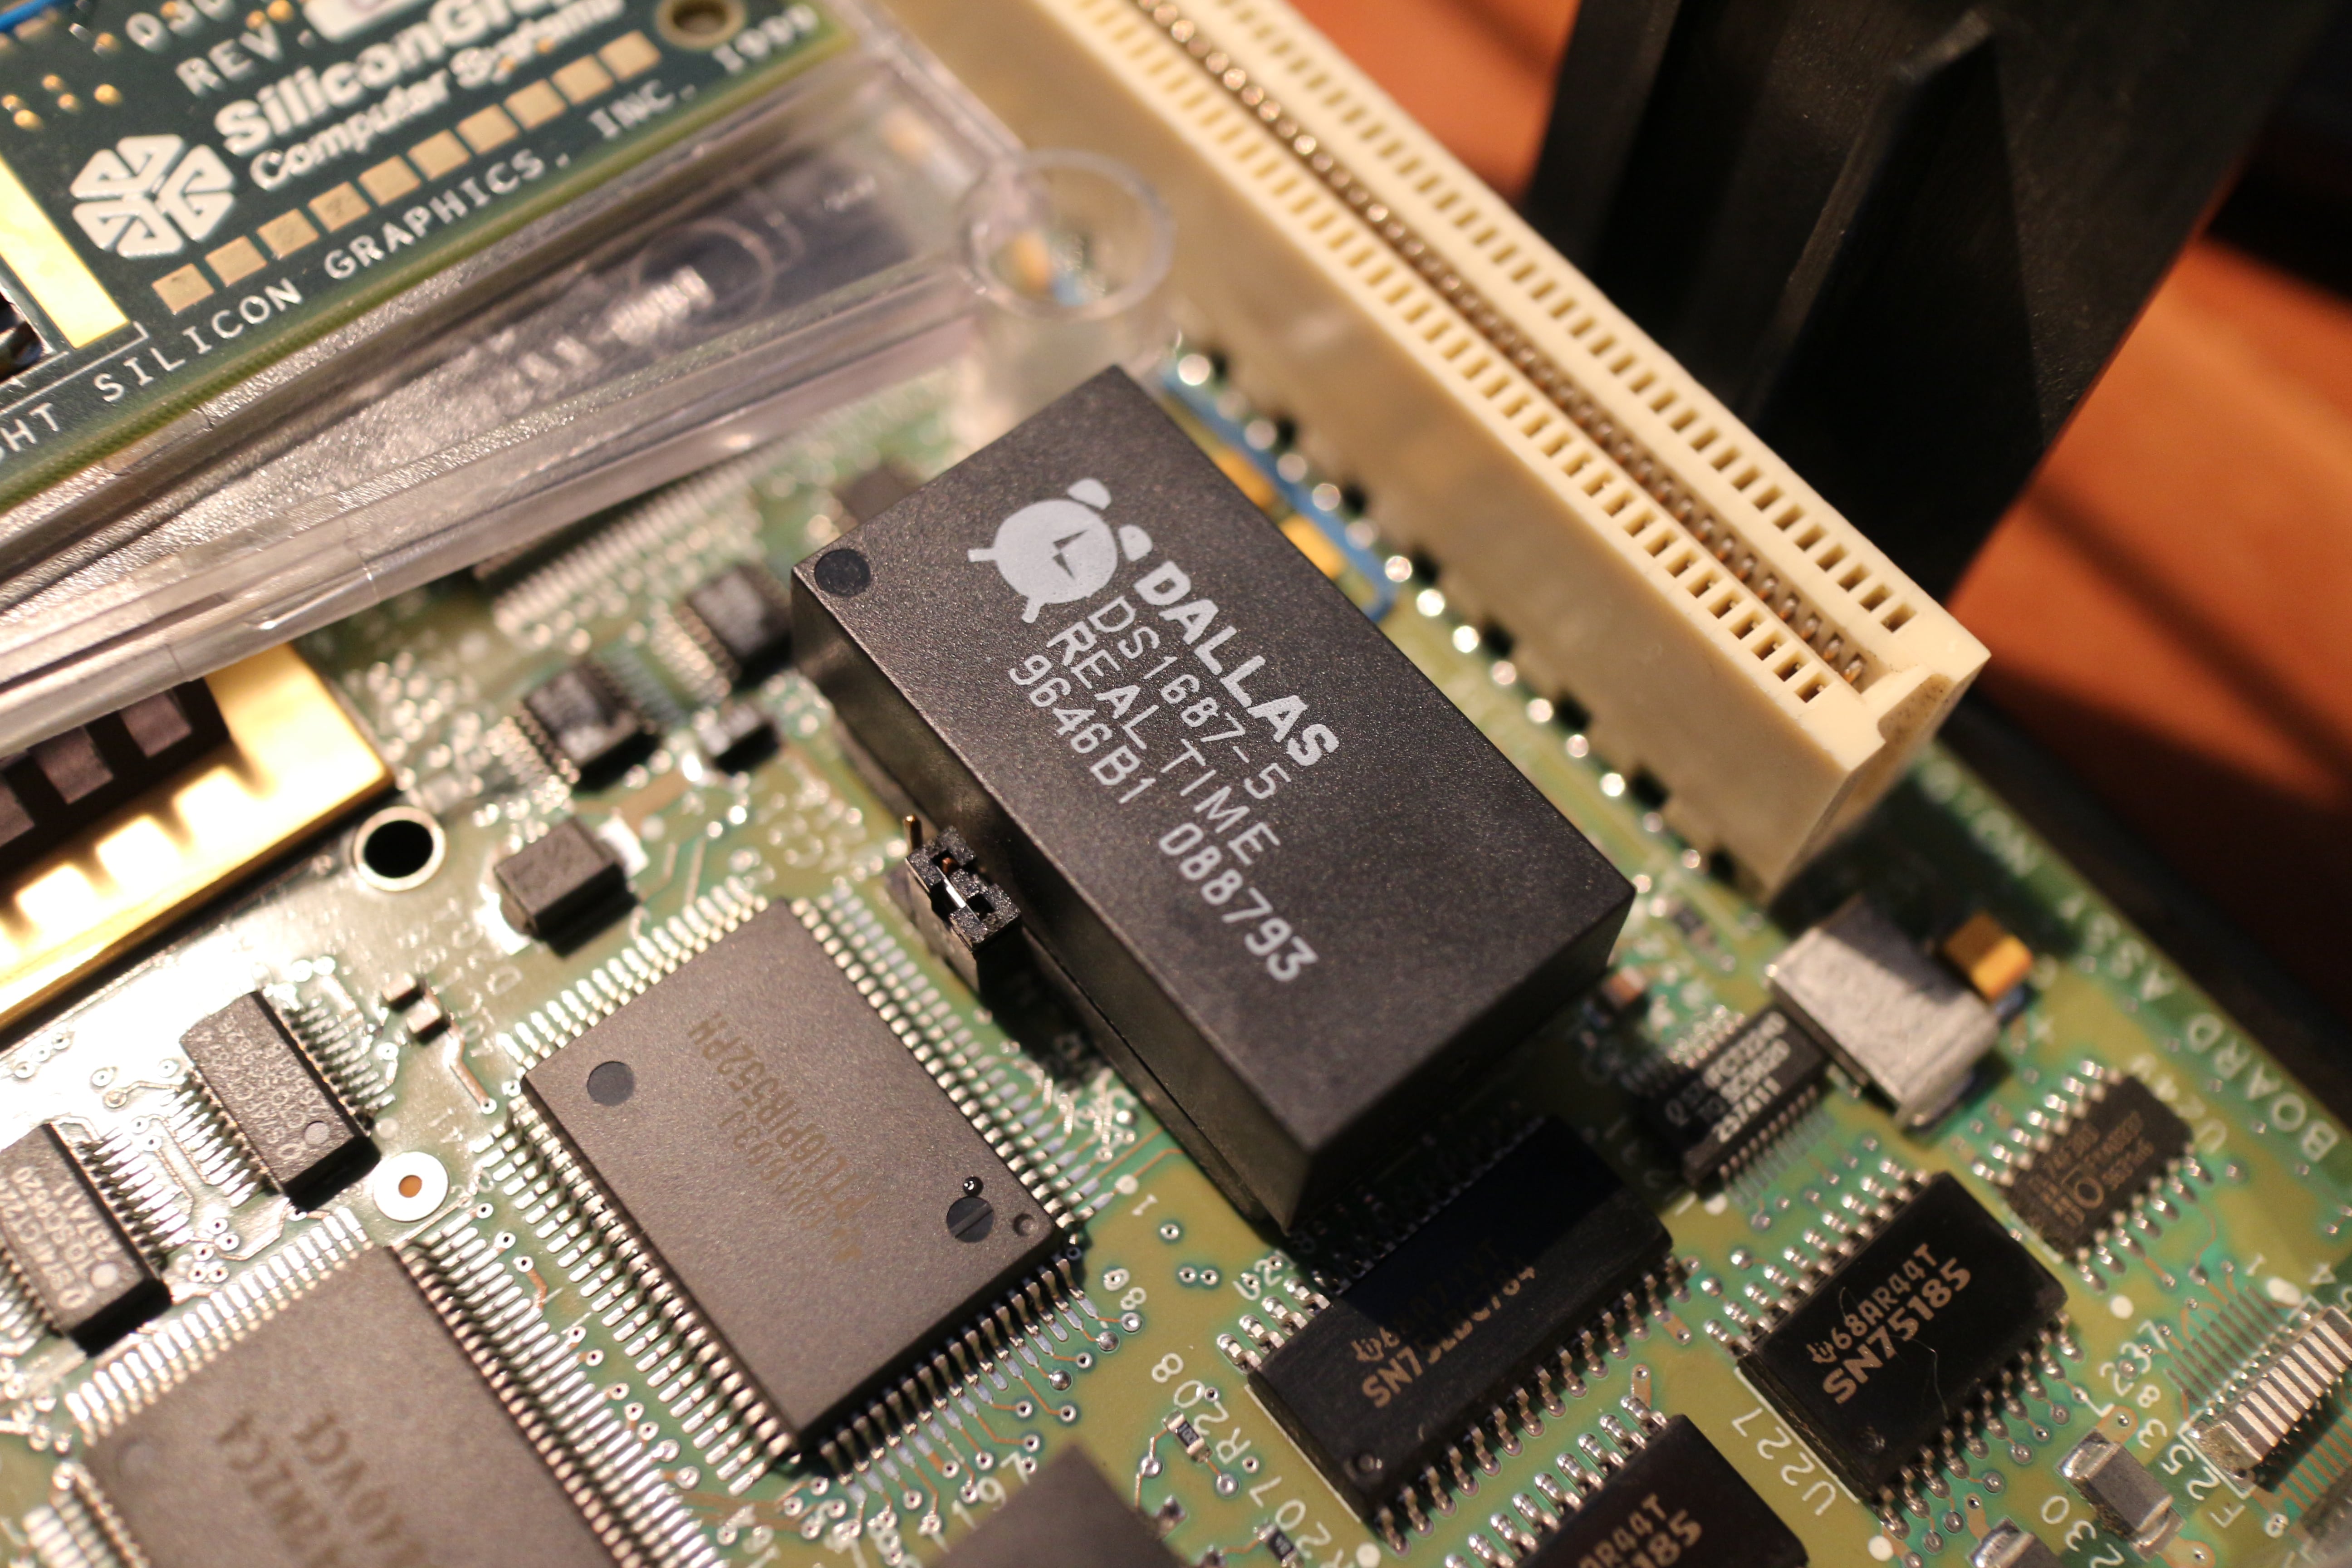
Dallas RTC chip replacement ↵^
The system's real-time clock is located in a Dallas DS1687-5 chip on the mainboard (under the PCI riser). This little chip contains the RTC circuit, the 32.768kHz crystal, and a lithium battery. The battery is there to keep the clock running even when the system is off.
The problem with these all-in-one chips is that the internal battery eventually runs out (they're rated for only 10 years) and then the system keeps losing all its PROM settings, unless it's plugged in all the time (the O2 runs stand-by power to the auxillary power input of the RTC chip, which is a nice touch).
Unlike some previous SGI machines (e.g. Indy, Indigo2), the O2 doesn't store its ethernet MAC address on this chip (it is instead located on a three-pin DS2502 chip on the PCI riser), however, the RTC chip is responsible for powering-on the O2 when you press the power button — if your O2 doesn't power on (or powers on only intermittently), it could have a faulty RTC chip.
The chip in my O2 seems to have developed a small defect in its built-in 32.768kHz crystal and would constantly need time adjustment (the drift was out of spec, probably due to age). Apart from this, it sometimes failed to power on without me jumpstarting it by connecting a jumper across the pins next to the RTC chip. Therefore, I decided to replace it with a new one, while they're still being sold (also bought a few spares as well, since the Octane uses the same chip).
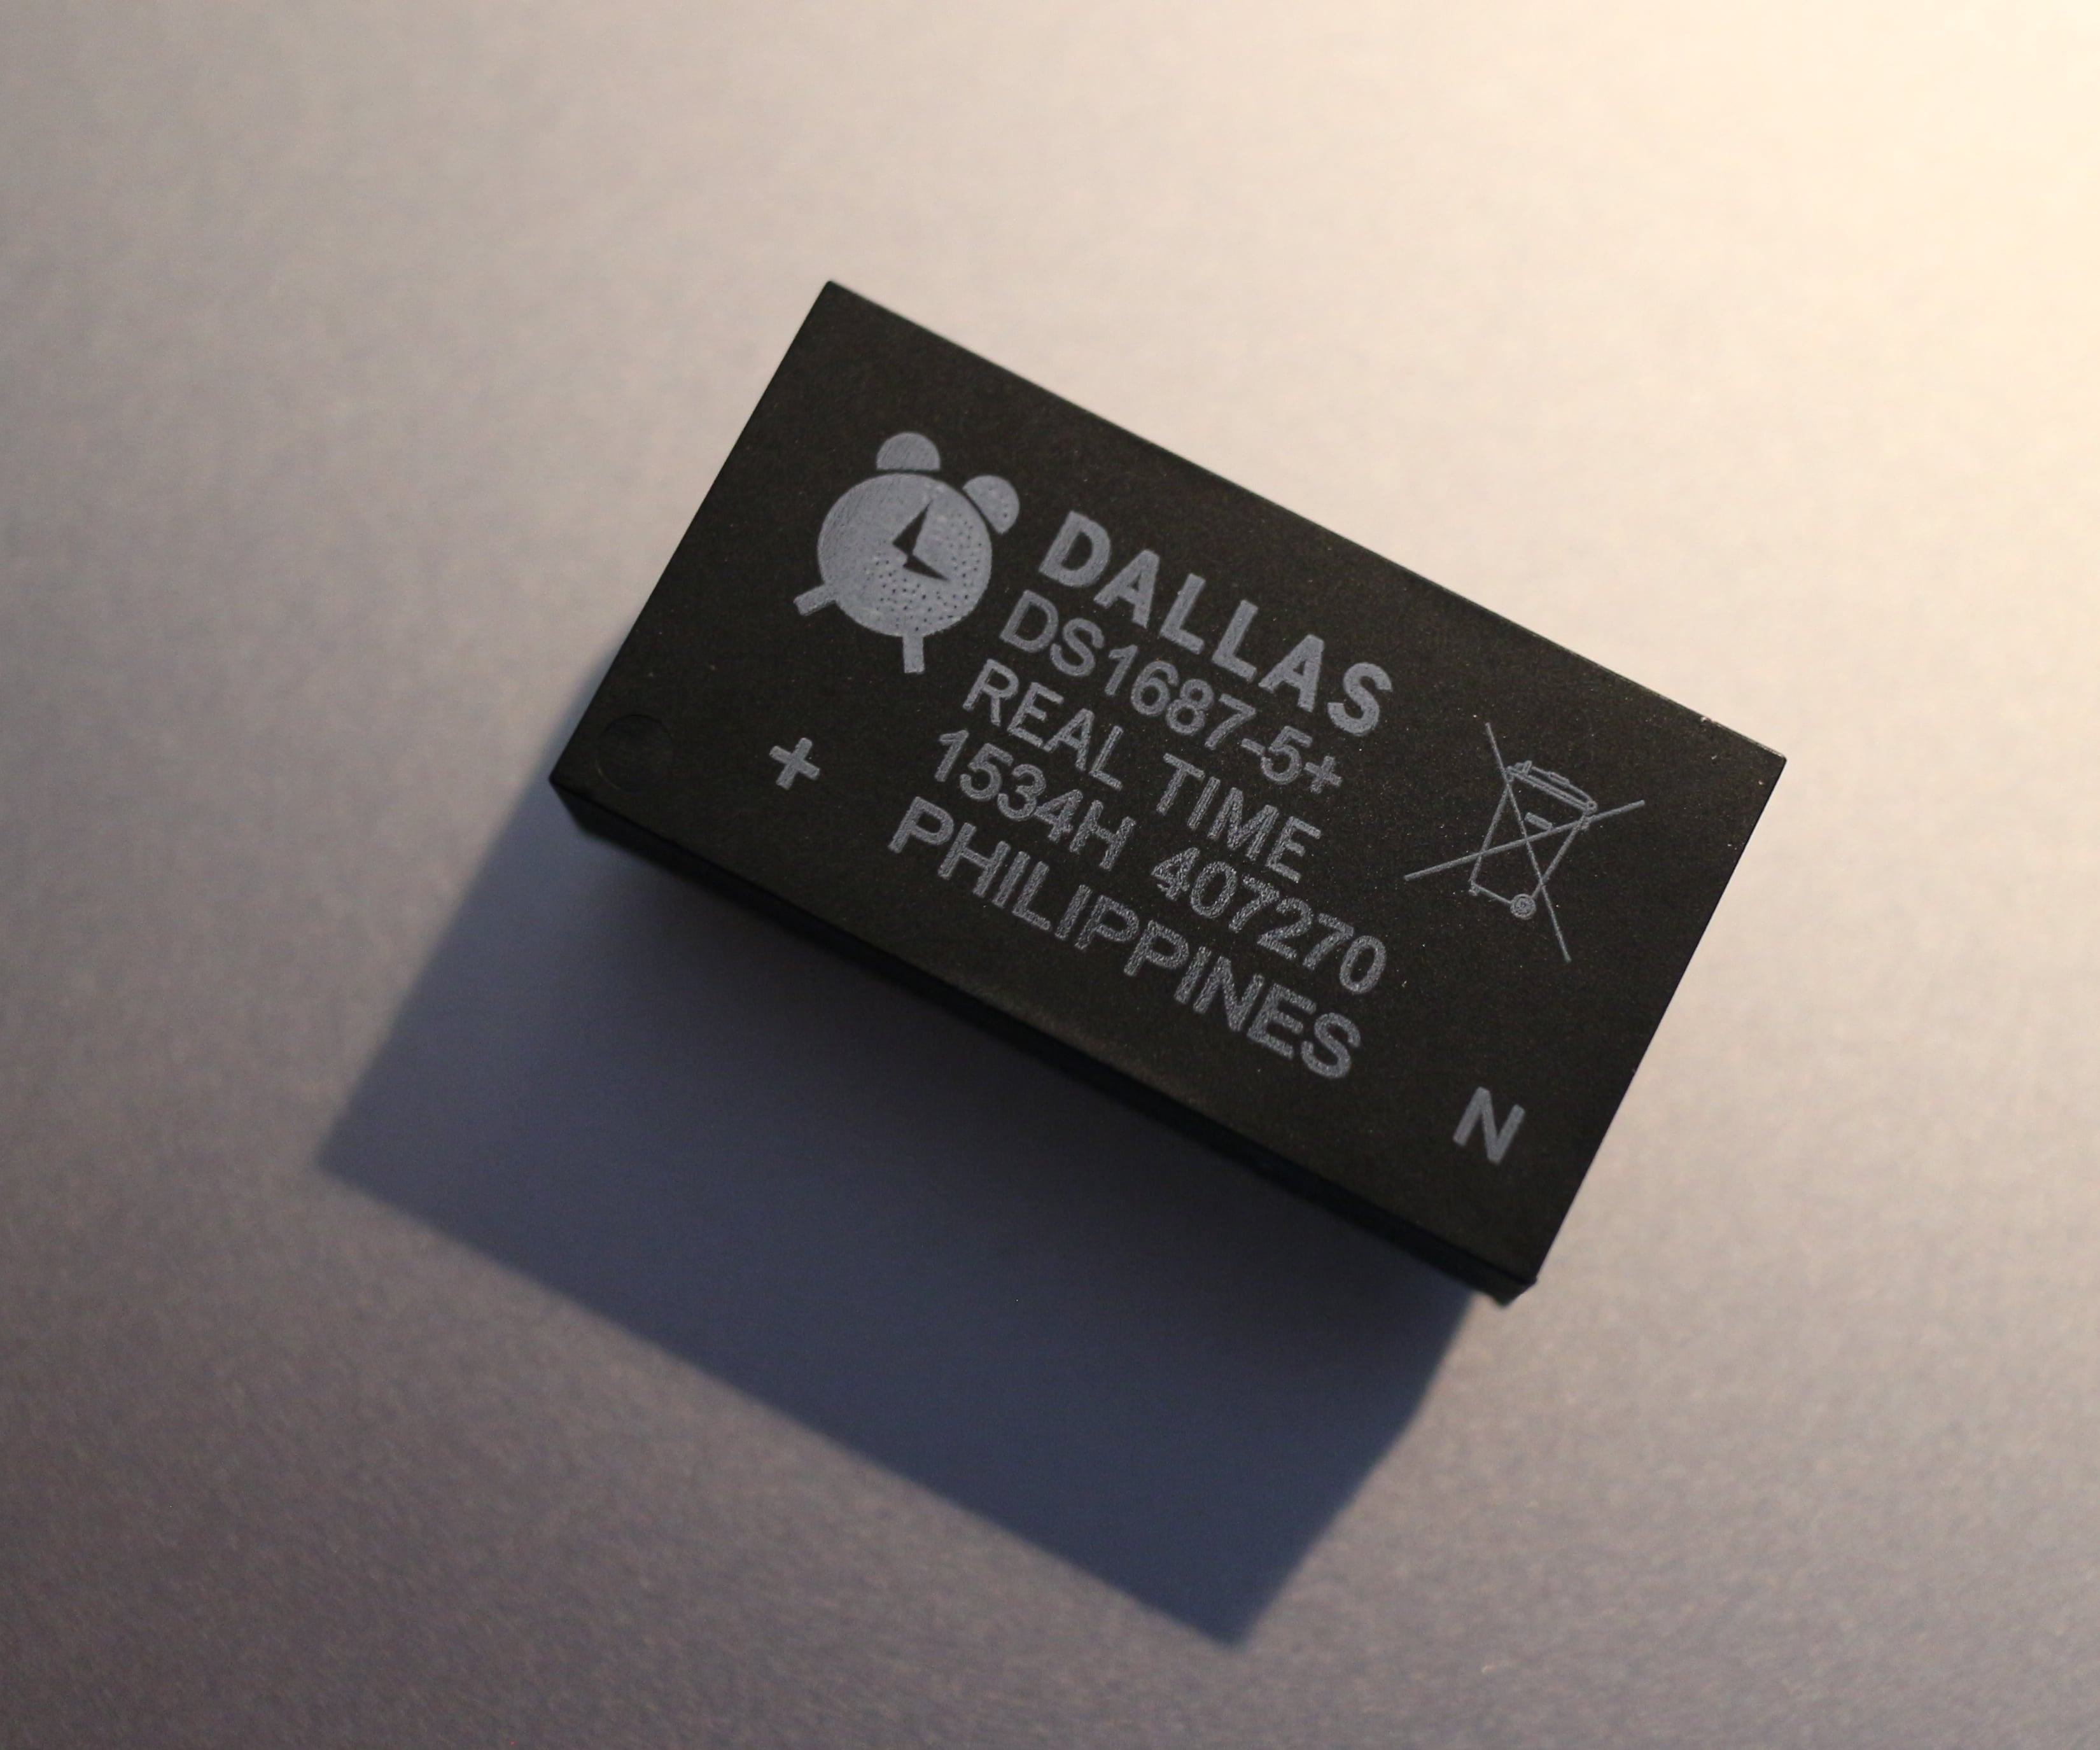
The replacement I chose is the DS1687-5IND+, which is identical to the original one, but has an industrial temperature range of -40°C to +85°C (the original was rated for only 0°C to 70°C). This should increase its lifespan somewhat.
If you want to replace the chip in your O2 as well, make sure you buy it from a reputable supplier — most of these chips on eBay are pulls from old systems and won't last long! A brand-new chip has its internal battery disconnected until you program it for the first time and will therefore last a long time in storage. If the industrial-rated chip isn't your thing, you can buy the cheaper standard variant, DS1687-5, but make sure it's the -5 version, and not the -3 version! Unlike with RAM chips, the number after the dash isn't the speed grade, but the voltage! Putting a -3 (3.3V rated) RTC chip into the O2 will fry the chip, so be careful when ordering.
Also, don't forget to remove the power plug before removing the mainboard! The O2 provides stand-by power to the mainboard, but the mainboard's connector is not suitable for hot-plugging, so it's possible to fry the electronics if you insert or remove the board with the O2 plugged into mains power!
Here's what to do after replacing the RTC chip:
- Install a jumper onto the two pins right next to the newly-installed chip and start booting the O2.
- Press esc, then 5 to enter the Command Monitor.
- On the command prompt enter
resetenvto put a clean set of PROM environment variables into the new Dallas RTC chip. - After that, enter
setenv OSLoadFilename /unixso that the PROM knows where the IRIX kernel is located on the drive (resetenvdoesn't do this automatically on some systems). If you have an R10k/R12k O2, you might also need to correct theOSLoadPartitionvariable to point to the second drive bay instead of the first, as is the default on R5k O2s. - Type
initto reboot. - Let it boot into IRIX to finish the process (IRIX automatically programs and starts the RTC's oscillator on boot if it isn't running yet).
- Now shut down IRIX, pull out the power plug (the O2 won't turn off on its own with that jumper installed), remove the jumper, and you're done!
Pictures ↵^


More pictures coming soon!
Documents ↵^
- O2 Workstation Hardware Reference Guide (PDF, 23MB) — manual for the O2, gives an overview of the workstation, shows how to install and replace parts, and contains technical specifications and connector pinouts.
- O2 Technical Report (PDF, 280kB) — a detailed overview of the O2's unified memory architecture.
- CRIME (CPU, Rendering, Interconnect and Memory Engine) ASIC Specification (PDF, 2.1MB) — internal SGI specs for the CRIME ASIC.
- MACE (Multimedia, Audio and Communications Engine) I/O ASIC Specification (PDF, 489kB) — internal SGI specs for the MACE ASIC.
- GBE (Graphics Back End) ASIC Specification (PDF, 292kB) — internal SGI specs for the GBE ASIC.
- VICE (Video and Image Compression Engine) ASIC Specification (PDF, 905kB) — internal SGI specs for the VICE ASIC.
- Nintendo64 RSP (Reality Signal Processor) Programmer's Guide (PDF, 1.3MB) — the N64 RSP is related to the O2's VICE MSP.
- O2 Digital Video Option Datasheet (PDF, 229kB)
- O2 Digital Video Option Installation Guide (PDF, 703kB) — shows you how to install and use the AV2 board.
- PCI Digital Audio Board Installation Guide (PDF, 127kB) — shows you how to install and use the RAD digital audio board.
- Toshiba SD-M1711 DVD-ROM drive manual (PDF, 954kB)
- Panaflo FBA08A12U1A Datasheet (PDF, 101kB) — this is the original O2 PSU fan.
- EBM Papst 8412N Datasheet (PDF, 403kB) — this is the quieter replacement O2 PSU fan.
Acknowledgements ↵^
All diagrams/drawings on this page were taken from SGI manuals and other documentation.